
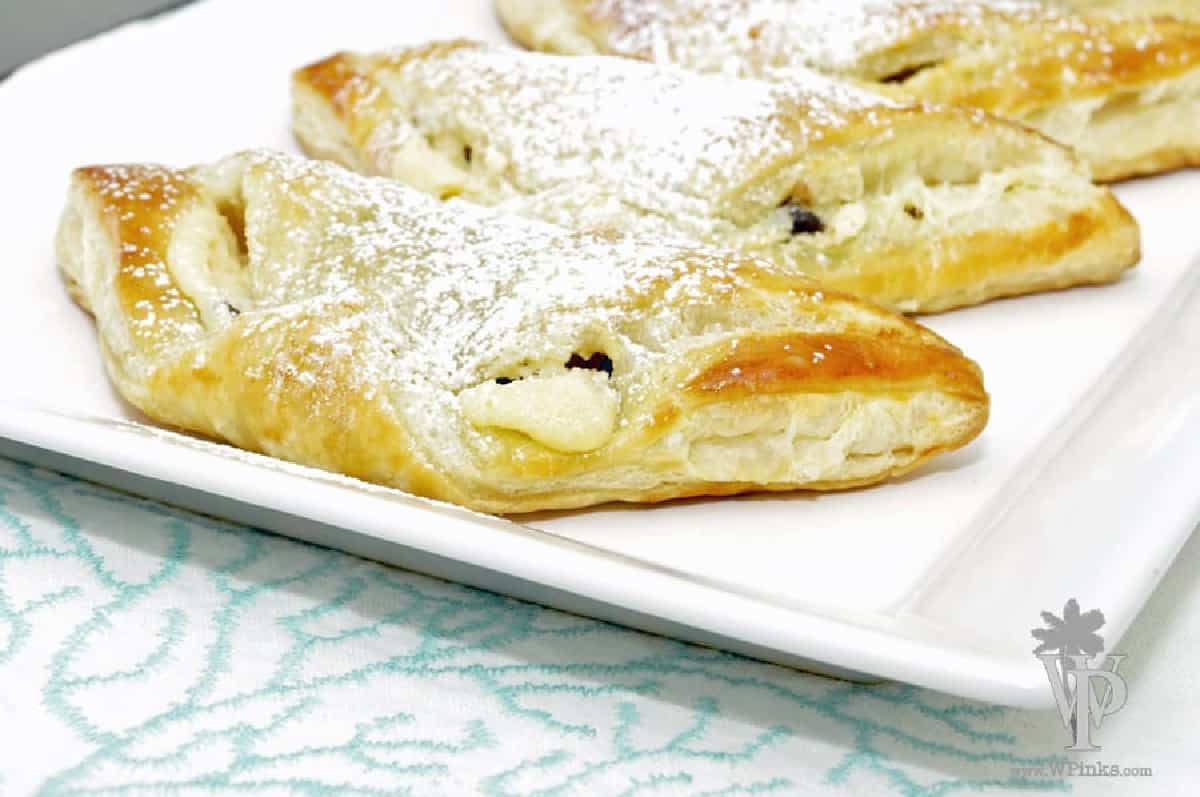
Chocolate Puff Pastry Turnovers! Store-bought puff pastry makes these indulgent bakery-style breakfast pastries filled with rich chocolate a cinch to throw together.
This post may contain affiliate links, which means that, at no extra cost to you, I may earn a small commission if you click a link and purchase an item I’ve recommended. Thanks for your support in running this blog!
There’s something about sitting in a coffee shop or bakery with a hot coffee or tea and a flaky Pain au Chocolat that makes mornings feel luxurious.
These easy Chocolate Puff Pastry Turnovers can help you bring the bakery experience home without having to get out of your pajamas!
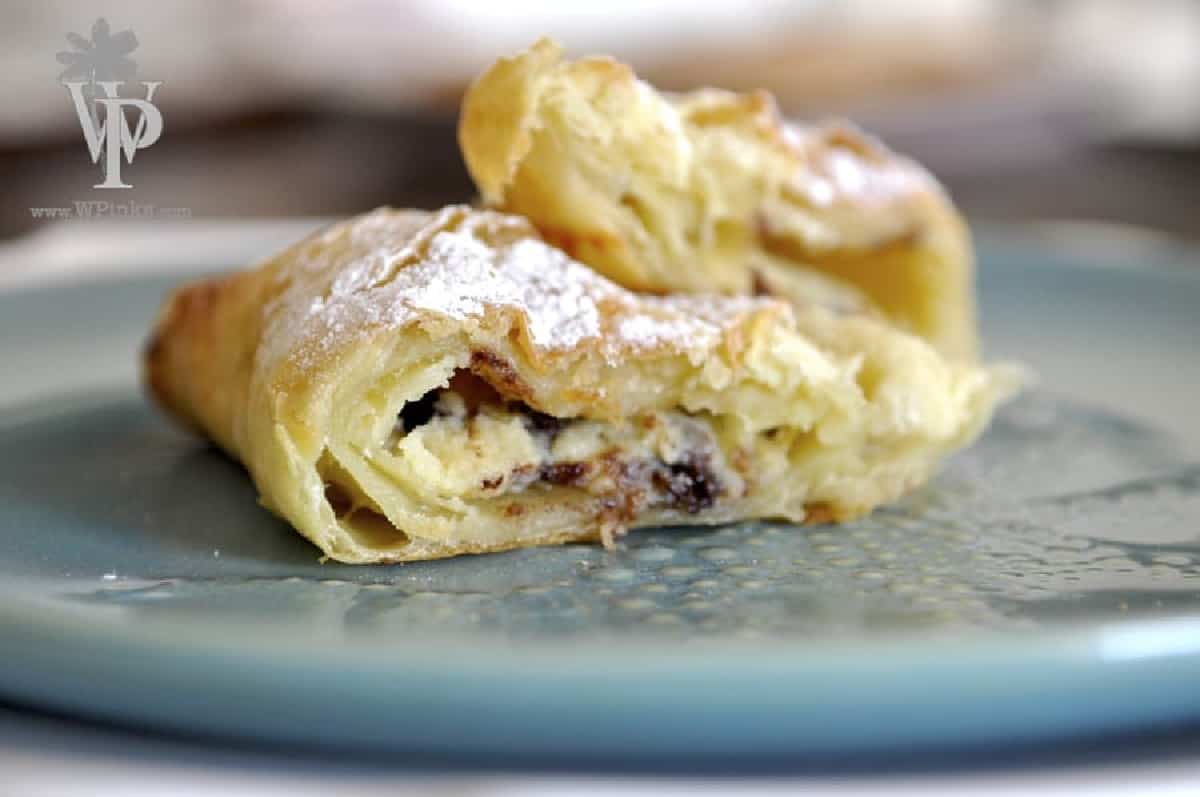
Store-bought puff pastry makes these flaky pastries filled with rich, melty chocolate delightfully simple to whip up. (Don’t miss my chocolate & cheese variation. Details below!) They make a perfect addition to a holiday breakfast or brunch menu or a wonderful treat to package up and bring to a friend.
Satisfy your sweet tooth and start your morning off on a delicious note!
Looking for more mouthwatering ways to start your day? Try my Bacon, Cheddar & Zucchini Quiche, Strawberry Stuffed French Toast, or Lemon Poppy Seed Scones.
This recipe is naturally vegetarian and can be made gluten-free or vegan.
Ingredients
- Frozen puff pastry
- Chocolate chips or chunks
- Sea salt
- Egg
For Chocolate & Cheese Version:
- Cream cheese
- All-purpose flour
- Granulated sugar
- Vanilla extract
Instructions
Start by preheating your oven to 400°F and lining two baking sheets with parchment paper or silicone baking mats; this will keep the pastries from sticking and make cleanup a breeze.
Next, grab your thawed puff pastry and gently roll it out on a lightly floured surface. Cut each sheet into four equal squares—you’ll end up with eight total. Place four squares on each prepared baking sheet, spacing them out a bit so they have room to puff up.
Now for the best part: the chocolate! Place a generous amount of chocolate chunks or chips in the center of each pastry square.
To help the pastries seal properly, lightly brush the edges of each square with a bit of egg wash (just a beaten egg with a splash of water). Then, fold one corner over to the opposite corner, forming a triangle.
If you want to get fancy, fold over the tip of the triangle for a little extra flair, or press the edges together with a fork for a classic crimped look.
Once they’re sealed, brush the tops with more egg wash—this gives them that beautiful golden-brown finish.
Pop them in the oven and bake for about 15 minutes, or until they’re puffed up and golden.
When they’re ready, take them out and let them cool for about five minutes. (Trust me, that gooey chocolate center is worth the wait!) Dust them lightly with powdered sugar if desired.
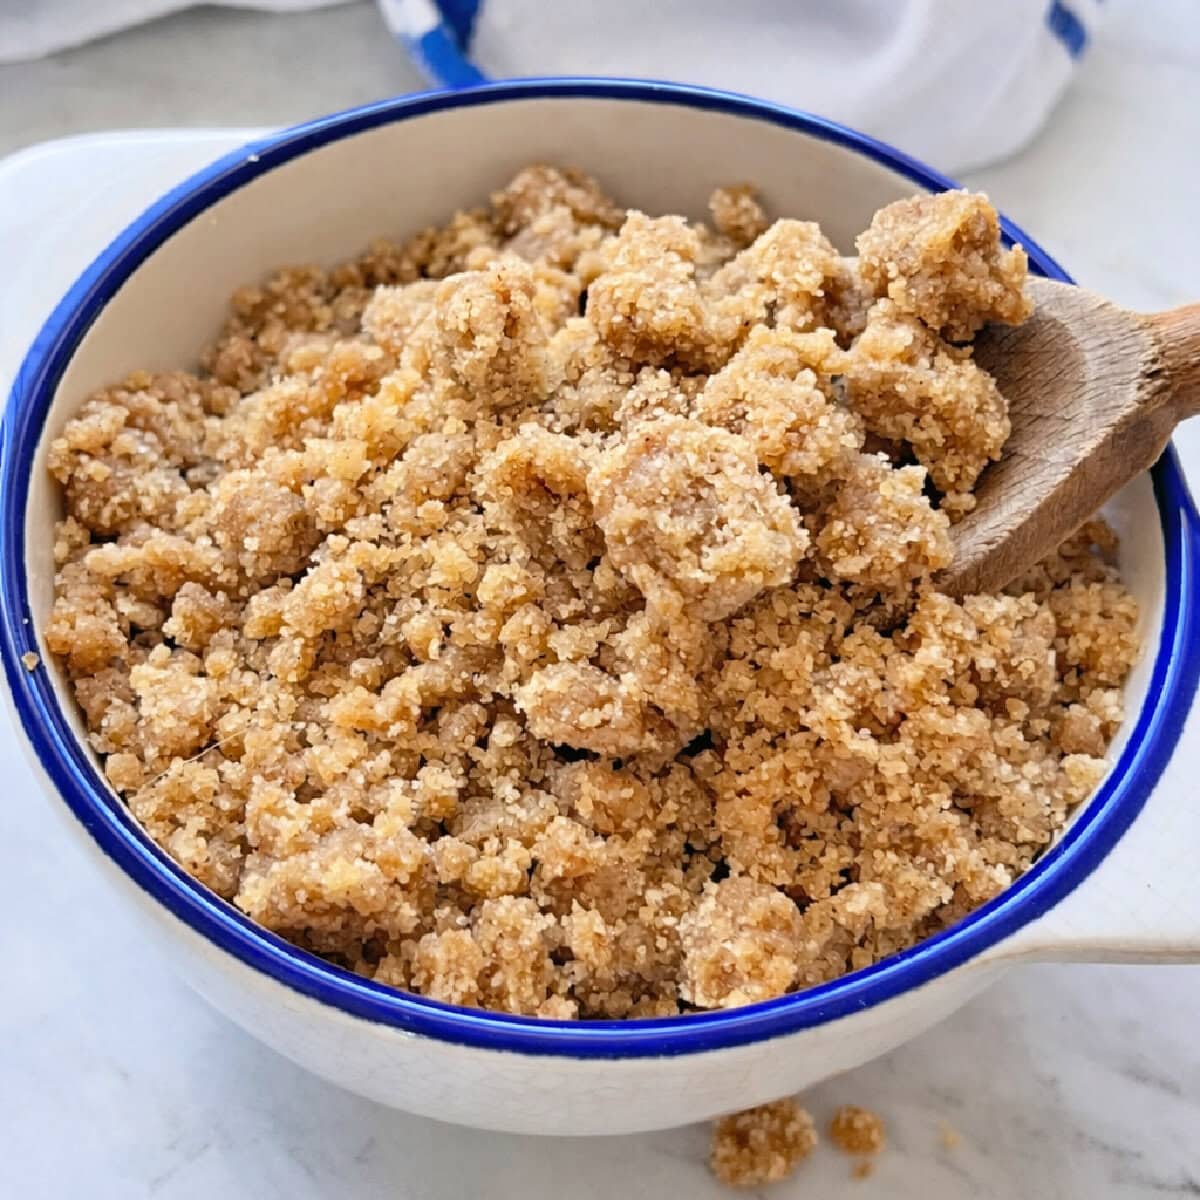
Want to take it up a notch? Try a Chocolate & Cheese Version! In a small bowl, mix together a bit of cream cheese, flour, granulated sugar, and vanilla extract until smooth. Spoon a little of this creamy filling onto the center of each pastry square before adding the chocolate. The combination of tangy cream cheese and melty chocolate is chef’s kiss perfection.

Storage
Short-Term Storage (1-2 Days):
- Let the pastries cool completely before storing them to prevent sogginess.
- Place them in an airtight container at room temperature for up to two days.
- If your kitchen is particularly warm, store them in the fridge.
Longer Storage (Up to a Week):
- Store cooled pastries in an airtight container in the fridge for up to five to seven days.
- To reheat, pop them in a 350°F oven for about 5 minutes or in an air fryer for 2-3 minutes to crisp them back up. The microwave will warm them but won’t restore that flaky crunch.
Freezing for Later (Up to 2 Months):
- Assemble the pastries as directed but don’t bake them yet.
- Place them on a baking sheet and freeze until solid, about 1-2 hours.
- Transfer to a freezer-safe bag or container, separating layers with parchment paper.
- Bake straight from frozen at 400°F for about 18-20 minutes, adding a few extra minutes as needed.
Recipe FAQ’s
The best way to thaw puff pastry is to place it in the refrigerator overnight. If you’re short on time, you can also thaw it at room temperature for 30-40 minutes.
Absolutely! You can use chopped chocolate bars or chocolate chunks instead of mini chocolate chips. Just make sure they’re small enough to be evenly distributed over the pastry.
Yes, you can assemble the pastry ahead of time and store it in the refrigerator for up to 24 hours before baking. Just make sure to brush the beaten egg over the top right before baking.
Variations & Substitutions
Try these variations!
- Add a sprinkle of cinnamon or nutmeg to the chocolate filling for a warm, seasonal flavor.
- Swap out the mini chocolate chips for white chocolate chips, chopped nuts, or dried fruit.
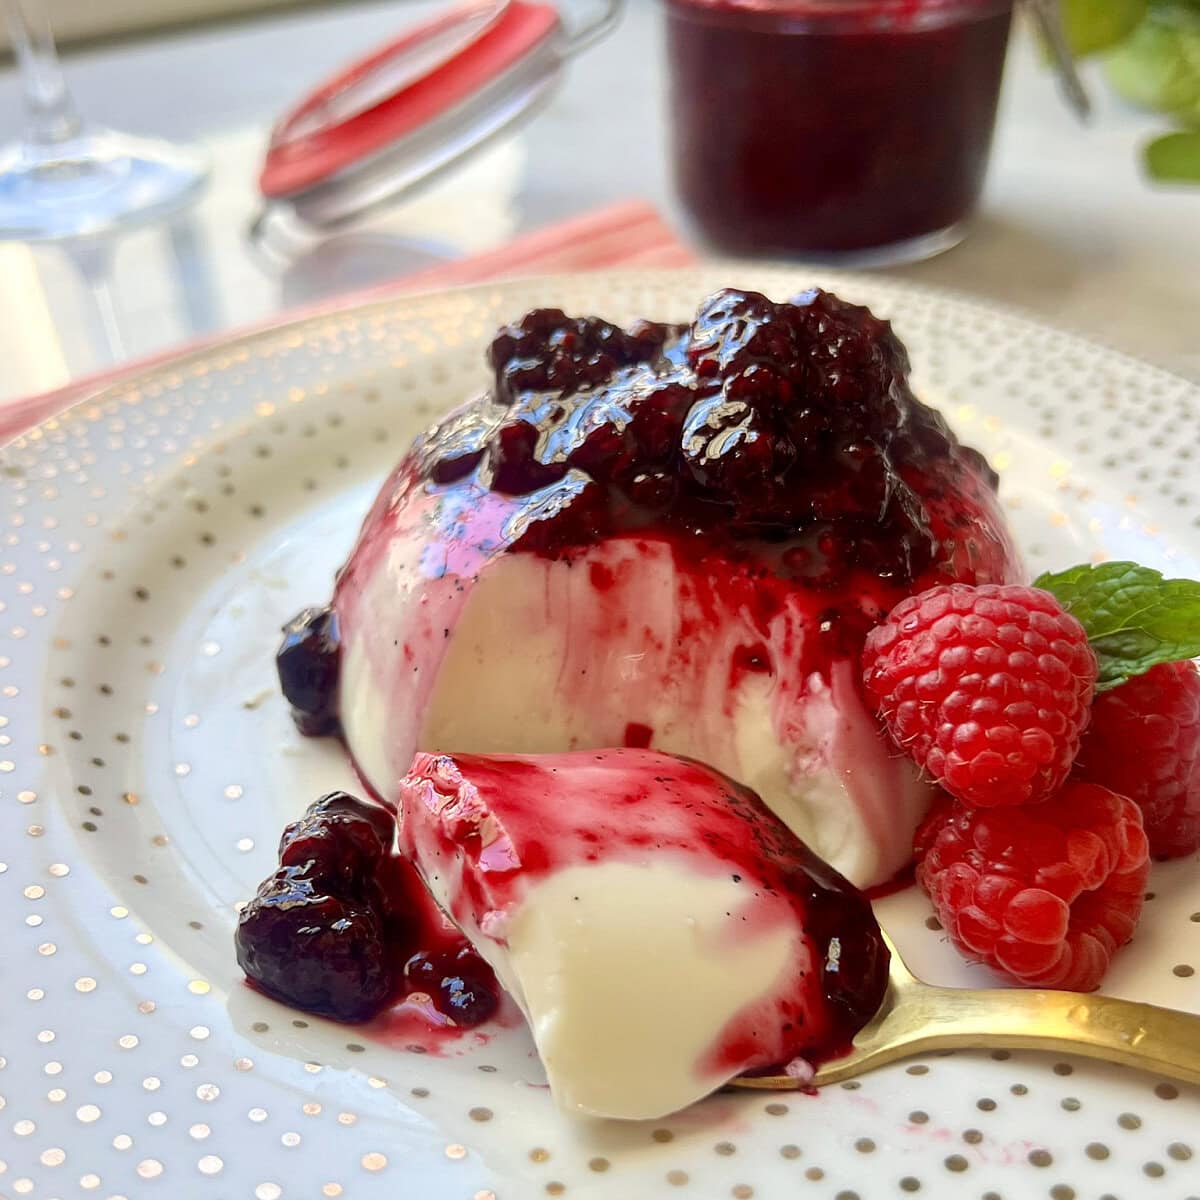
- Add a little dollop of raspberry jam to the center before adding the chocolate for a fruity pop of flavor.
- Top the pastry with a drizzle of melted chocolate or a dusting of powdered sugar.
- Not in a chocolate mood? (Blasphemy!) Give these Blueberry Turnovers a try instead!
Diet-Specific Substitutions
- Gluten-Free: Use a gluten-free puff pastry instead of regular.
- Dairy-Free/Vegan: Use vegan chocolate chips and brush with a plant-based egg substitute or melted vegan butter.
Chocolate Puff Pastry


3 comments
Trina
love love LOVE it!!! 🙂
E
Obviously love this post and the pleasant smiles that it drew from my face, friend! Love you too talented writer and baker! Hopefully baby-food-making is limited in flavor so that what I make will still be consumed after surely being upstaged by what's to bound to be your pretty-looking-mushy-food! xoxo
Maggie's Prints Charming
Loved the post too. You girls obviously have an inseparable bond of friendship that will surely last for many years to come 🙂