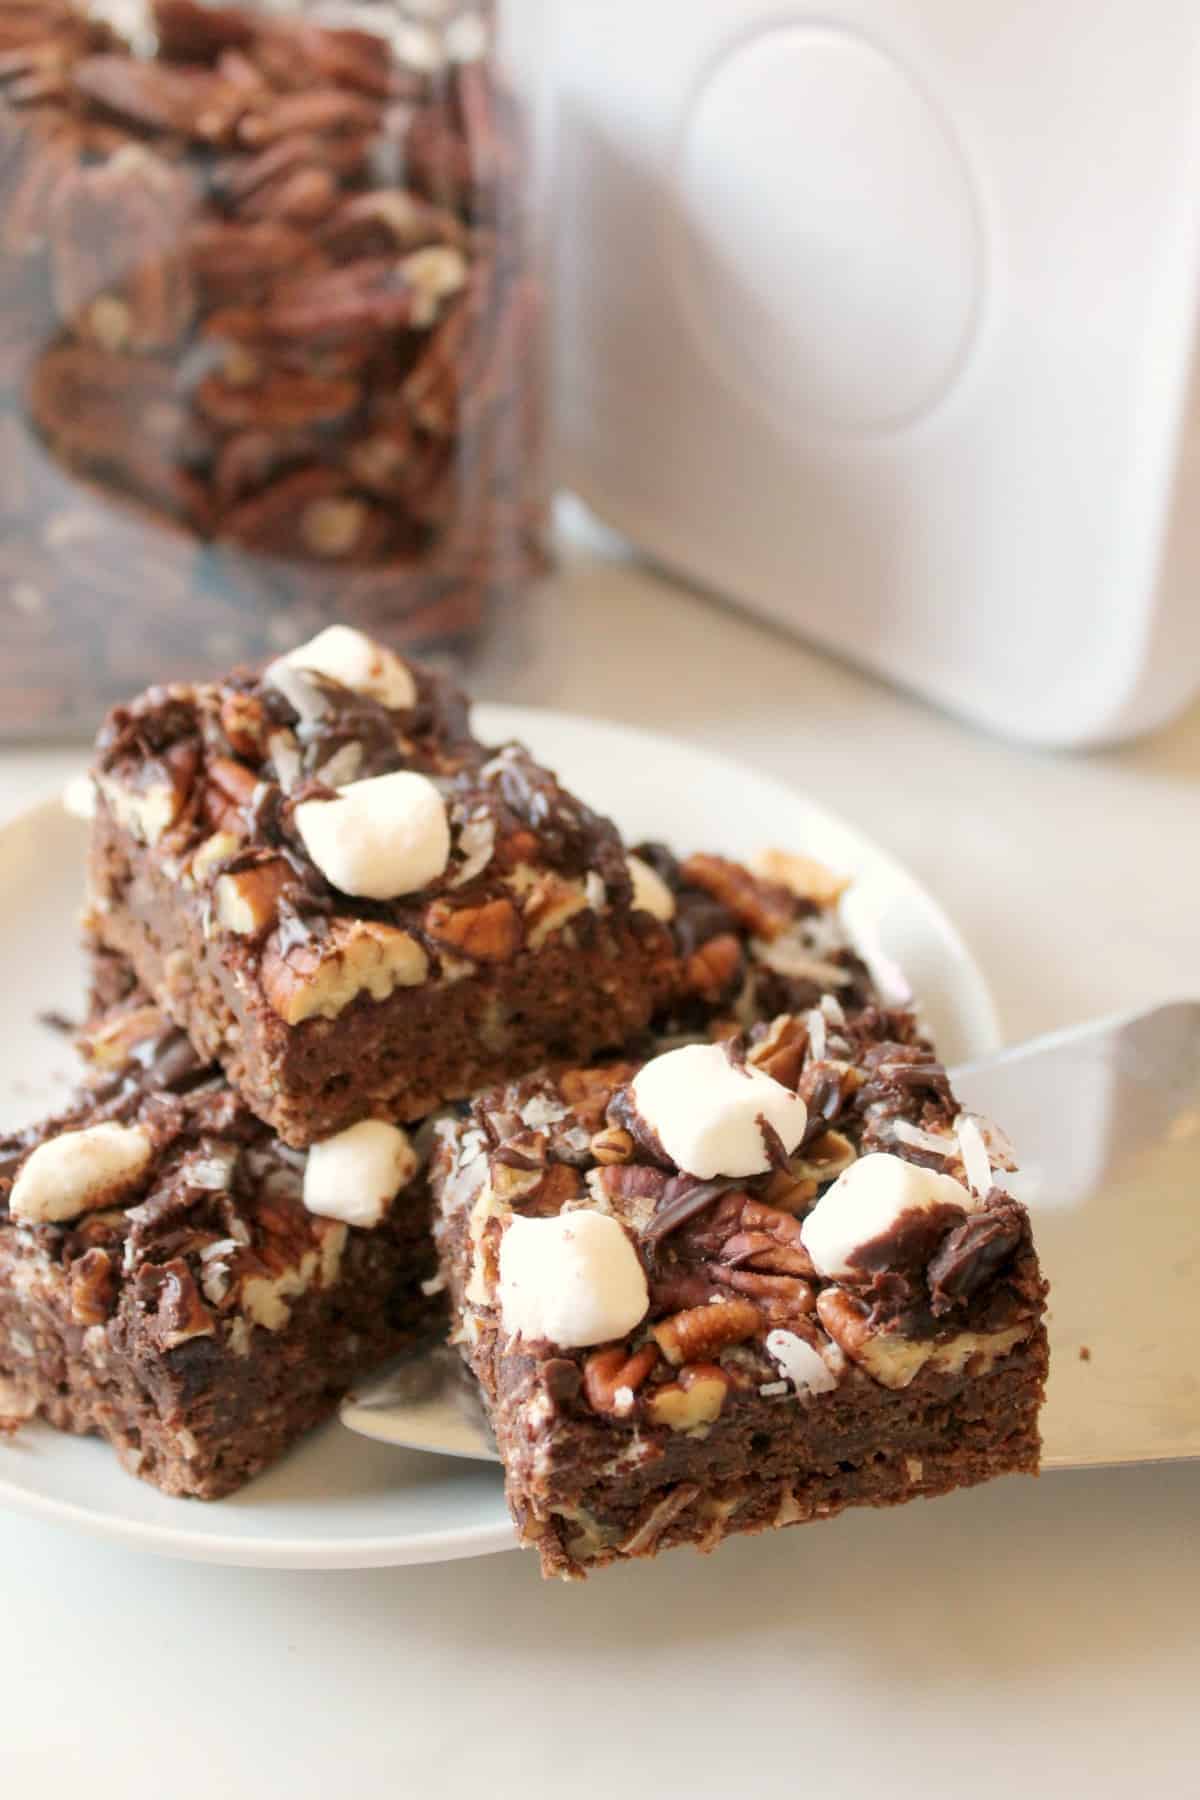
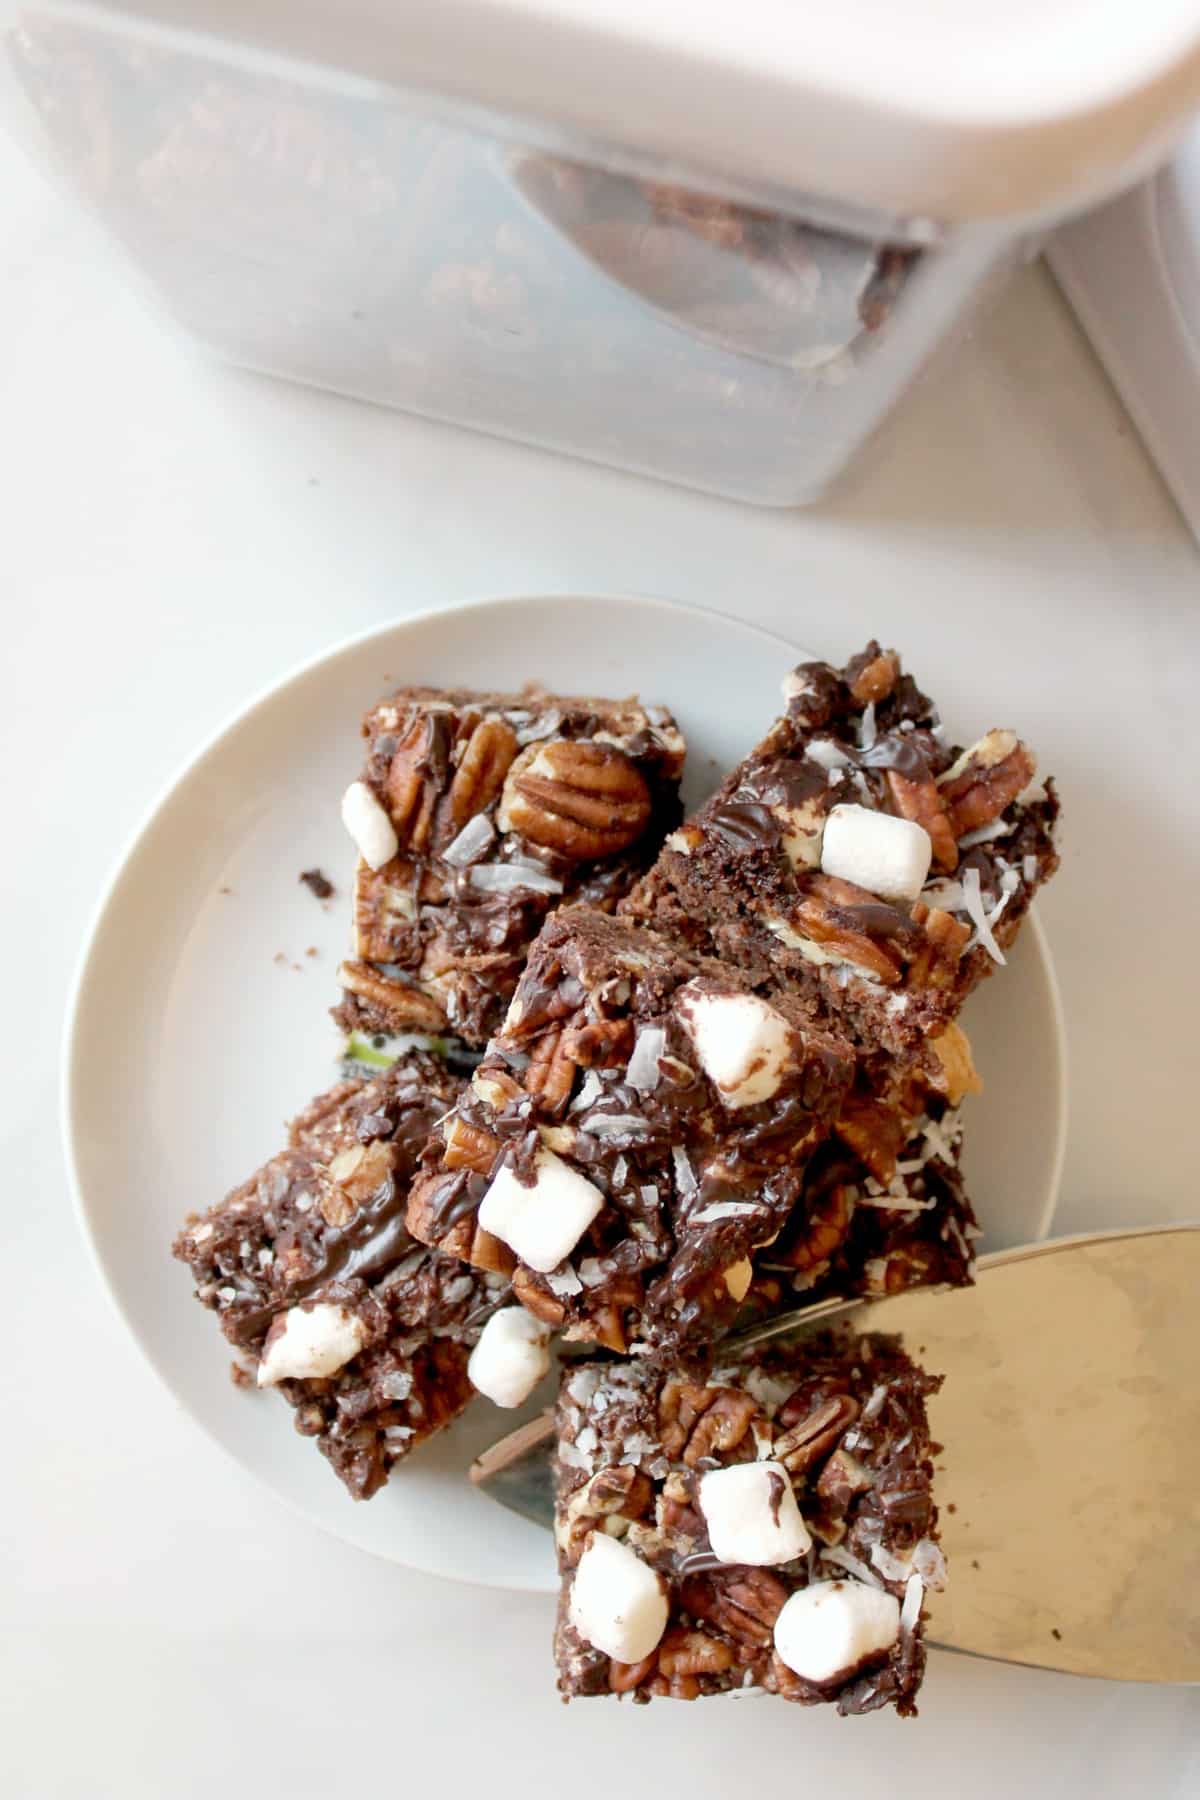
These gooey Mississippi Mud Bars are full of chocolate flavor and loads of texture thanks to a heaping helping of marshmallow, pecans and coconut flakes drowned in fudgy topping. It’s one muddy mess you’ll never mind having in your kitchen!
Disclosure: This post was written in partnership with OXO. I received the products mentioned in this post for review. As always, the opinions here are all my own!
Your pantry is overflowing with a hodge-podge of unfinished cereal and well-intentioned canned goods with expiration dates that have come and gone. The bottom of your crisper drawers have an unidentified sticky substance that won’t budge. And underneath your appliances? Well… let’s just say there might be a science experiment lurking in the darkness. My friends… it’s time for Spring Cleaning in the kitchen.
I have an unnatural love for organization, so while I personally thrive on these types of tasks, I realize that the thought of Spring Cleaning is enough to bring on a panic attack for many. Luckily, my affinity for tidiness has also helped me become familiar with many of the best {and not-so-great} products on the market, and I’m willing to pass on my advice so you can head straight for the stuff that makes cleaning and organizing your kitchen easy. You’re welcome!
I’ve got three steps {sort of… each step has steps, so don’t get too cocky} to stress-free cleanup that will leave you with a picturesque kitchen and pantry in no time!
Step 1: Clear
You probably think you do a decent job of getting rid of unnecessary things in your kitchen and pantry, but I have news for you: There’s more. When I started my pantry-cleaning project earlier this week I was prepared to find a few things that needed to be tossed… but I was floored when I found I had filled an entire garbage bag by the time I was done! {Don’t worry, most of it was nearly empty packaging and such, I try really hard not to be wasteful.}
This is the time to check those expiration dates, consolidate multiples and eradicate things that you know you won’t use. {Like those 6 pieces of bow tie pasta left in the box and those snacks that you couldn’t convince your kids to eat.} Trash anything that is past its prime and set aside unexpired, undesired items to donate to your local food pantry.
Do the same in the fridge, freezer, cabinets and drawers… yes, even that terrifying junk drawer. Trust me, you’ll be happy when it’s done!
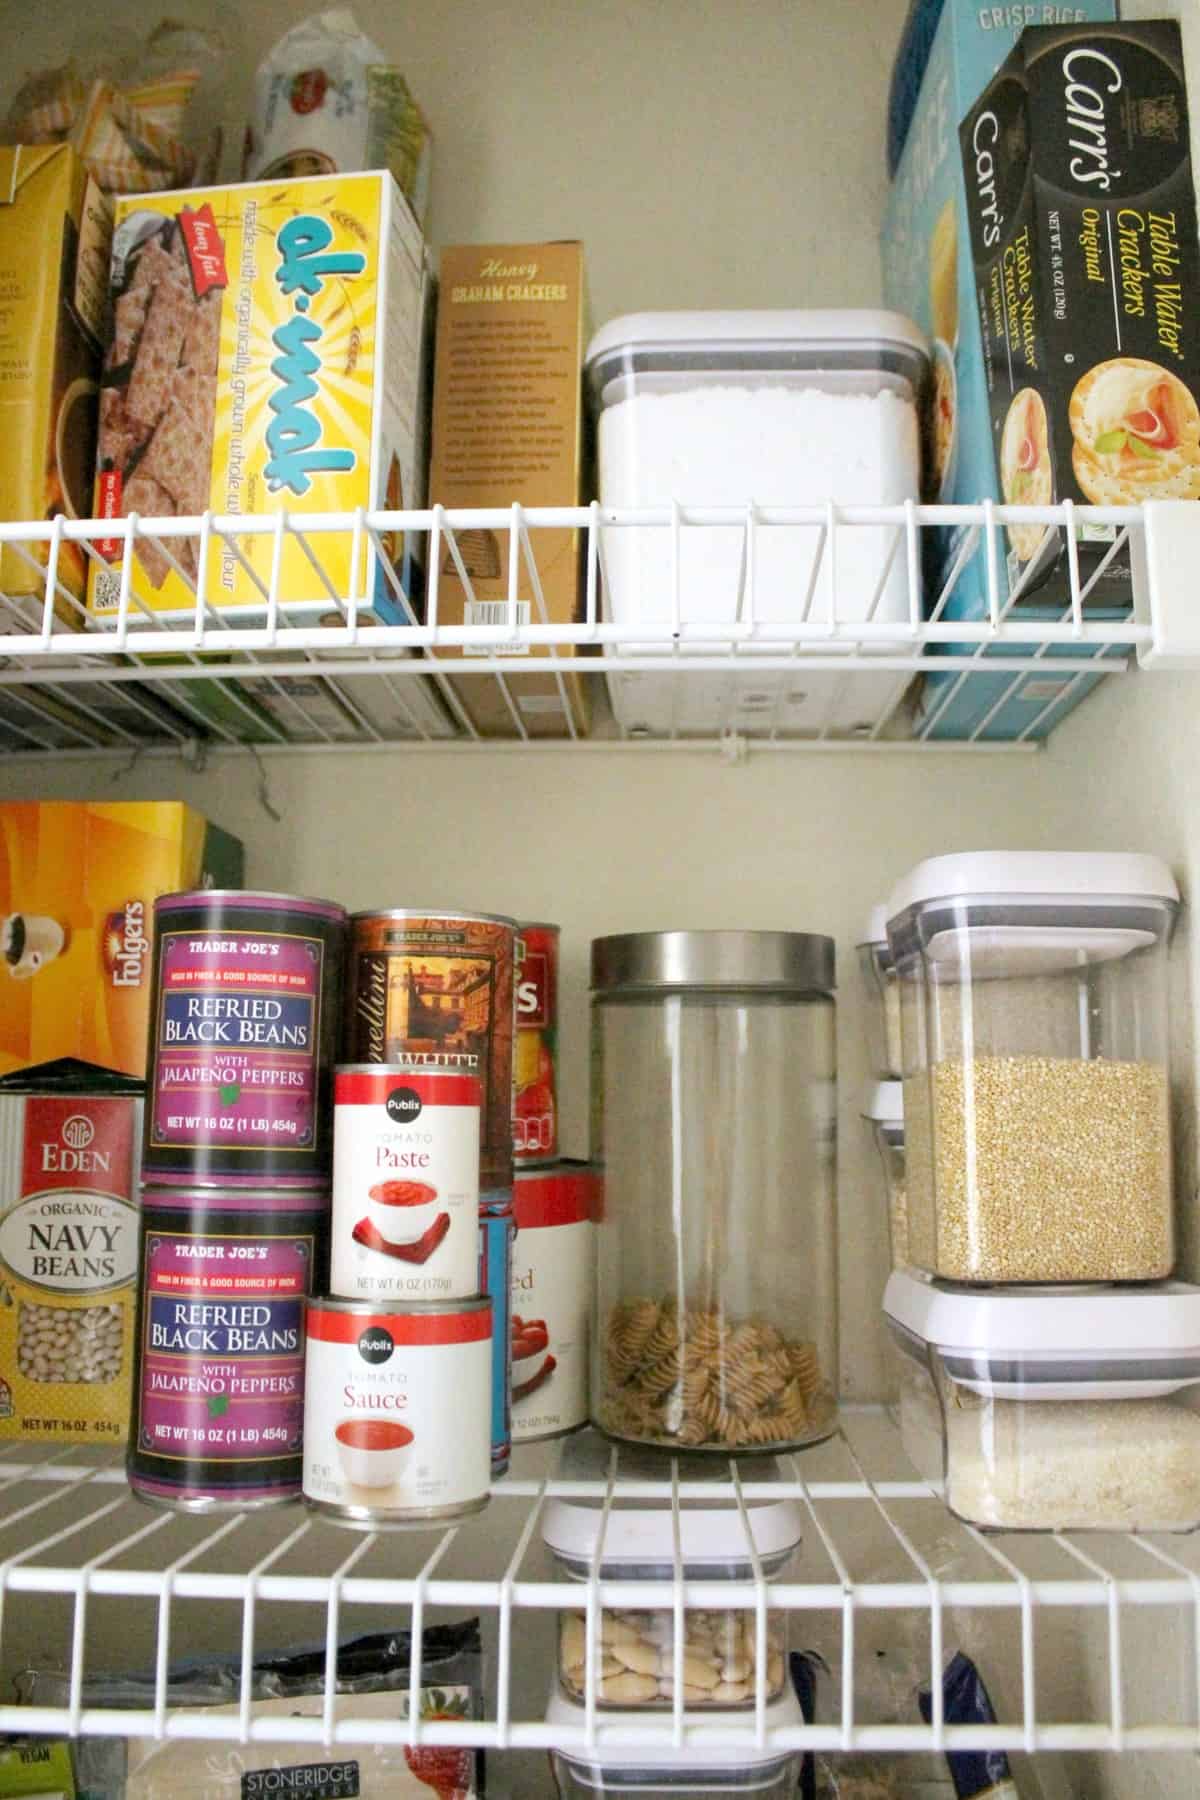
Step 2: Categorize & Contain
Now that you’ve gotten rid of extraneous clutter, you’re ready to get organized. {My favorite part!} Try to group things in ways that make sense to how and when you use them; keep the things you use daily {oatmeal for the morning, snacks, grains to cook for dinner, etc.} within easy reach and store less-used items out of the way. For next-level organization, invest in a set of erasable labels and stick them on the tops of your storage containers so you know exactly what’s inside.
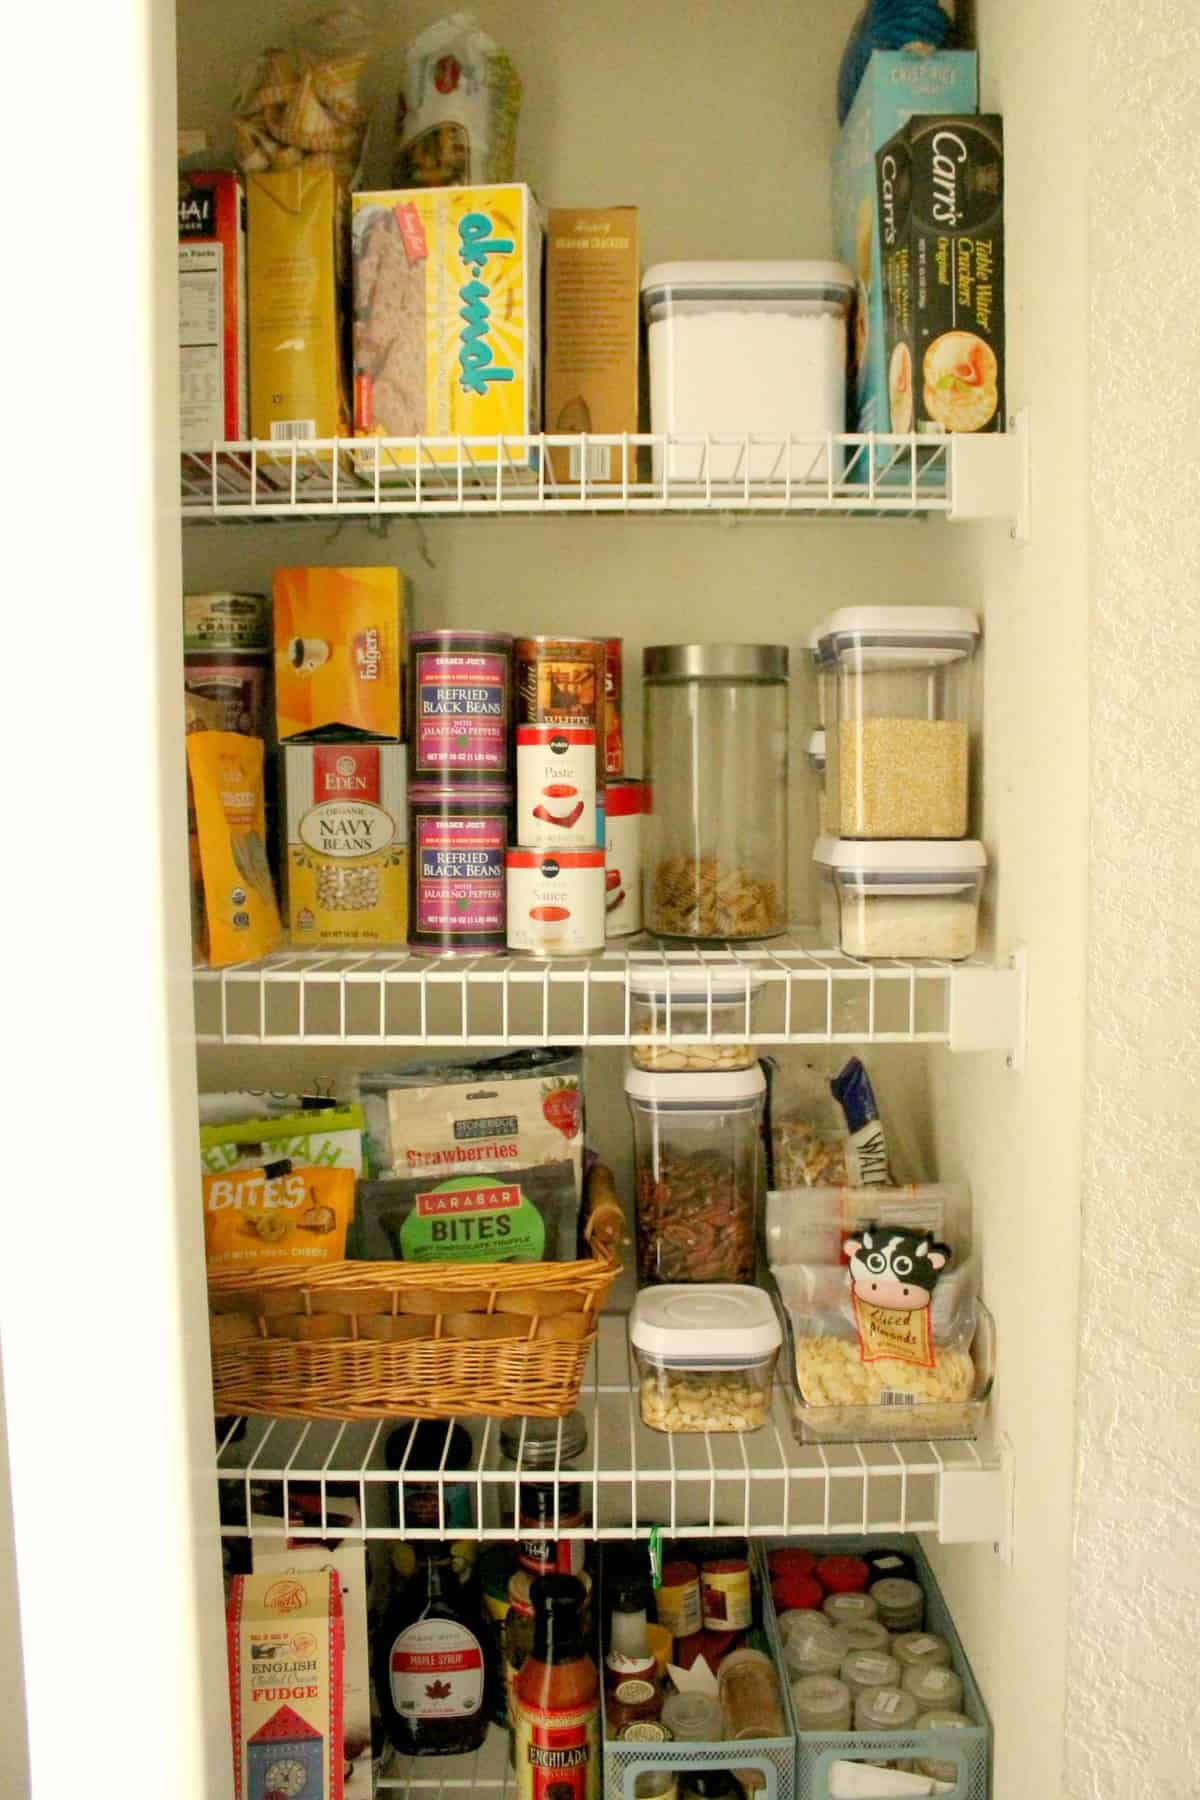
You could certainly keep everything in the boxes and bags they come in, but if you really want to make your life easier, consider buying an OXO 10-Piece POP Container Set. These clear, stackable containers are made to fit in just about any space whether in your pantry or on your countertop. They’ve got an easy, push-button pop top that helps seal the container and keep food fresh, and the corners are shaped for mess-free pouring. My favorite part of using these is being able to see when I’m running low on something so there are no surprises when I’m getting ready to cook. They are the {organizational} gift that keeps on giving and now that I have a set, I’m wondering how I ever lived without them!
Step 3: Clean
As you start to reclaim your kitchen space, you may uncover some “dirty” little secrets that often go unnoticed like burnt on splatters, dingy spots and hiding places for dust, crumbs and {gasp!} bacteria. Ew.
Considering the fact that the kitchen is usually home base for the food that you consume, it’s no wonder that things can get a little messy if you don’t keep up with the drips and spills. It’s also all the more reason to really deep clean so that you have a germ-free space for food prep!
Stock up on your favorite cleaner {I like Method, Seventh Generation and/or Mrs. Meyers, or sometimes make my own natural cleaner} and get to scrubbing on the following grime-gatherers:
- Cabinets, knobs, handles
- The trash can itself
- Countertop behind and under appliances
- Microwave {make sure to remove turntable}
- Oven
- Stovetop {including buttons and dials}
- Sink {pay extra attention to the fixture and drains!}
- Small appliances {toaster, coffee maker, etc.}
- Cracks between countertop and appliances
- Dishwasher {yep, you should be cleaning it once a month according to good ‘ol Bob Villa!}
- Top of refrigerator, inside refrigerator {shelves, door shelves, inside/under crisper drawers}, freezer {including ice maker}, UNDER refrigerator!
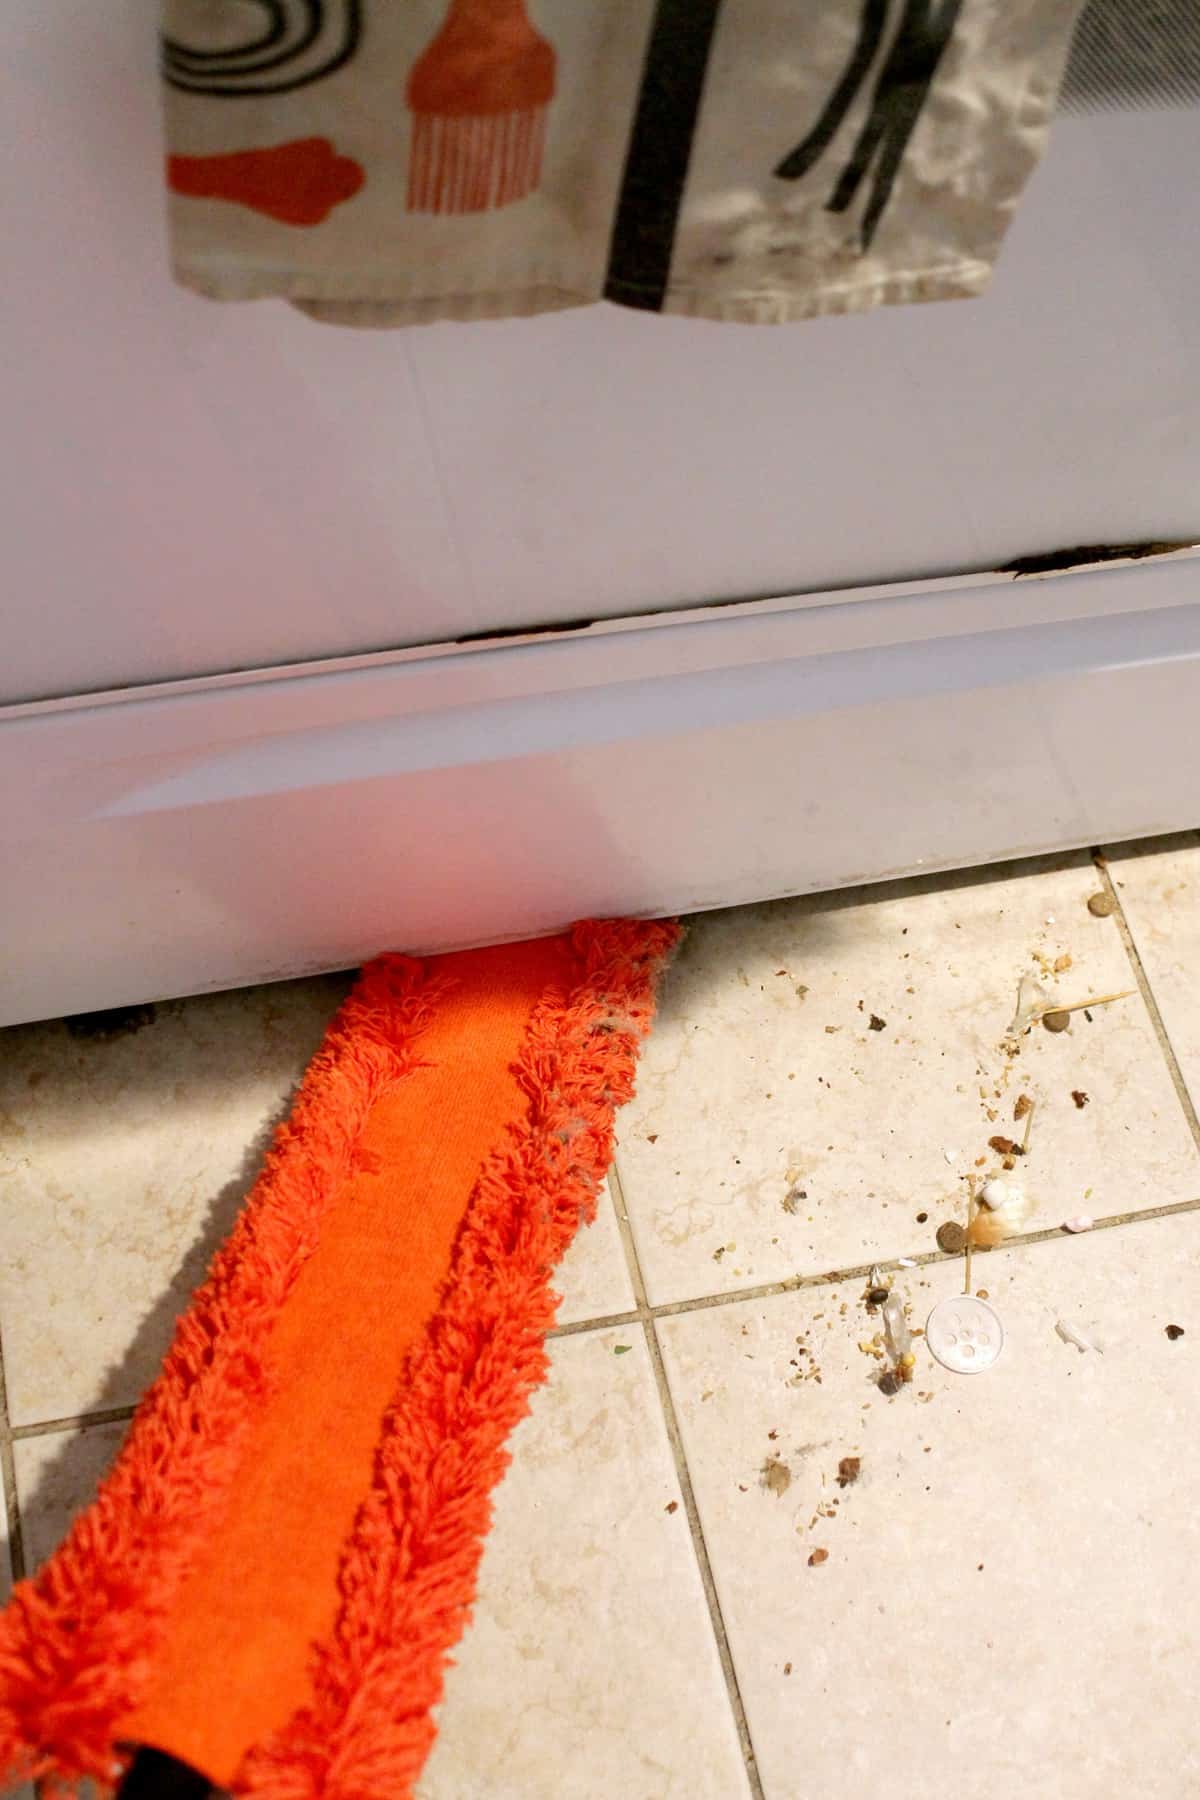
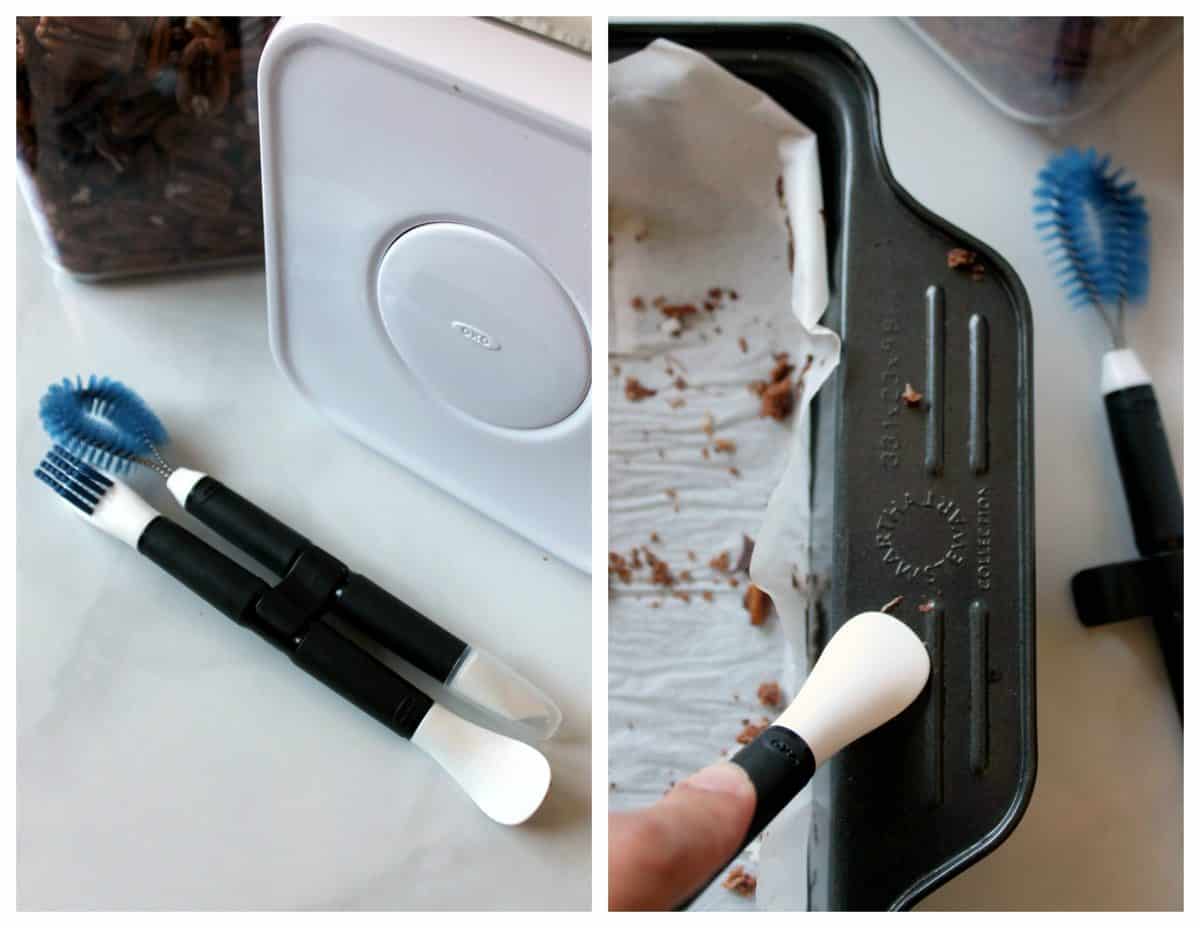
It’s no surprise that OXO makes some of my favorite tools for keeping the kitchen sparkling like their Microfiber Under Appliance Duster that fits around and under appliances and cabinets {and is easily washable!}. Their Kitchen Appliance Cleaning Set has become an invaluable tool; durable nylon brushes and scrapers help scrape gunk and good from pans, appliances, and fixtures. Best of all they are compact and snap together into their clip for storage.
If you’ve made it this far, then you deserve a treat! These Mississippi Mud Bars are just the pick-me-up you need after all that scrubbing!
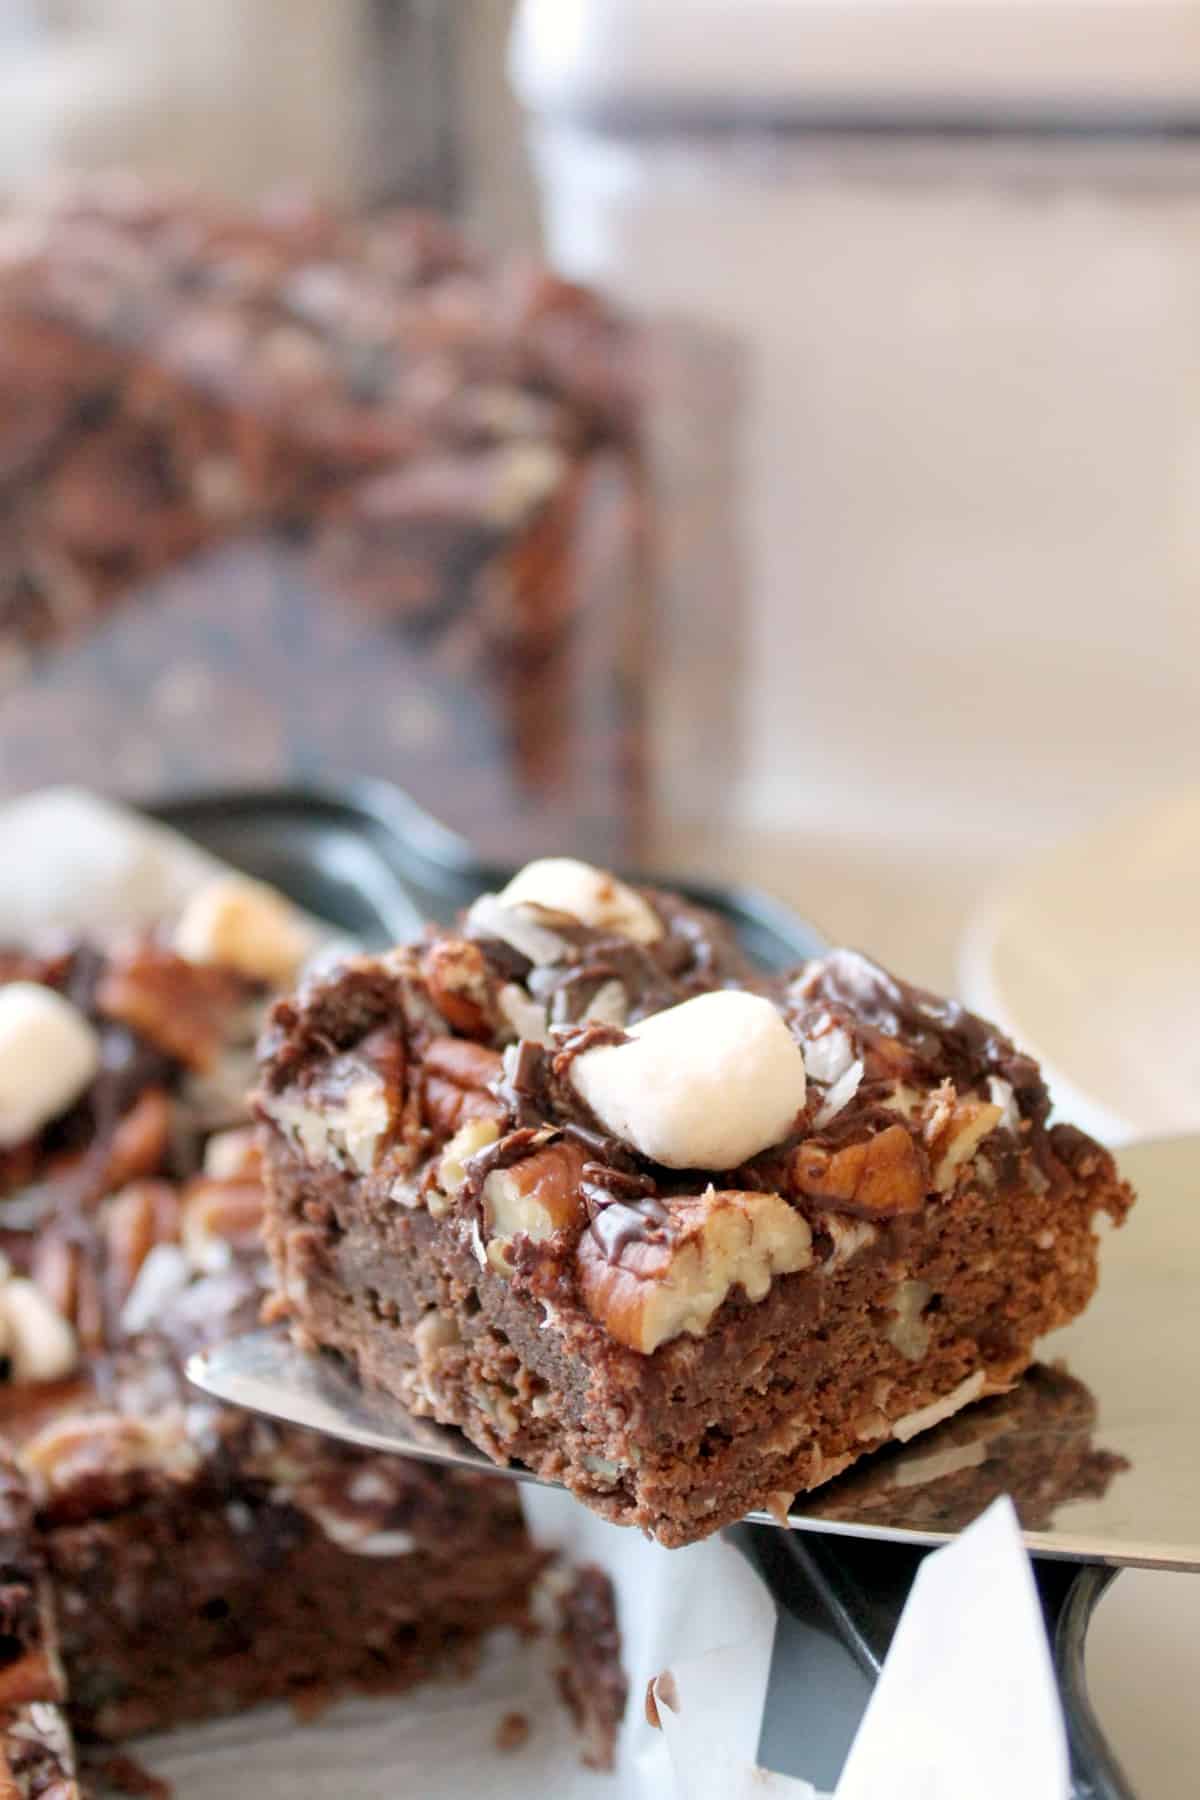
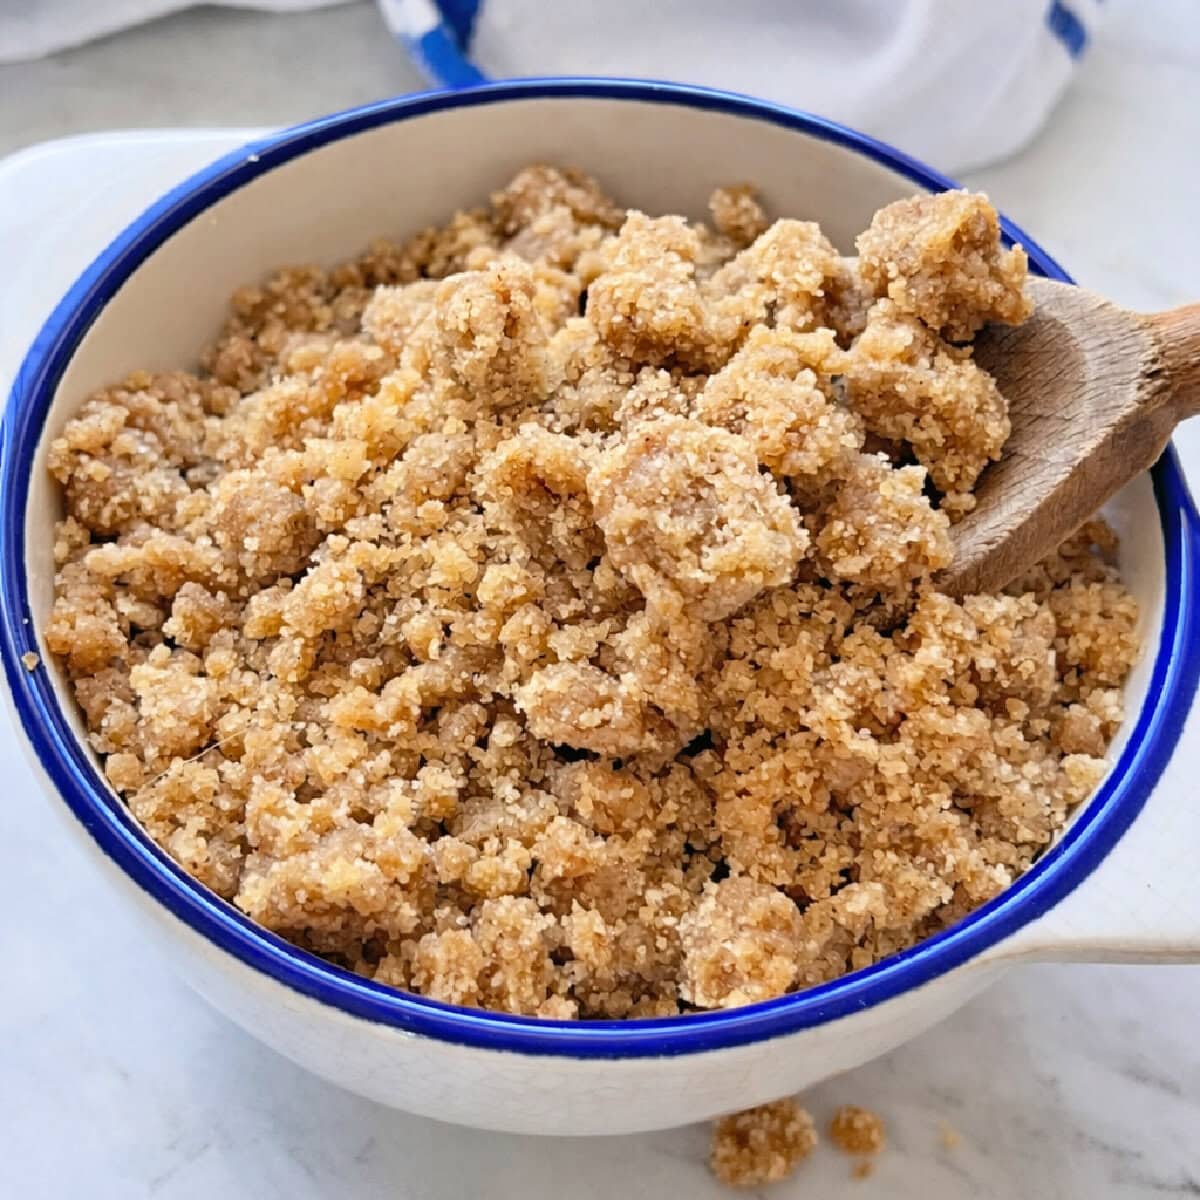
The entire base for these bars is made in one saucepan, which means less dirty dishes… you’ve done enough scrubbing today! They’re dense, rich and make a great “bed” for all the tidbits you find when you’re cleaning out the pantry — in this pecans, marshmallows, coconut flakes and chocolate chips. It’s an ooey, gooey, “muddy” mess you won’t mind having in your kitchen, or in your mouth for that matter!
What are your best tips for Spring Cleaning your kitchen and how do you keep things organized throughout the year?
Mississippi Mud Bars