
Celebrate the holidays by hosting a festive Nutcracker Ballet themed Christmas Tea Party! From menu ideas to Nutcracker-themed décor, you’ll find everything you need for a magical soiree.
Christmas is only 10 days away, and that means that celebrations are in full swing — from traditional Christmas parties to Cookie Exchanges to “Ugly Christmas Sweater” Parties.
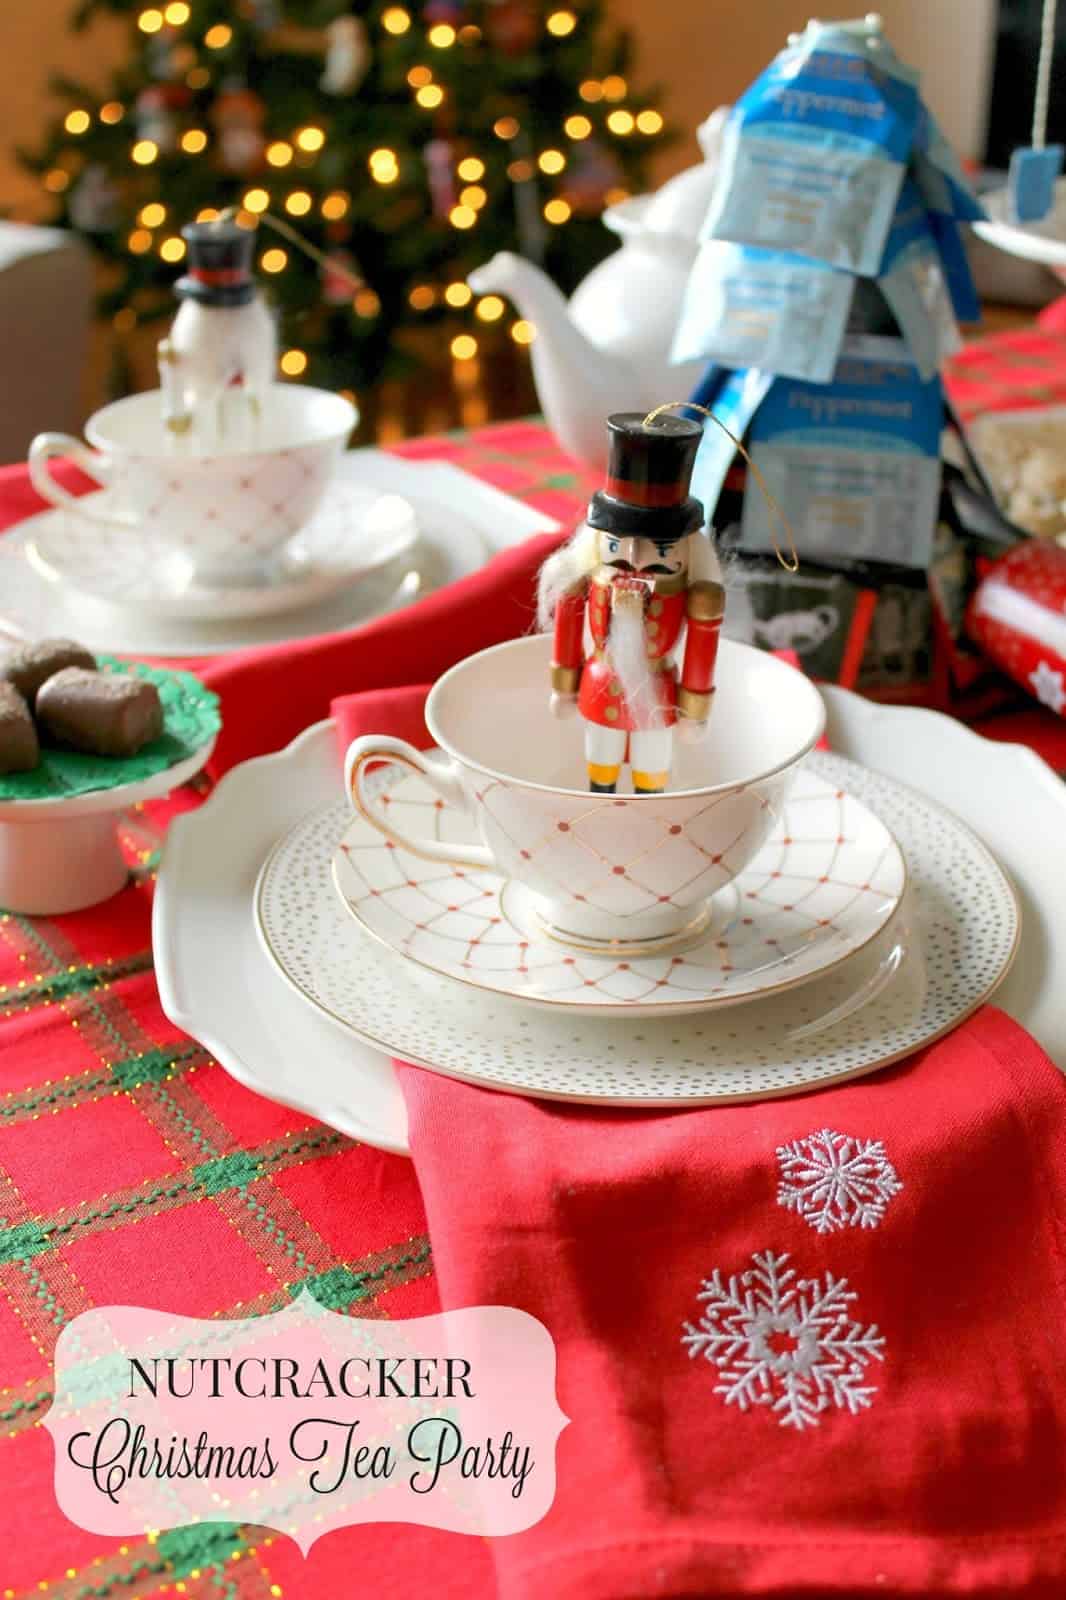
Though I’m usually all about a laid back entertaining style, the holidays make me want to get gussied up and set out the pretty china to make guests feel extra special.
Since my life is surrounded by snips and snails and puppy dog tails as a “boy mom” these days, I was craving something dainty for my Christmas celebration. And nothings says “pinkies up and pearls on” like a gorgeous tea party with a Nutcracker Ballet theme!
The Nutcracker has always been one of my favorite Christmastime traditions. I danced in it as a kid and have seen it performed many times throughout the years. Even when I haven’t been able to attend in person, I’ve played Tchaikovsky’s captivating music while I bake, wrap and decorate to get me in the Christmas spirit!
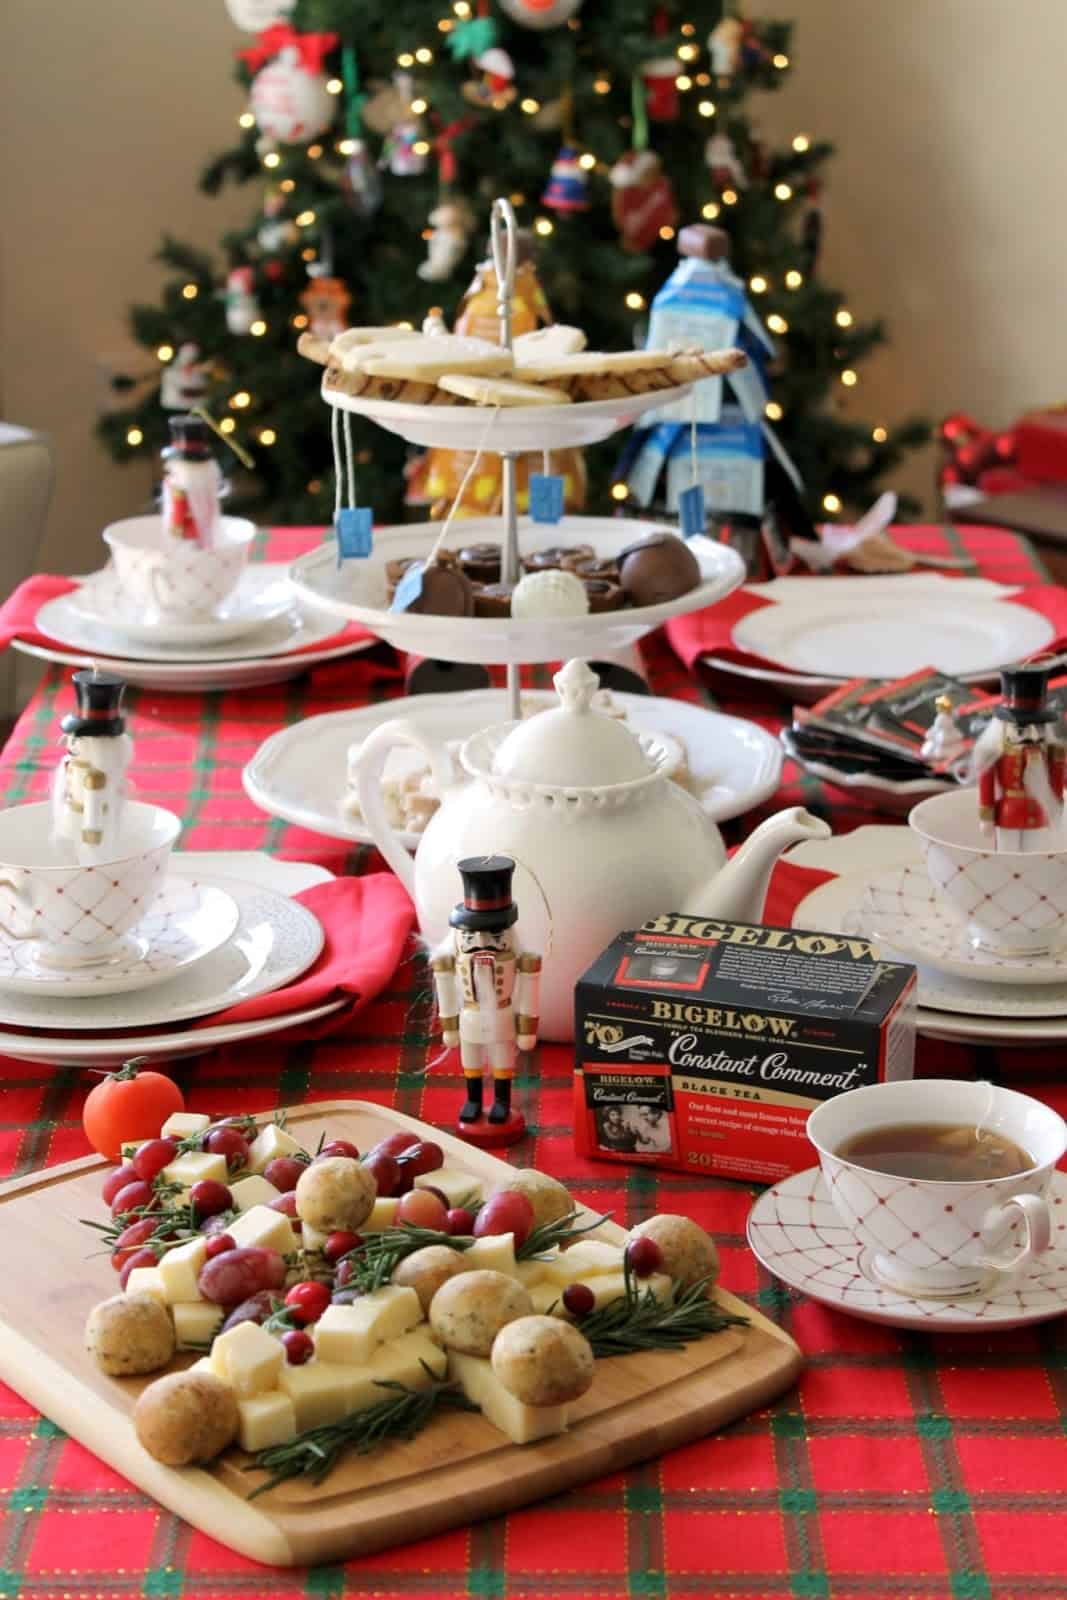
So, this year, with a little help from Bigelow Tea and a few visits to some of my favorite home decor stores {let’s face it, I should just set up a cot and move in!}, I upped my party game and set up a magical Christmas tea featuring the enchanting wooden figurine we all know and love.
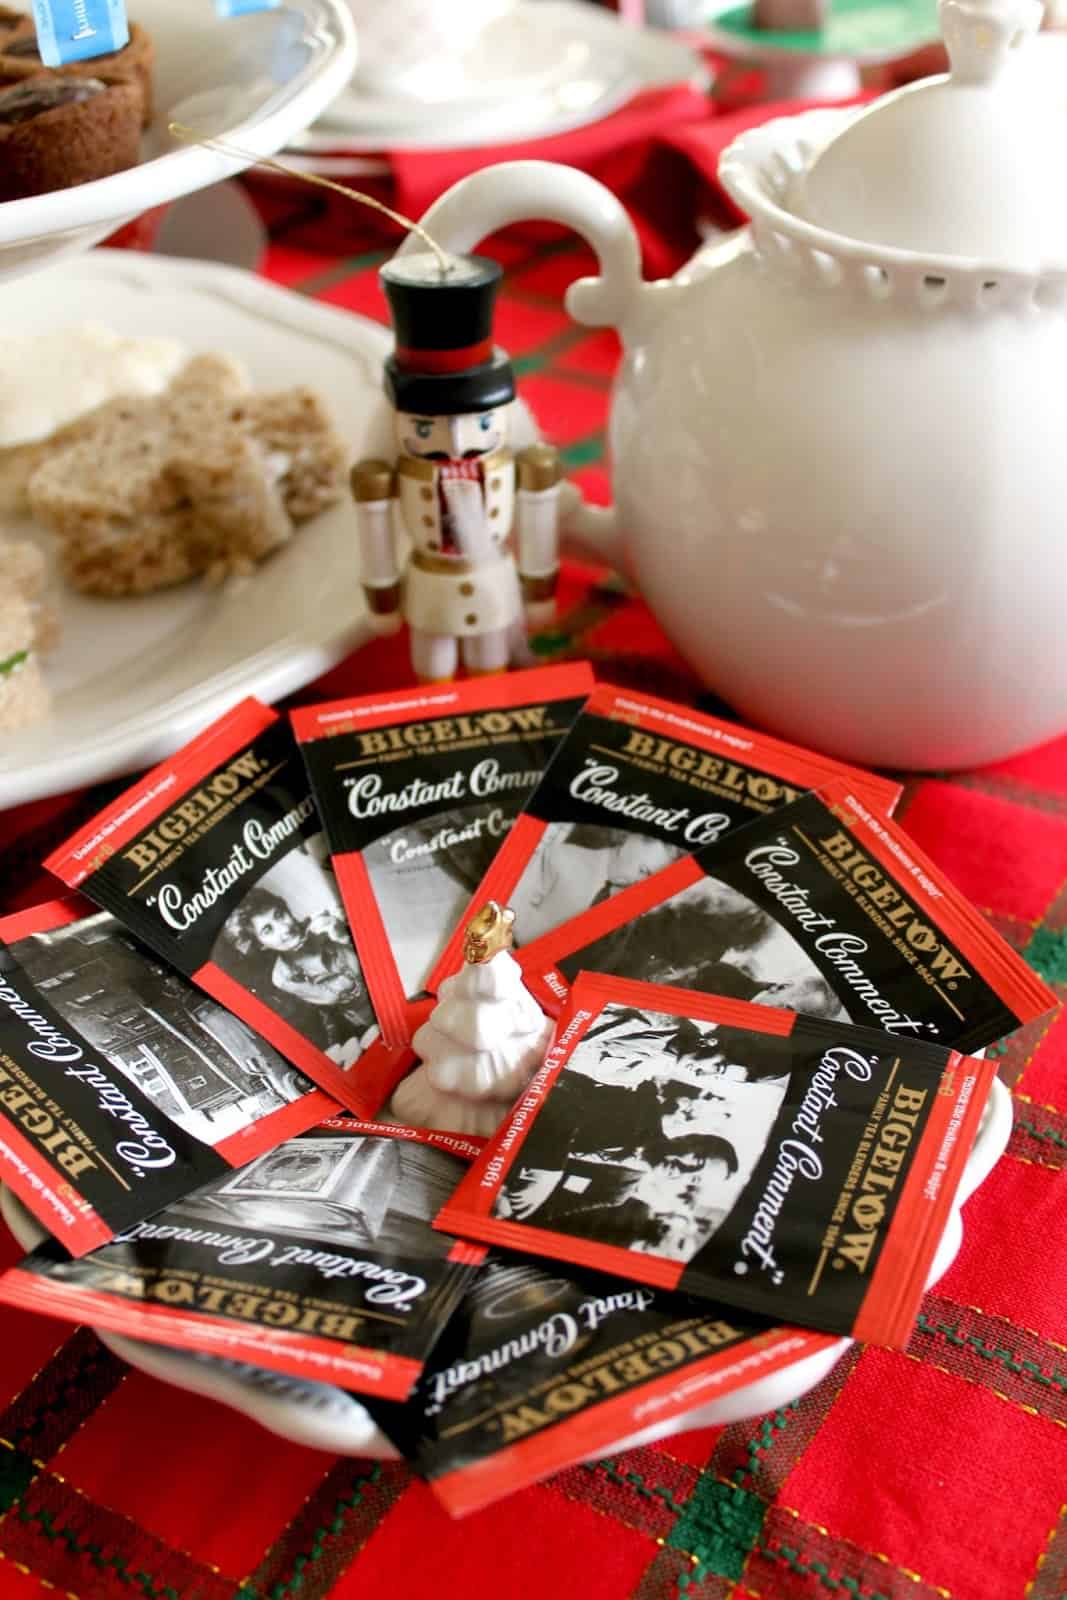
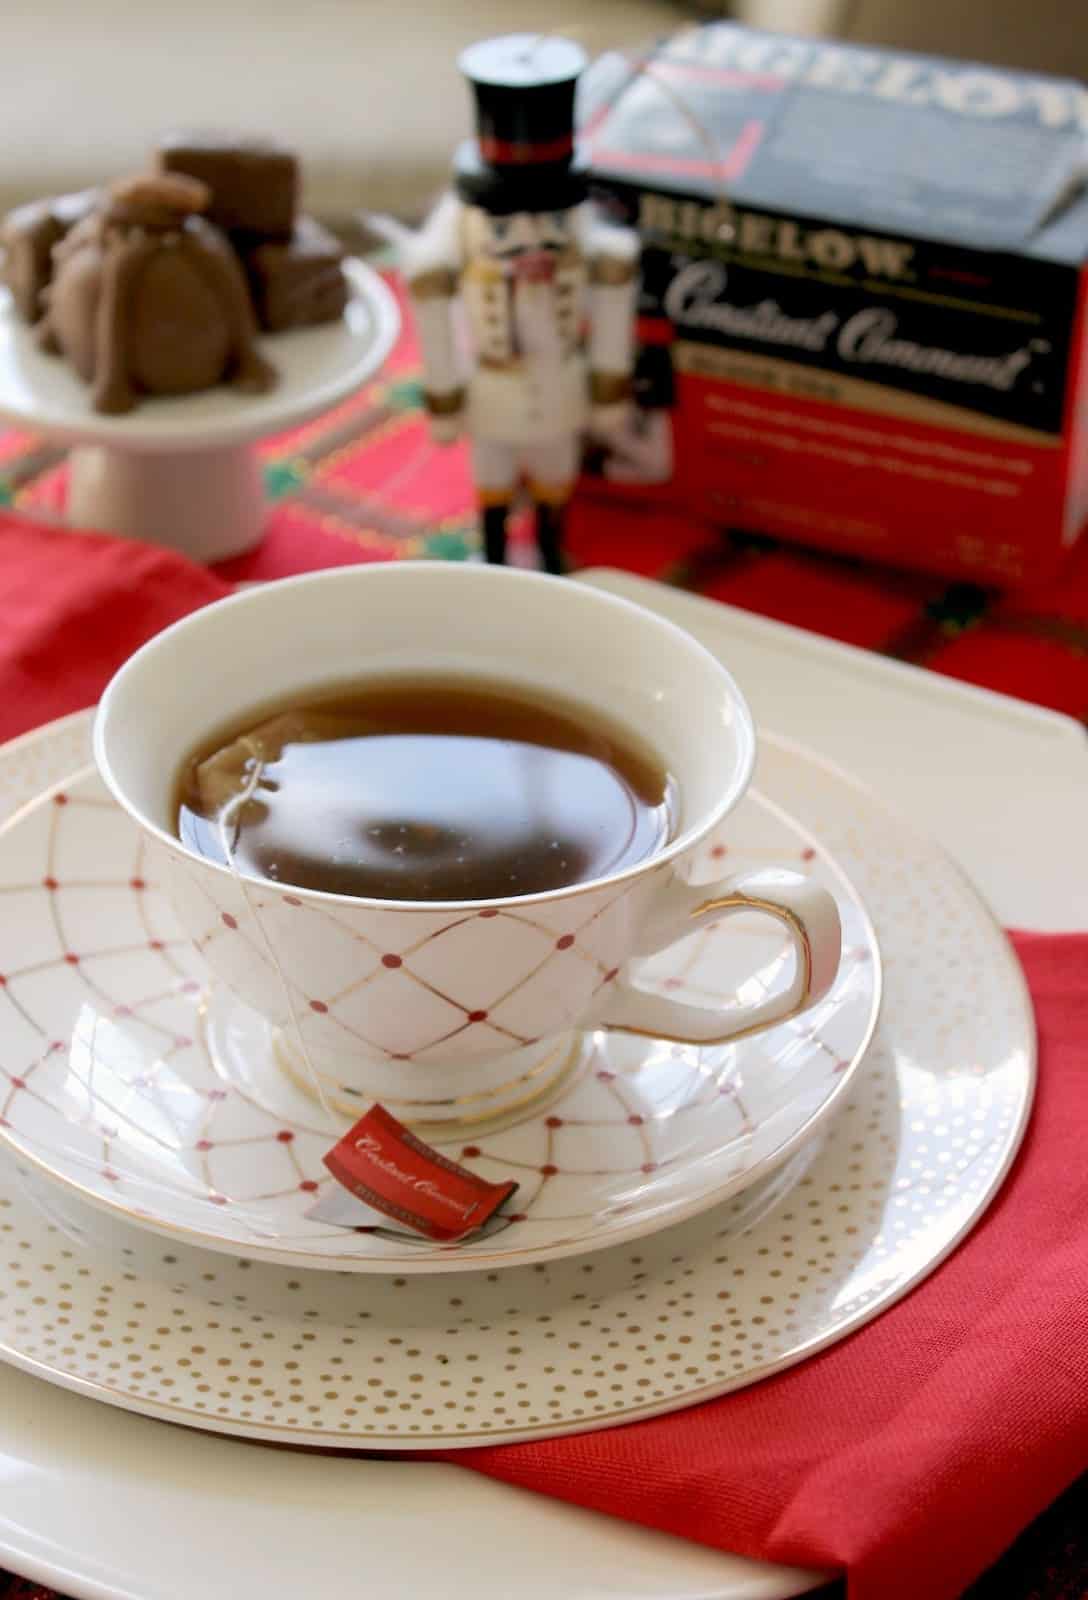
This tea party was all about the tea! From using Bigelow’s beautifully packaged teas as a part of the decor to sipping some of their delightful seasonal flavors and even incorporating the tea into the beautiful bites, Bigelow was the star of the spread. {The tea matching the color scheme was a complete coincidence!}
Though putting on a themed tea party may seem like a daunting task, it doesn’t have to be difficult! Follow these tips and your tea party will be as good as planned.
Make a Guest List
A party is nothing without partygoers! Try to think of those who would enjoy a little fanciness and frills.
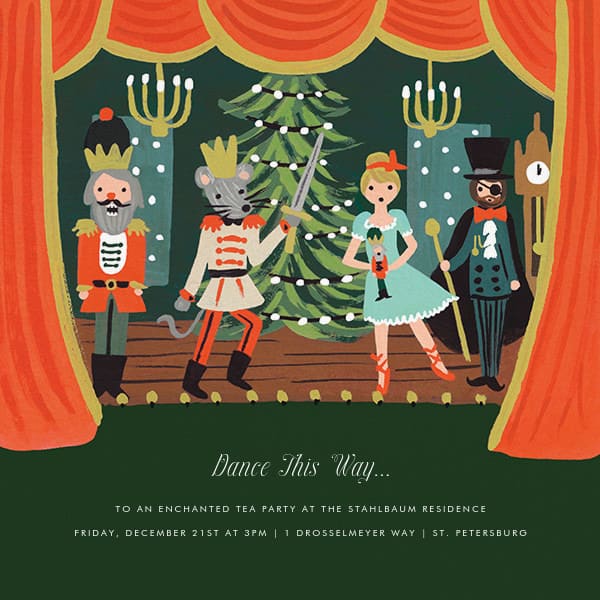
Send Out Invitations
No one loves luxe paper goods more than I do, but you will regret stepping into a post office or having another postage expense during this time of year!
There are amazing options you can send with the click of a button from the comfort of your home computer or even phone! I loved these from Paperless Post:
Create a Themed Menu
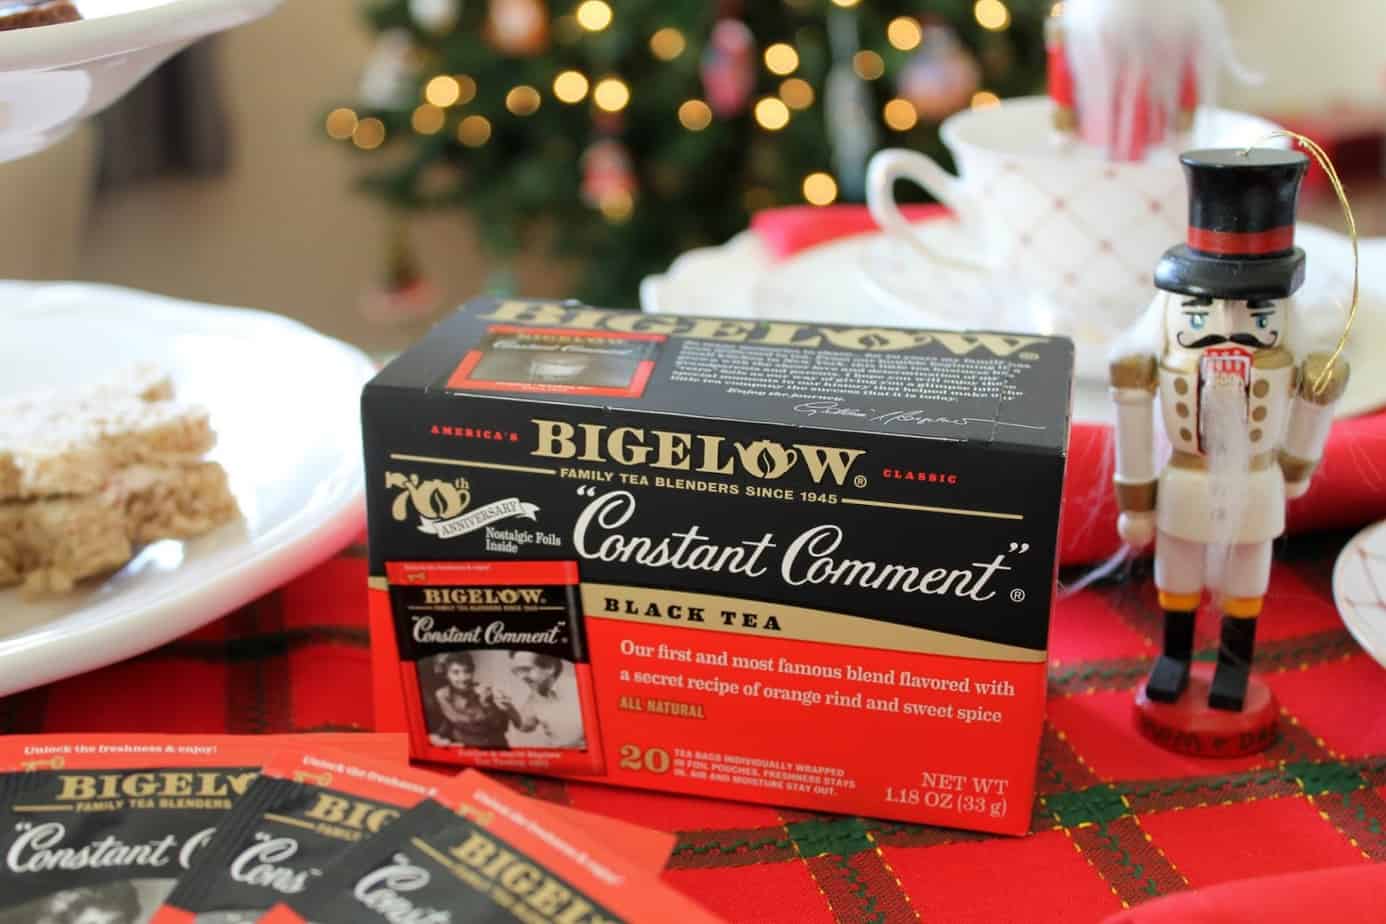
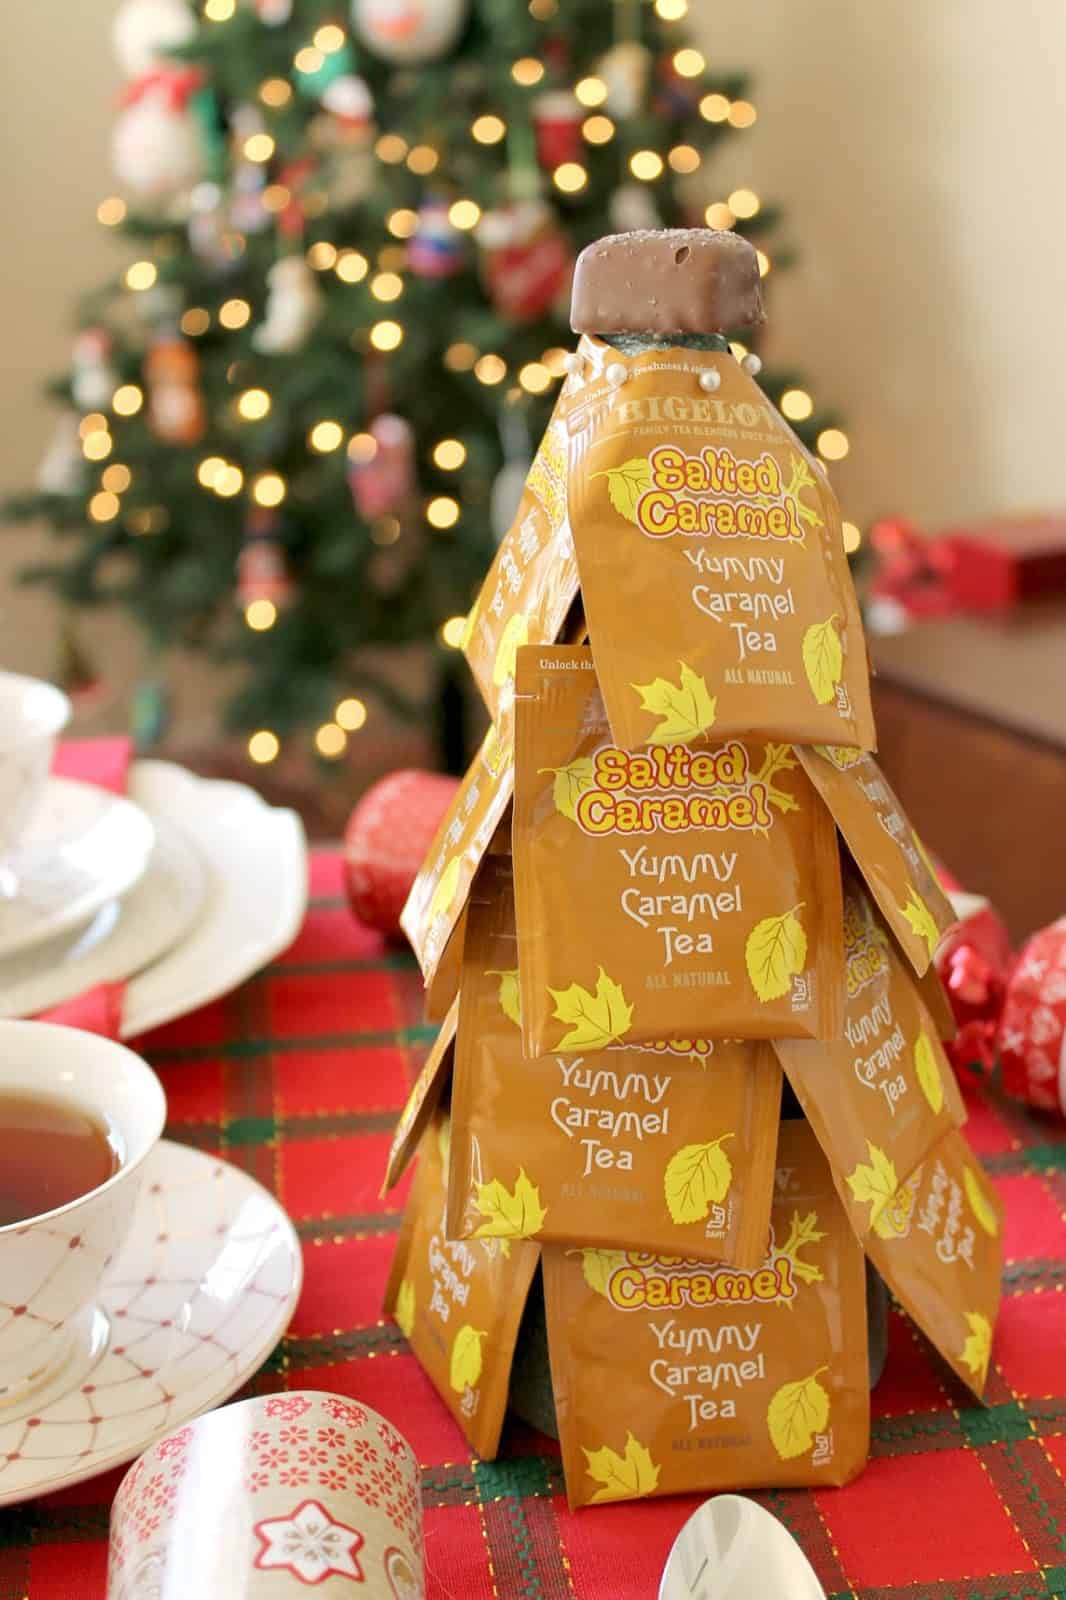
We already know that tea is the star of the tea party, but Bigelow has tons of flavor options from their signature “Constant Comment” blend to their seasonal flavors like Salted Caramel and festive options like Peppermint or Cinnamon! Pick a few to go with your theme, then think of bites that would pair well with your selections.
I picked up a few boxes of Bigelow from my local Walmart {after much debating… so many choices!}, and then came up with the following menu:
Menu:
- Bigelow Tea Assortment
- Constant Comment, Salted Caramel, Peppermint
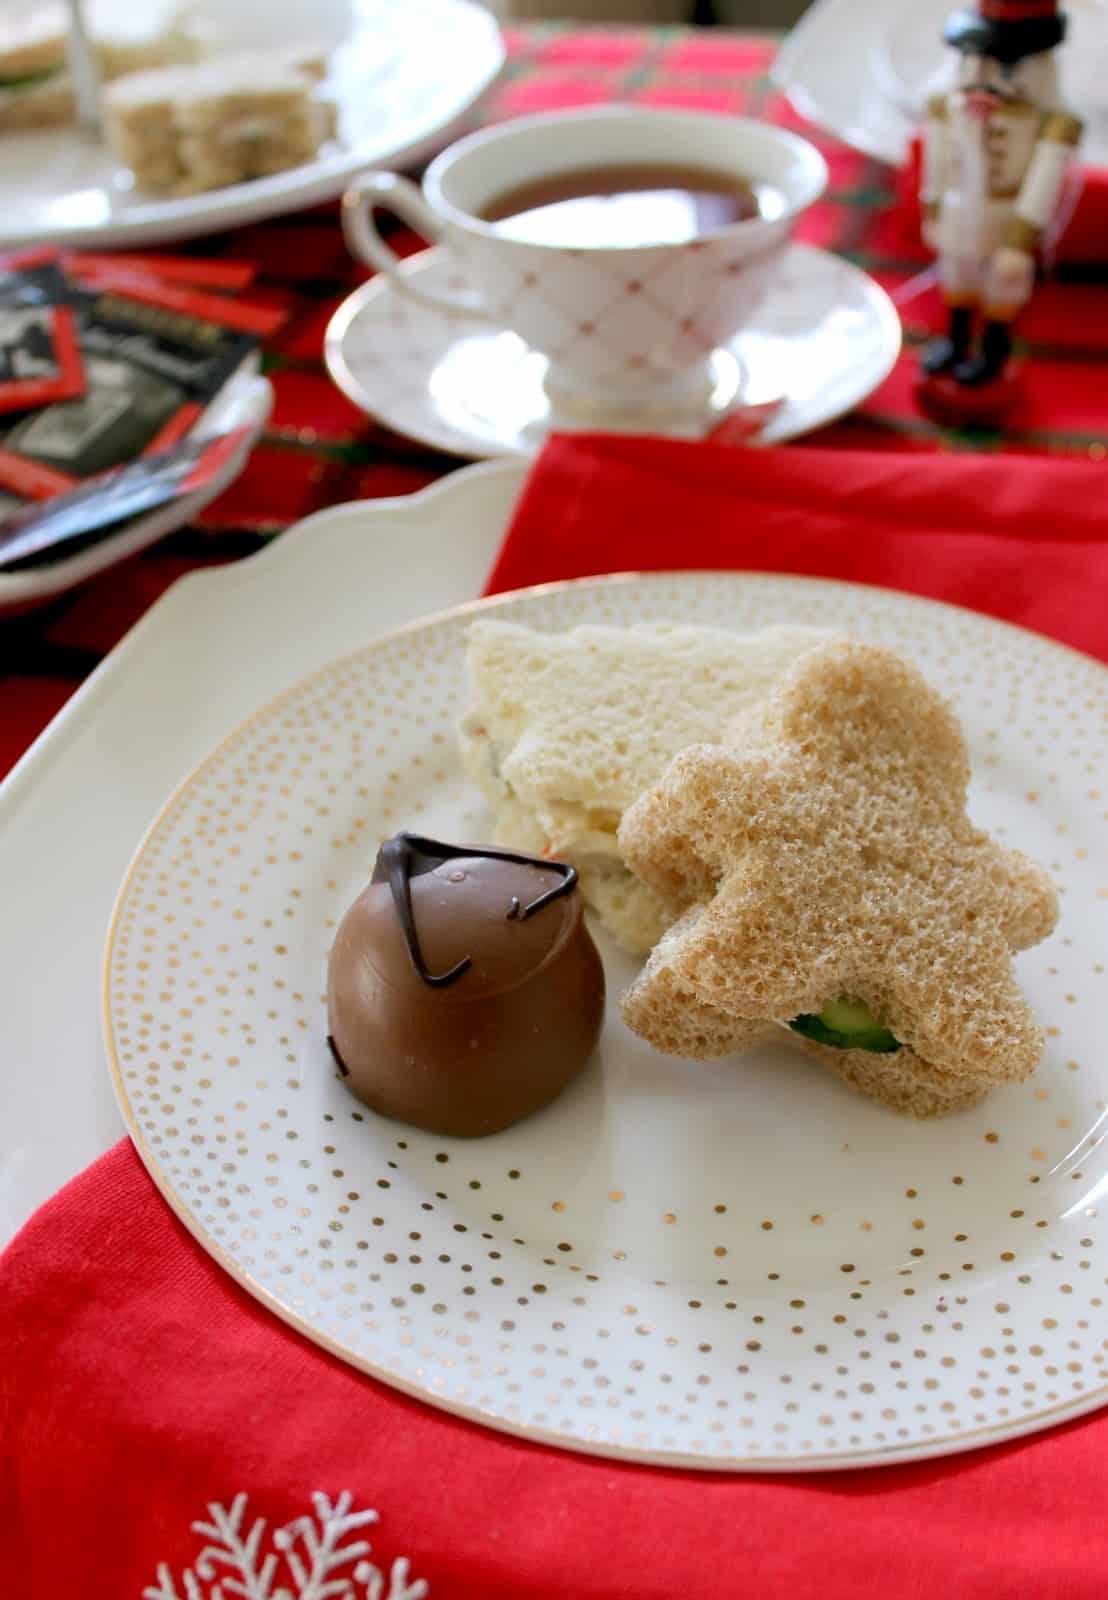
- Christmas Tea Sandwiches
- Classic Cucumber, Green Olive-Pimento Spread
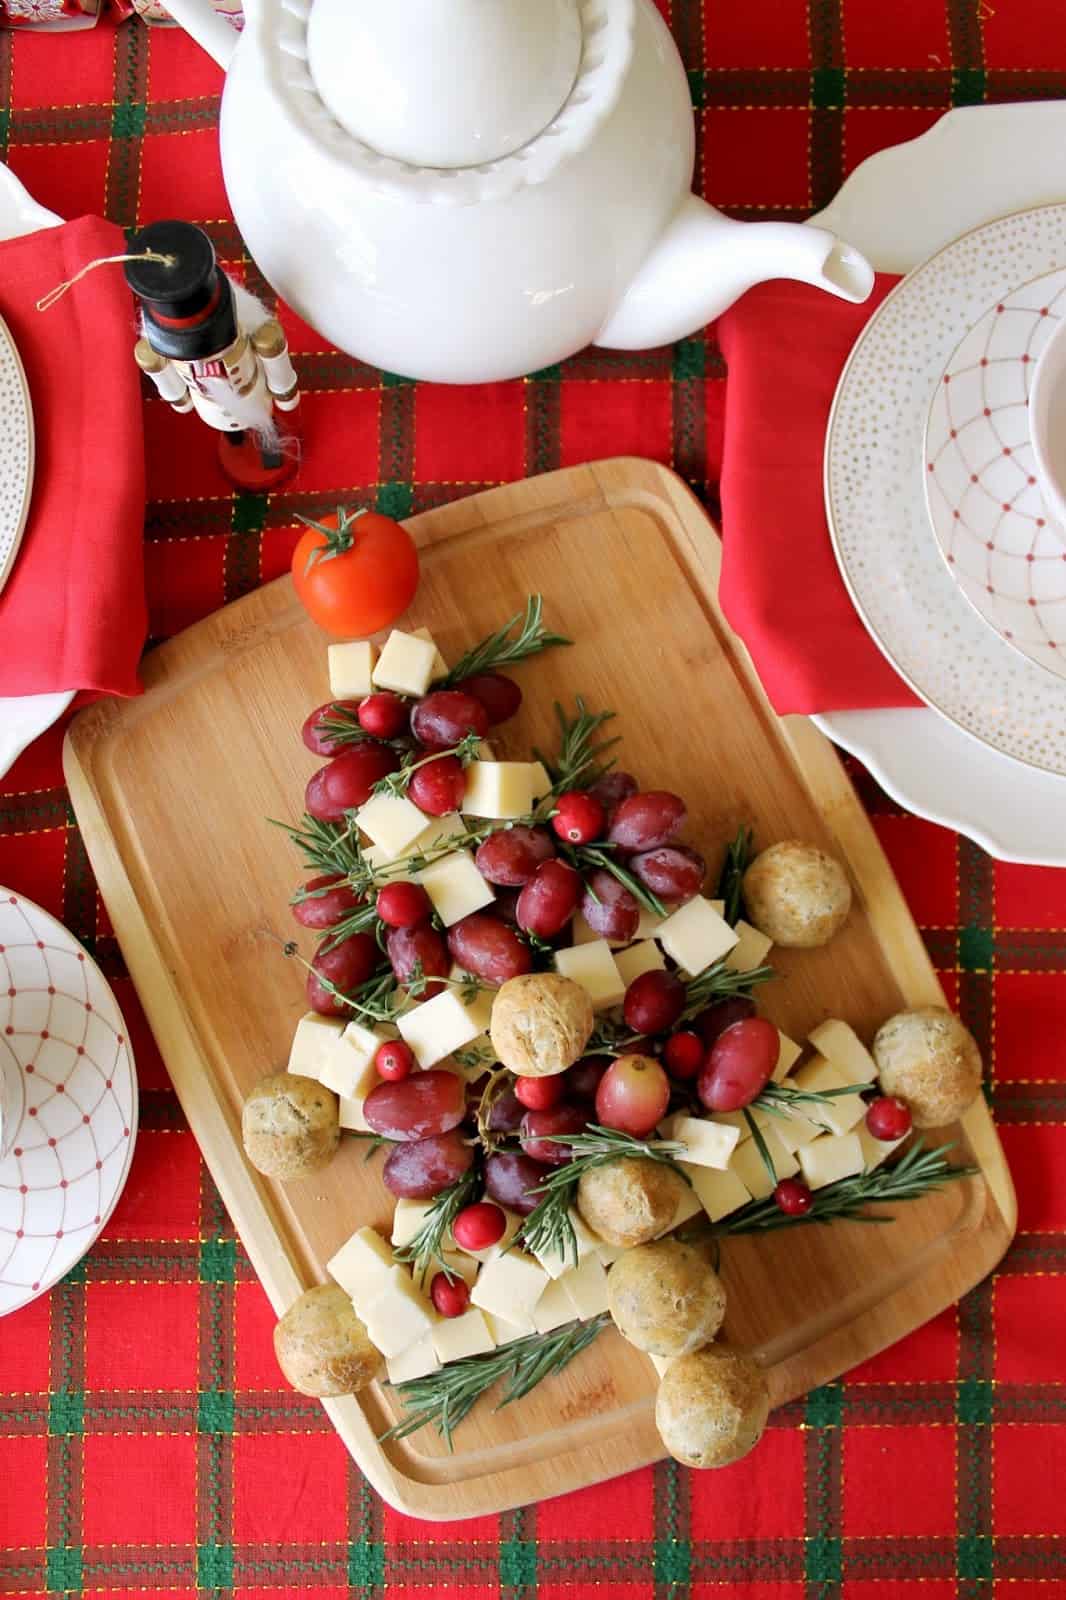
- Christmas Tree Cheese Tray
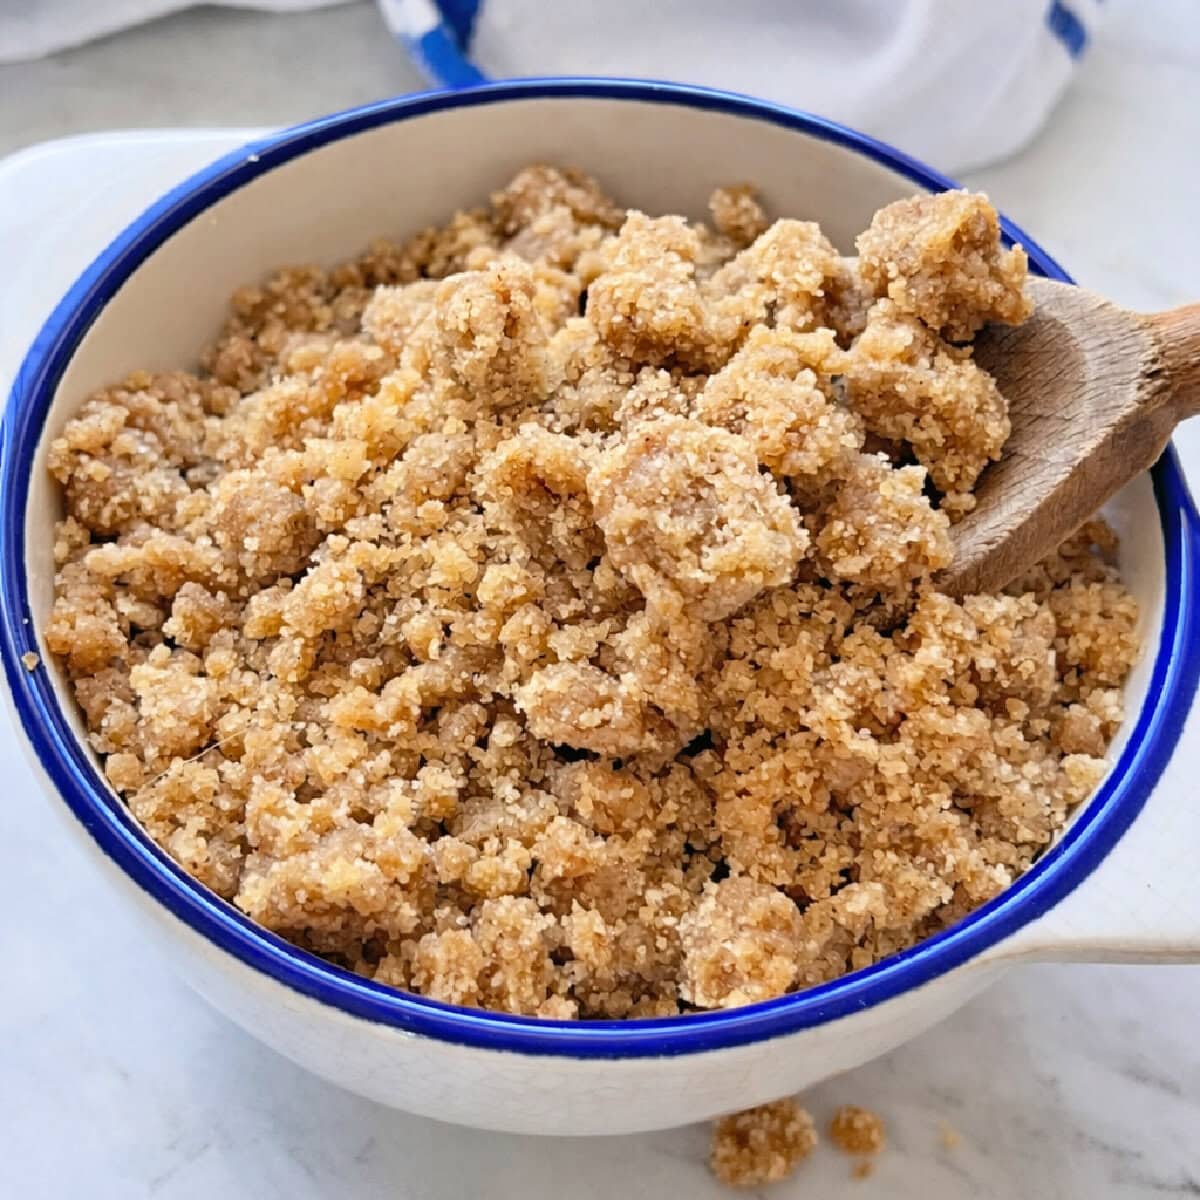
- Salted Caramel Tea Pots de Creme
- Peppermint Tea Bag Sugar Cookies
- Assorted Chocolates & Small Pastries
Here’s an “pro” party planning tip: Give yourself less work to do by choosing make-ahead bites {like sugar cookies and pots de creme}. Better yet, make one or two things to whip up yourself and buy the rest of the goodies from a local bakery or cafe! They’ll have lovely ready-to-go options that you can pick up and serve without breaking a sweat. Done and done.
Set Out the Good Stuff
Dust off that pretty china and that ceramic teapot you have swaddled in three layers of bubble wrap. Choose festive linens, exquisite chargers {yep, this is the time for those things you think you’ll never use!} and, most importantly, tasteful teacups!
Never registered for those fancy dishes? You can find inexpensive but elegant pieces at stores like Homegoods or TJ Maxx. Your table will look like a million bucks, but your bank account won’t feel like it spent it!
Get Creative
Details are what set apart the good parties from the great ones, in my opinion. Since I’m into crafty things, I like to DIY some of the decor to add a special, personalized touch.
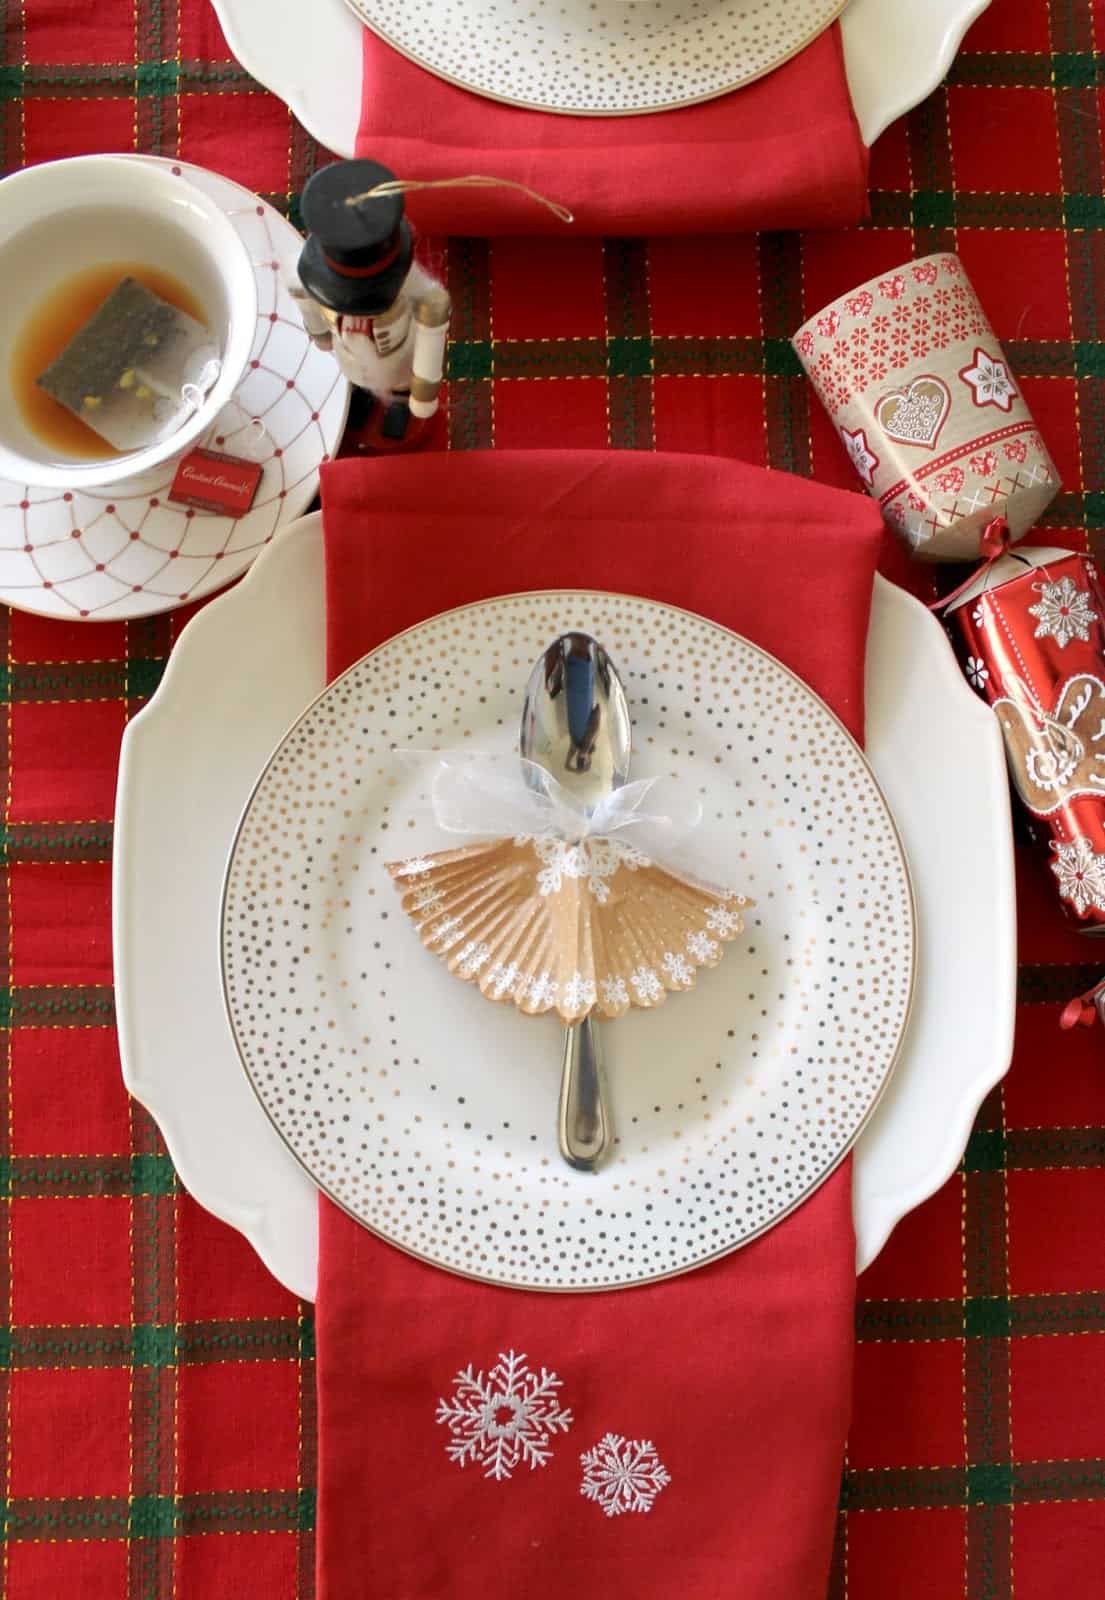
Not into hot glue and paint? No problem! Crafts don’t have to be complex. Something as simple as giving your silverware a ballerina “tutu” {just a cupcake liner and some ribbon} or making “Tea Trees” {scroll to the bottom of this post for a quick photo tutorial} takes little to no time for those of use who run short on patience for artsy projects!
For this party, I also used mini Nutcracker ornaments at each place setting and also found Christmas Crackers/Party Poppers to give as party favors.

Your food can also reflect your theme with just a few creative twists! I made cut-out sugar cookies that look like tea bags and turned a simple cheese tray into Drosselmeyer’s growing Christmas tree with some creative arranging and edible embellishments.
Christmas cookie cutters transform even ordinary tea sandwiches into whimsical treats.

See? Simple details can go a long way to reinforce a theme, and you don’t have to go bonkers with time-consuming touches… Unless, of course, you’re the type that doesn’t mind going a little overboard every once in a while! 😉
If you’re looking for a party theme that’s “steeped in tradition” this year, give this playful tea party your own spin and watch guests sip their way into the Christmas spirit!
What theme would you choose for your Christmas Tea Party?

2 comments
marilyn
Love it! Beautifully done, everything looks delicious, great tea party!!!
Janet Krugel
There is so much to love about this party. I love the theme (and never admit that the coloring of the tea bags was an accident 😉 ) and I love all the goodies. The fact that it's a tea party is just the icing on the cake! [client]