
Mini Pavlova Nests! Crisp meringue nests are perfect for filling with a variety of luscious centers. These beautiful, individual pavlovas make a gorgeous holiday dessert.
This post may contain affiliate links, which means that, at no extra cost to you, I may earn a small commission if you click a link and purchase an item I’ve recommended. Thanks for your support in running this blog!
Pavlovas are such an elegant dessert — airy, billowing meringue is baked to create a crunchy exterior and soft center and (typically) topped with fruit and whipped cream. It’s no wonder it is storied to have been inspired by a Russian ballerina!
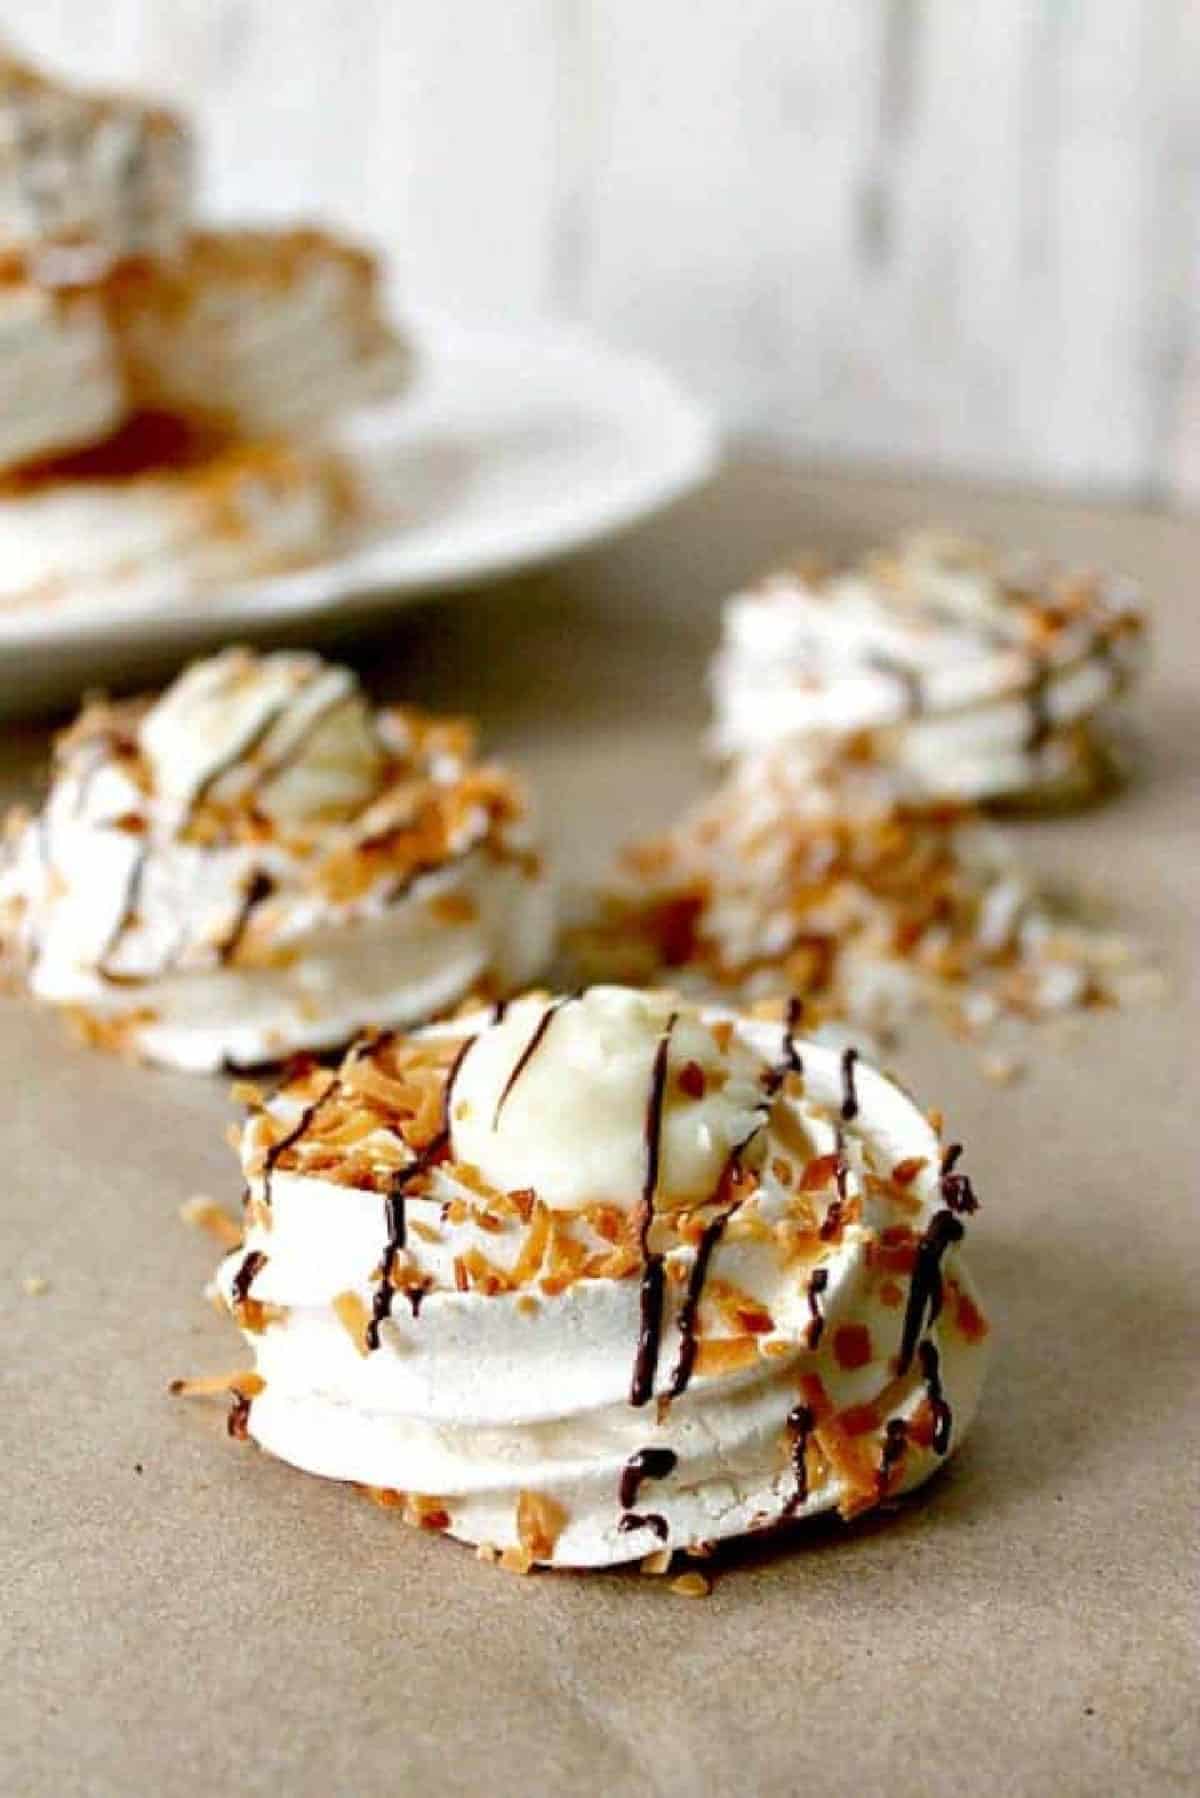
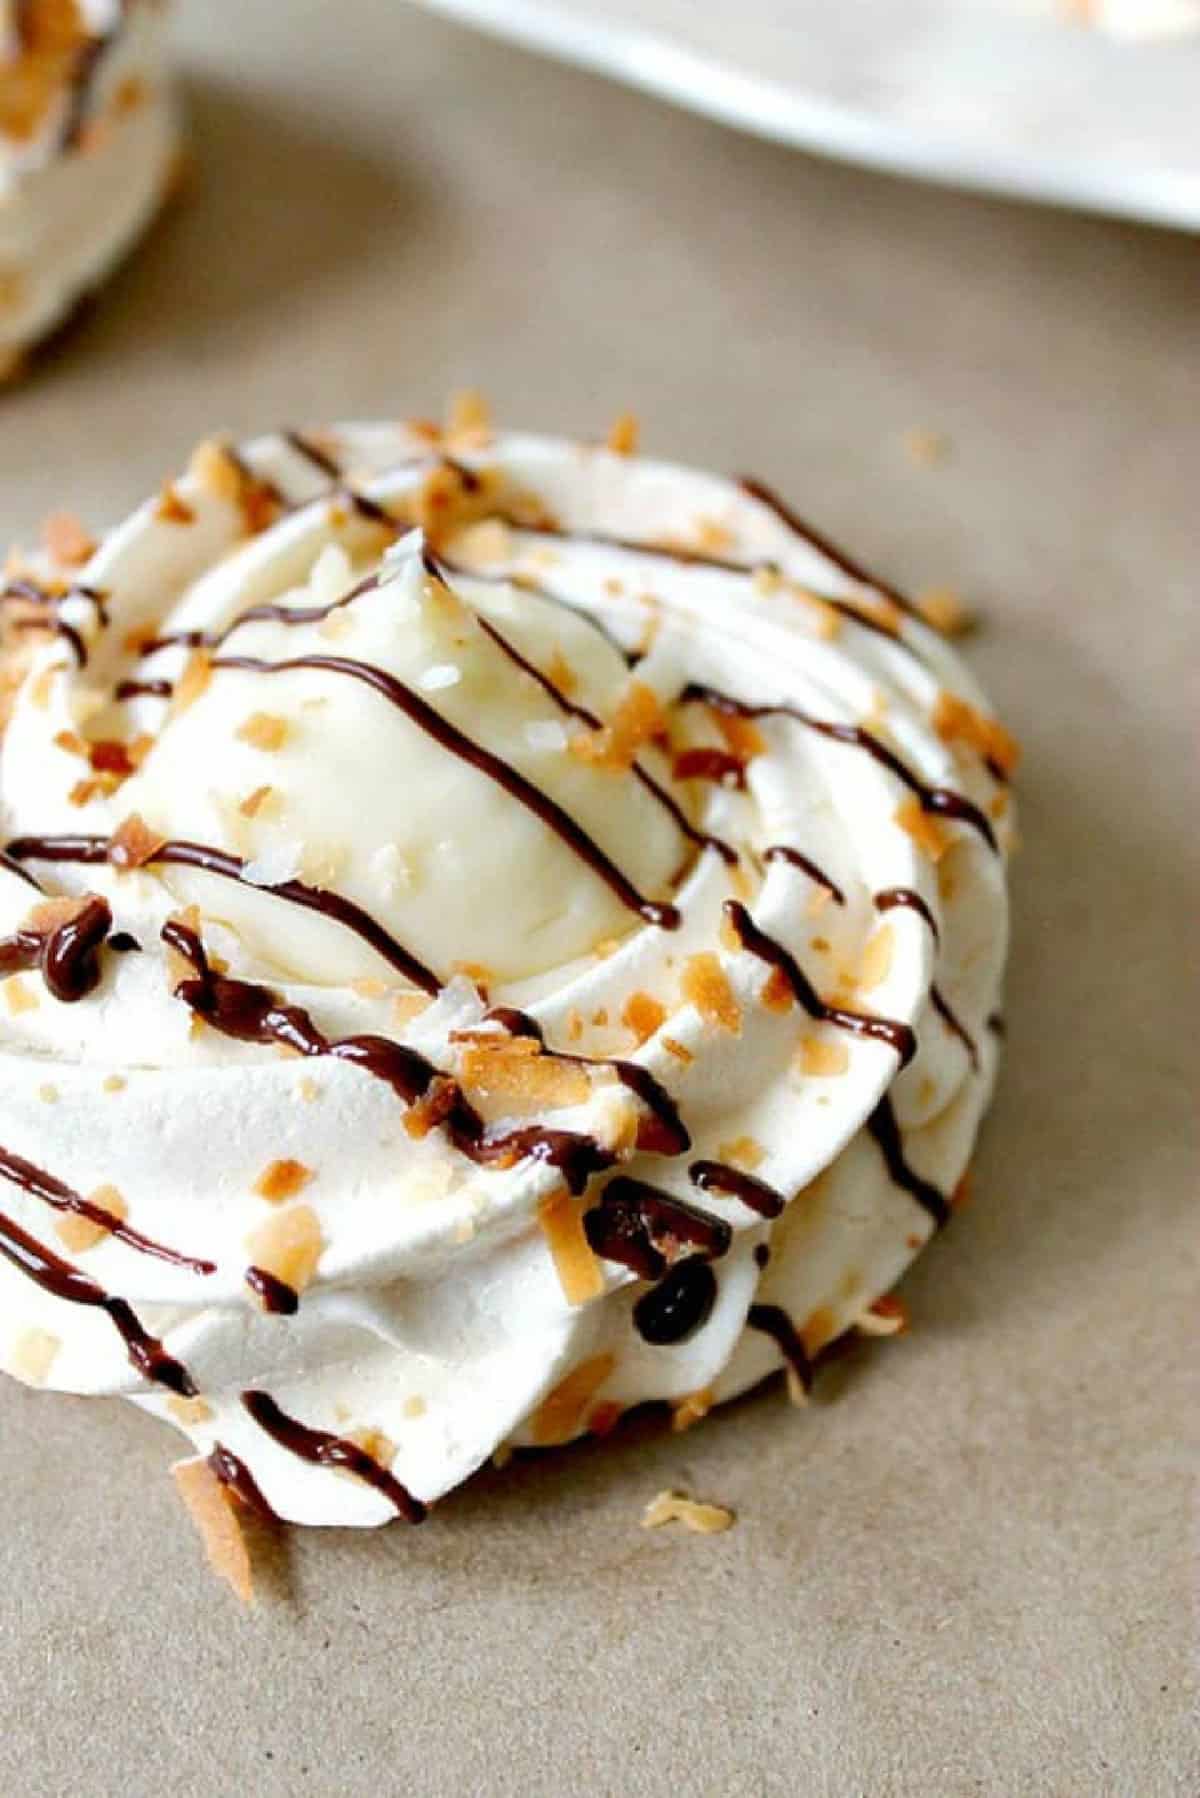
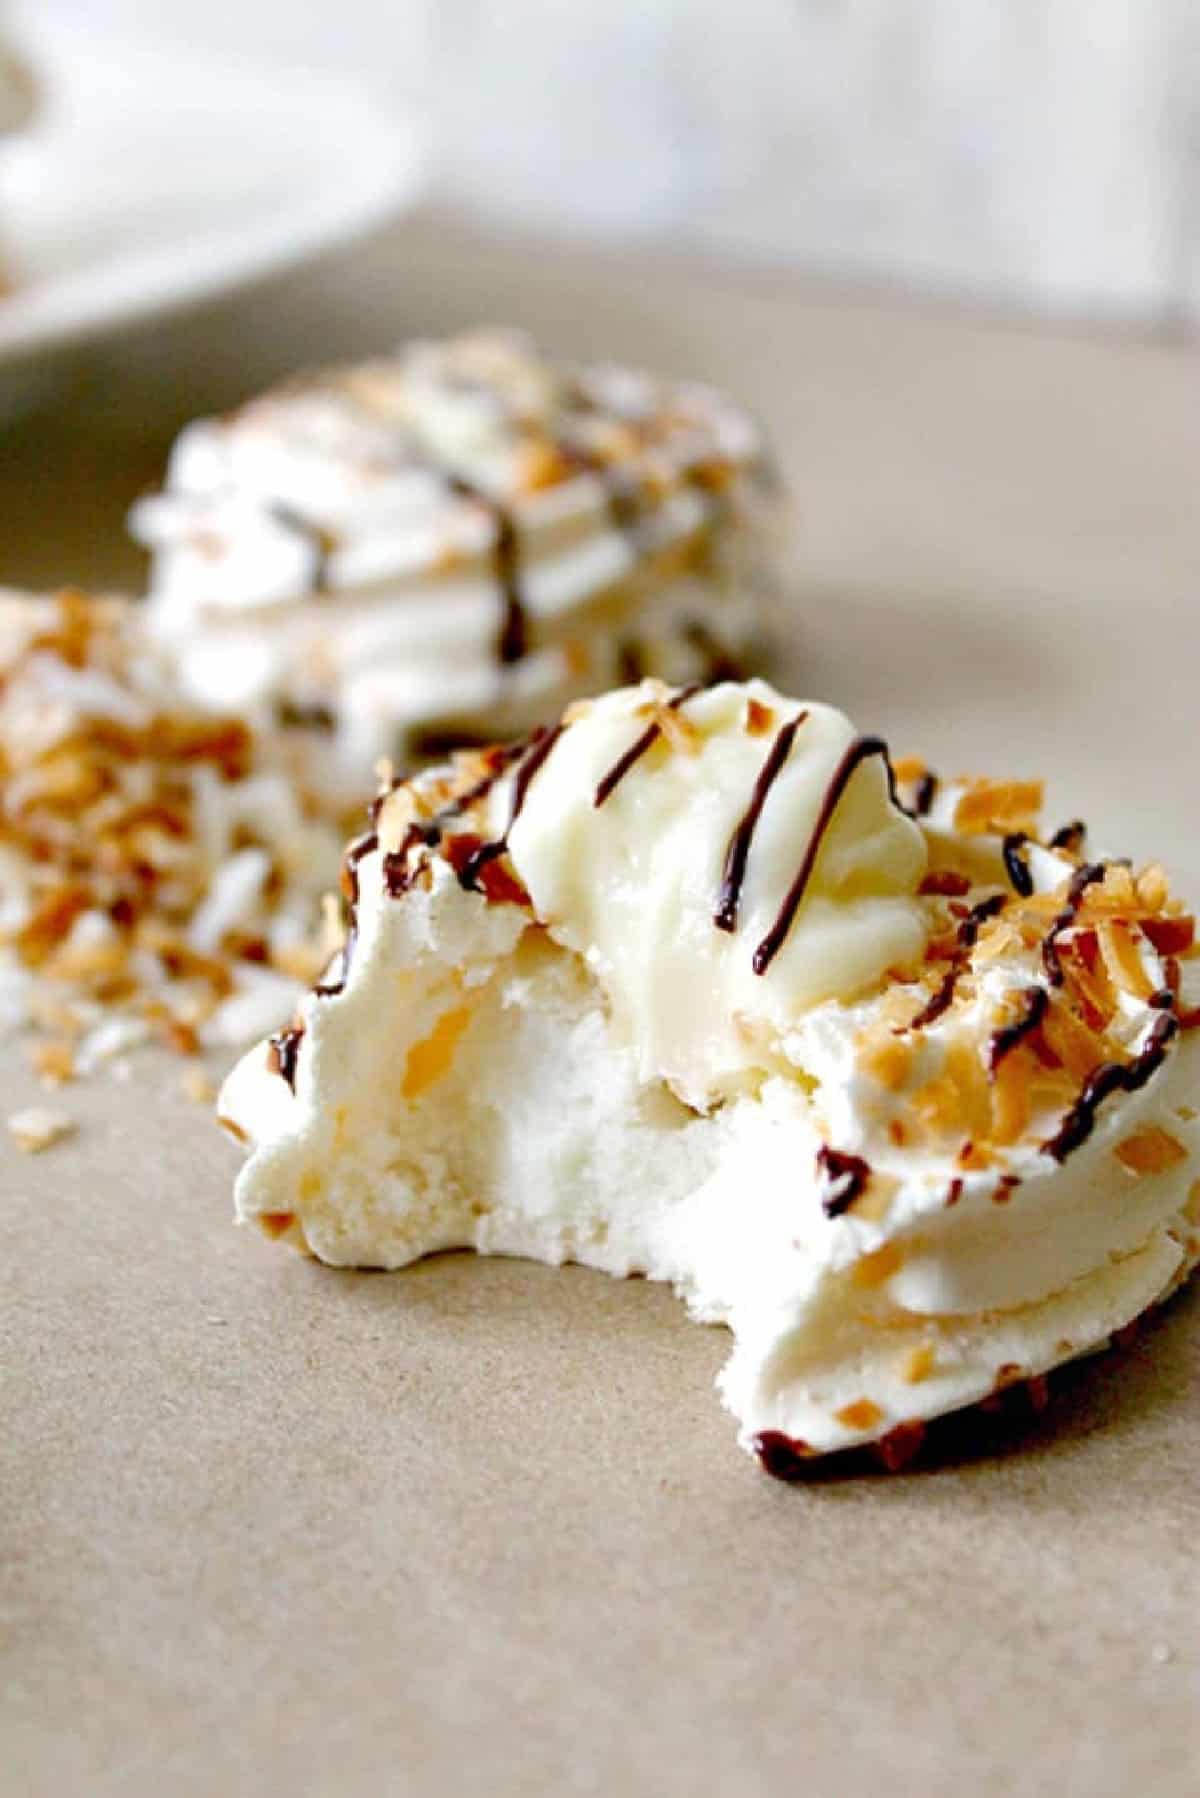
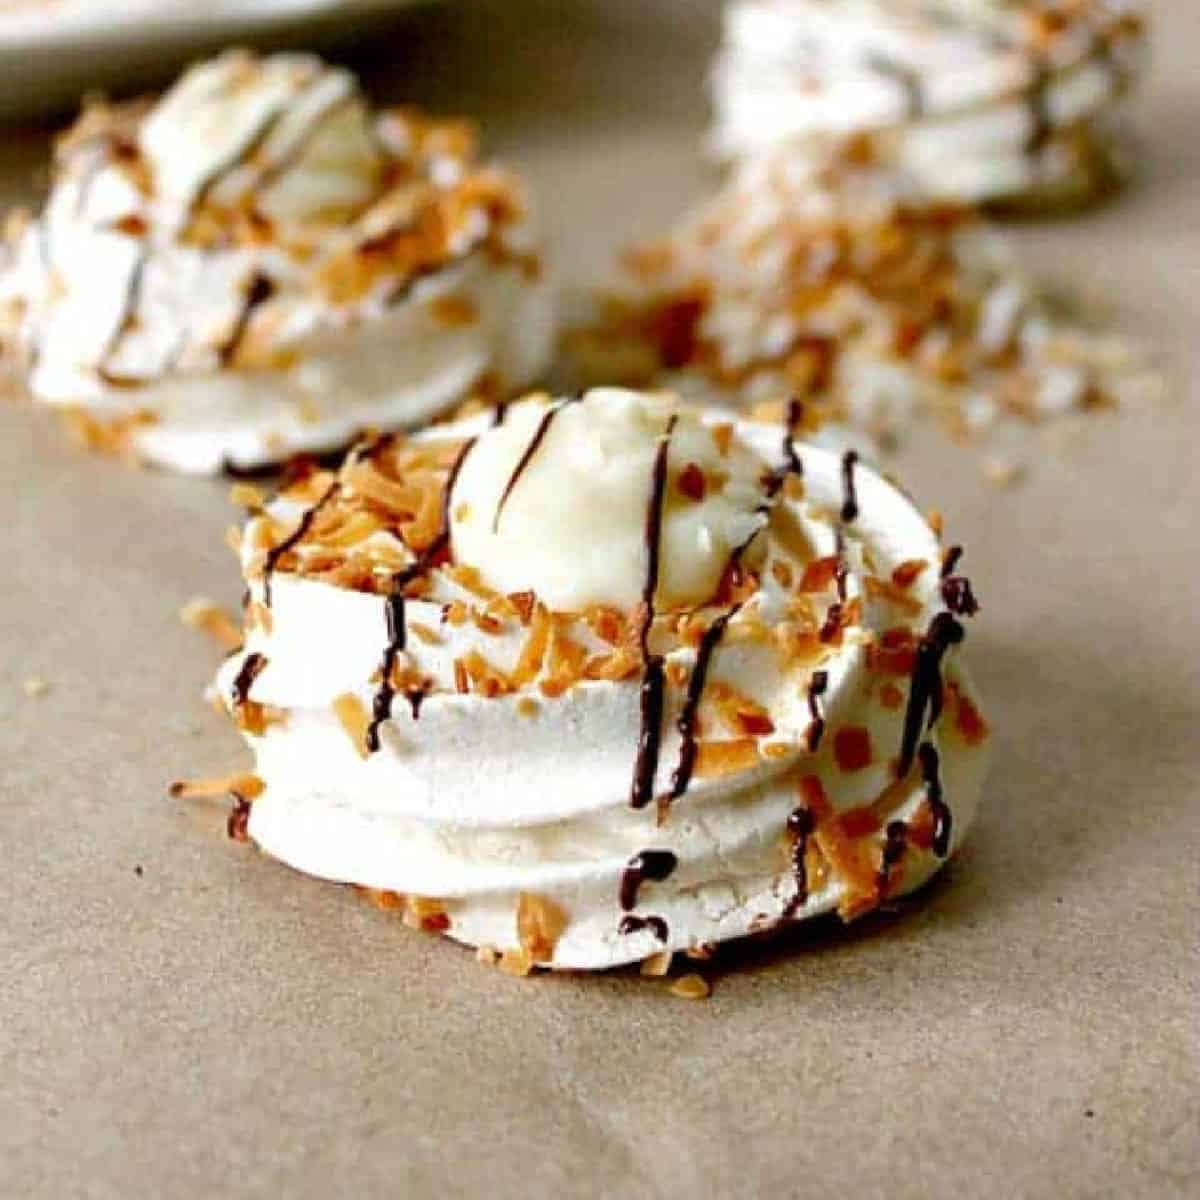
While fruit and whipped cream are more than acceptable as a topping, I reimagined this dessert with a dose of decadence: Crisp, meringue “nests” are sprinkled with toasted coconut flakes, then filled with a dollop of silky coconut custard and drizzled with chocolate. Heavenly.
Don’t let my recipe suggestion curb your own creativity, though — these mini pavlova nests are perfect for filling with all kinds of things, from custards to pastry cream to fruit and ganache.
Looking for more elegant dessert ideas? Try my Raspberry Kringle Pastry, Strawberry Ganache Cookie Cups, or Easy Cherry Mousse Napoleons!
Ingredients
- Egg whites
- Cream of tartar
- Sea salt
- Granulated sugar
- Vanilla extract
For coconut version with coconut custard filling, you will also need:
- Coconut extract
- Toasted Coconut Flakes
- Cornstarch
- Whole milk (or half & half)
- Coconut milk
- Egg yolks
Instructions
Preheat and Prep
Preheat your oven to 200 degrees Fahrenheit. Line two large baking sheets with parchment paper or silicone baking mats.
Prepare Meringue
Using a stand mixer, whisk together egg whites, cream of tartar, and salt until frothy, about 1-2 minutes.
Gradually add 2/3 cup sugar, whisking until the mixture turns shiny and thick, about 2-3 minutes.
Add vanilla extract, beating well.
Test the meringue’s stiffness by forming peaks; ensure it holds shape.
Gently fold in the remaining 1/3 cup of sugar.
Piping or Spooning:
Use a piping bag with an open star tip to create swirls as a base and walls for the nests. Alternatively, spoon dollops onto the prepared sheets for a more rustic look.
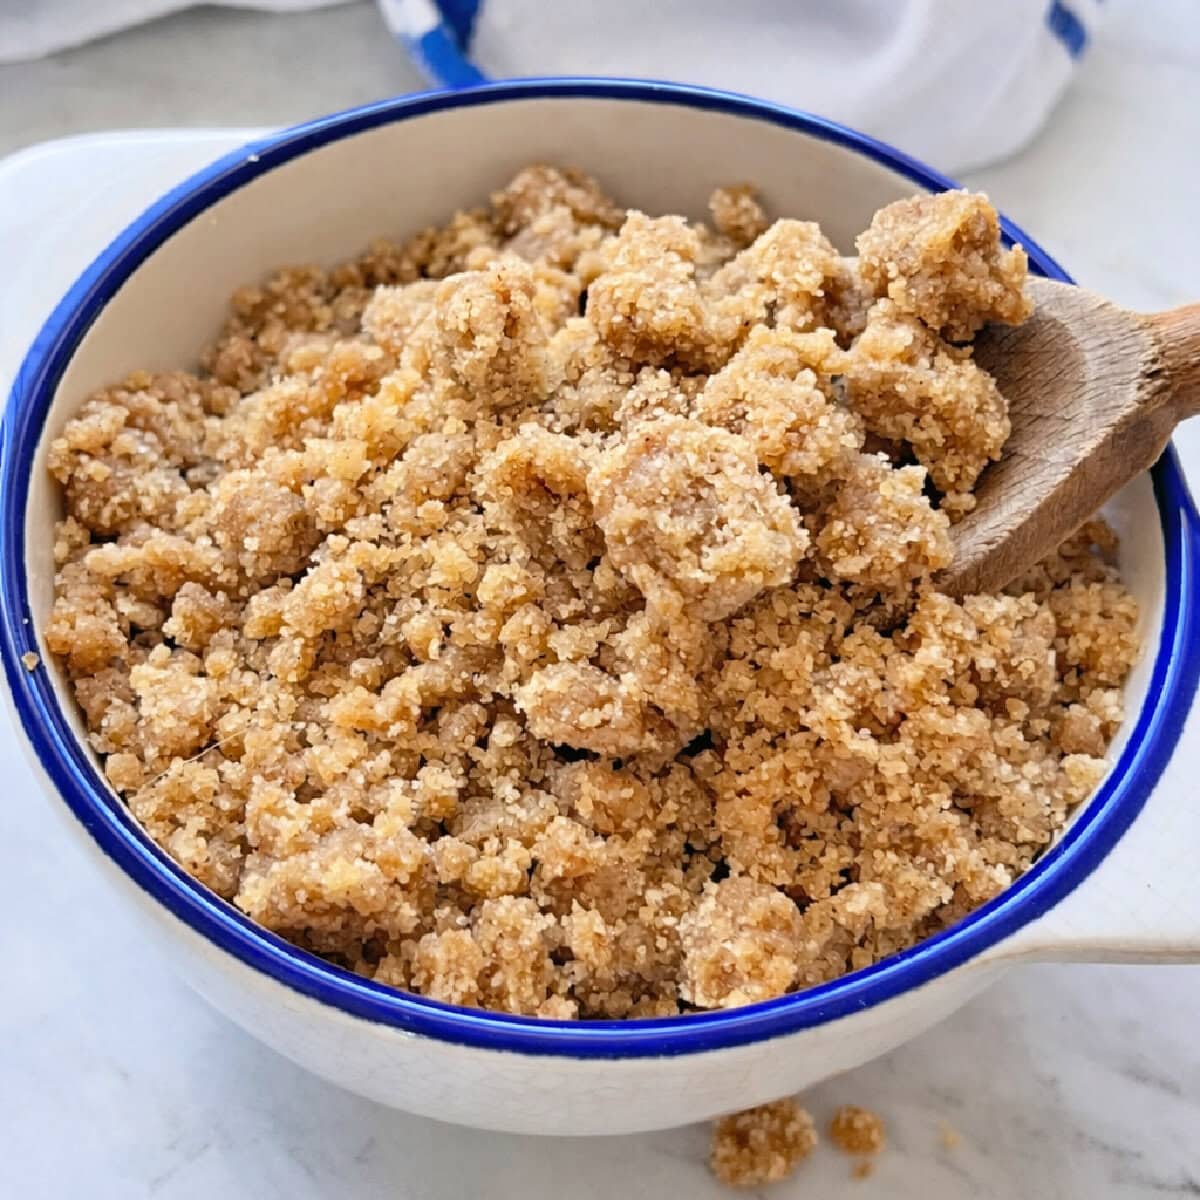
Optional: Sprinkle toasted coconut flakes on the meringues as pictured here.
Baking the Meringues
Bake for 2 hours until dry and crisp. Avoid browning. For extra crispness, turn off the oven and let them sit for 3-4 hours or overnight.
Note for Simpler Preparation: Not confident with your piping skills? Use a spoon to create wells in the meringue for a rustic touch. It’s about taste, not just looks!
Make Custard
Combine sugar, cornstarch, salt in a saucepan. Slowly whisk in milk until smooth. Add coconut milk, egg yolks, and coconut extract.
Whisk constantly over medium heat until the mixture thickens suddenly (about 5 minutes). Don’t step away!
Remove from heat, keep whisking until smooth. Strain through a sieve into a bowl, covering with plastic wrap directly on the custard’s surface. Refrigerate until cool.
Assemble
Whisk the cooled custard until smooth. Fill each meringue nest with a tablespoon of custard.
Tip: Use a plastic bag for easy filling and enjoy the leftover custard as desired!
Final Touch:
Drizzle melted chocolate or caramel over the filled nests and add toasted coconut for extra flavor and presentation.
Expert Tips
- Some people say that “old eggs” make better meringues, though I haven’t tested this theory. Don’t go as far as using expired eggs, but entertain the idea of using up the eggs that have been sitting in the fridge awhile over a fresh carton from the store.
- Make sure your bowl {and your crack} is clean. Your egg crack, I mean. Even a teensy bit of egg yolk or fat will ruin your chances of achieving billowy meringue, so if you accidentally poke a yolk while you’re separating your eggs, don’t be lazy and start over with a clean bowl.
- Check the weather report the day you’re planning on making your meringues. High humidity = sad, sticky meringues. Additionally, letting the meringues sit in the oven {once you’ve turned it off } with the door slightly cracked will help them dry out fully and stay crisp, so if you have time, it’s worth the wait.
- Don’t skip the cream of tartar. I know it’s tempting since it’s not something most people have sitting around in their pantry, but it helps to stabilize the egg whites and ensure that your meringue stiffens up for smooth piping. If you really, really don’t want to spend the few bucks or make the trip to the store, 1/2 teaspoon lemon juice will work in a pinch. But just grab a container during your next grocery trip — it doesn’t expire, so it’ll last forever.
- If you’re intimidated by the thought of piping the meringue nests, skip it and use an ice cream scoop instead. Plop mounds of meringue onto the prepared baking pan and make a well in the center with a spoon before baking. Done and done.
- If you don’t plan on serving the pavlovas the same day that you make them, store them {unfilled} in an airtight container until you’re ready to fill them and serve them. Once they’re filled, the moisture from the custard will obviously encourage them to soften — so eat ’em up quick!
- Not a fan of coconut? Omit the flakes & use a different extract. Just a drop will do! For the custard, replace the coconut milk with plain milk.
Recipe FAQ’s
Absolutely! Once cooled and crisped, store them in an airtight container at room temperature for up to 3 days before assembling. Do not fill until just before serving.
You can use a handheld electric mixer; it may take a bit longer, but the results will be equally delicious.
Yes, you can use vanilla extract or another preferred flavor if you’re not a fan of coconut. You can also swap out the coconut milk with regular milk.
It’s best to assemble them just before serving, but you can freeze the meringues (without filling) for up to a month. Store them carefully in an airtight container, and add the custard and toppings fresh.
Variations
Try these other mouthwatering versions of mini pavlova nests!
- Fruit Medley Pavlova Nests: After filling the meringue cups with custard, top them with a mix of fresh berries like strawberries, blueberries, raspberries, and kiwi slices. Drizzle with a light fruit coulis or a touch of honey for added sweetness.
- Citrus Burst Pavlova Nests: Add a twist of citrus to your pavlova by incorporating lemon or orange zest into the meringue mixture. Fill the nests with lemon or orange curd instead of custard, and garnish with fresh citrus segments or candied peel.
- Nutty Indulgence Pavlova Nests: Fold finely chopped nuts like pistachios, almonds, or hazelnuts into the meringue mixture for added crunch and flavor. Fill the nests with a creamy Nutella or chocolate ganache and sprinkle with chopped nuts for a decadent touch.
- Tropical Paradise Pavlova Nests: Mix shredded coconut into the meringue before piping or spooning the nests. Fill them with a pineapple or mango compote, then top with toasted coconut flakes and a dollop of whipped cream for a taste of the tropics.
- Seasonal Spice Pavlova Nests: Add warm spices like cinnamon or cardamom to the meringue mixture for a cozy twist. Fill the nests with a spiced apple or pear compote, and finish with a sprinkle of cinnamon sugar or a dash of nutmeg on top of the custard.
Mini Pavlova Nests

4 comments
Sara
Can this be made completely dairy free?
thekitchenprep
I don’t see why not. Simply swap out the milk with a non-dairy milk. The texture/flavor may be a bit different. You could also use a dairy free pudding as the filling.
Susan
Hi, your mini pavlova nests look amazing! I see that you mention coconut extract, but do not list it in the recipe. Do you have a recommendation on how much to add? Thanks! I can’t wait to make these 🙂
thekitchenprep
Thanks so much for the compliment and for catching that omission! I’ve updated the recipe card to reflect the addition of 1/2 teaspoon of coconut extract. Extracts can be quite strong, so if you’d prefer a milder coconut essence, you can reduce to 1/4 teaspoon. Hope you enjoy!