
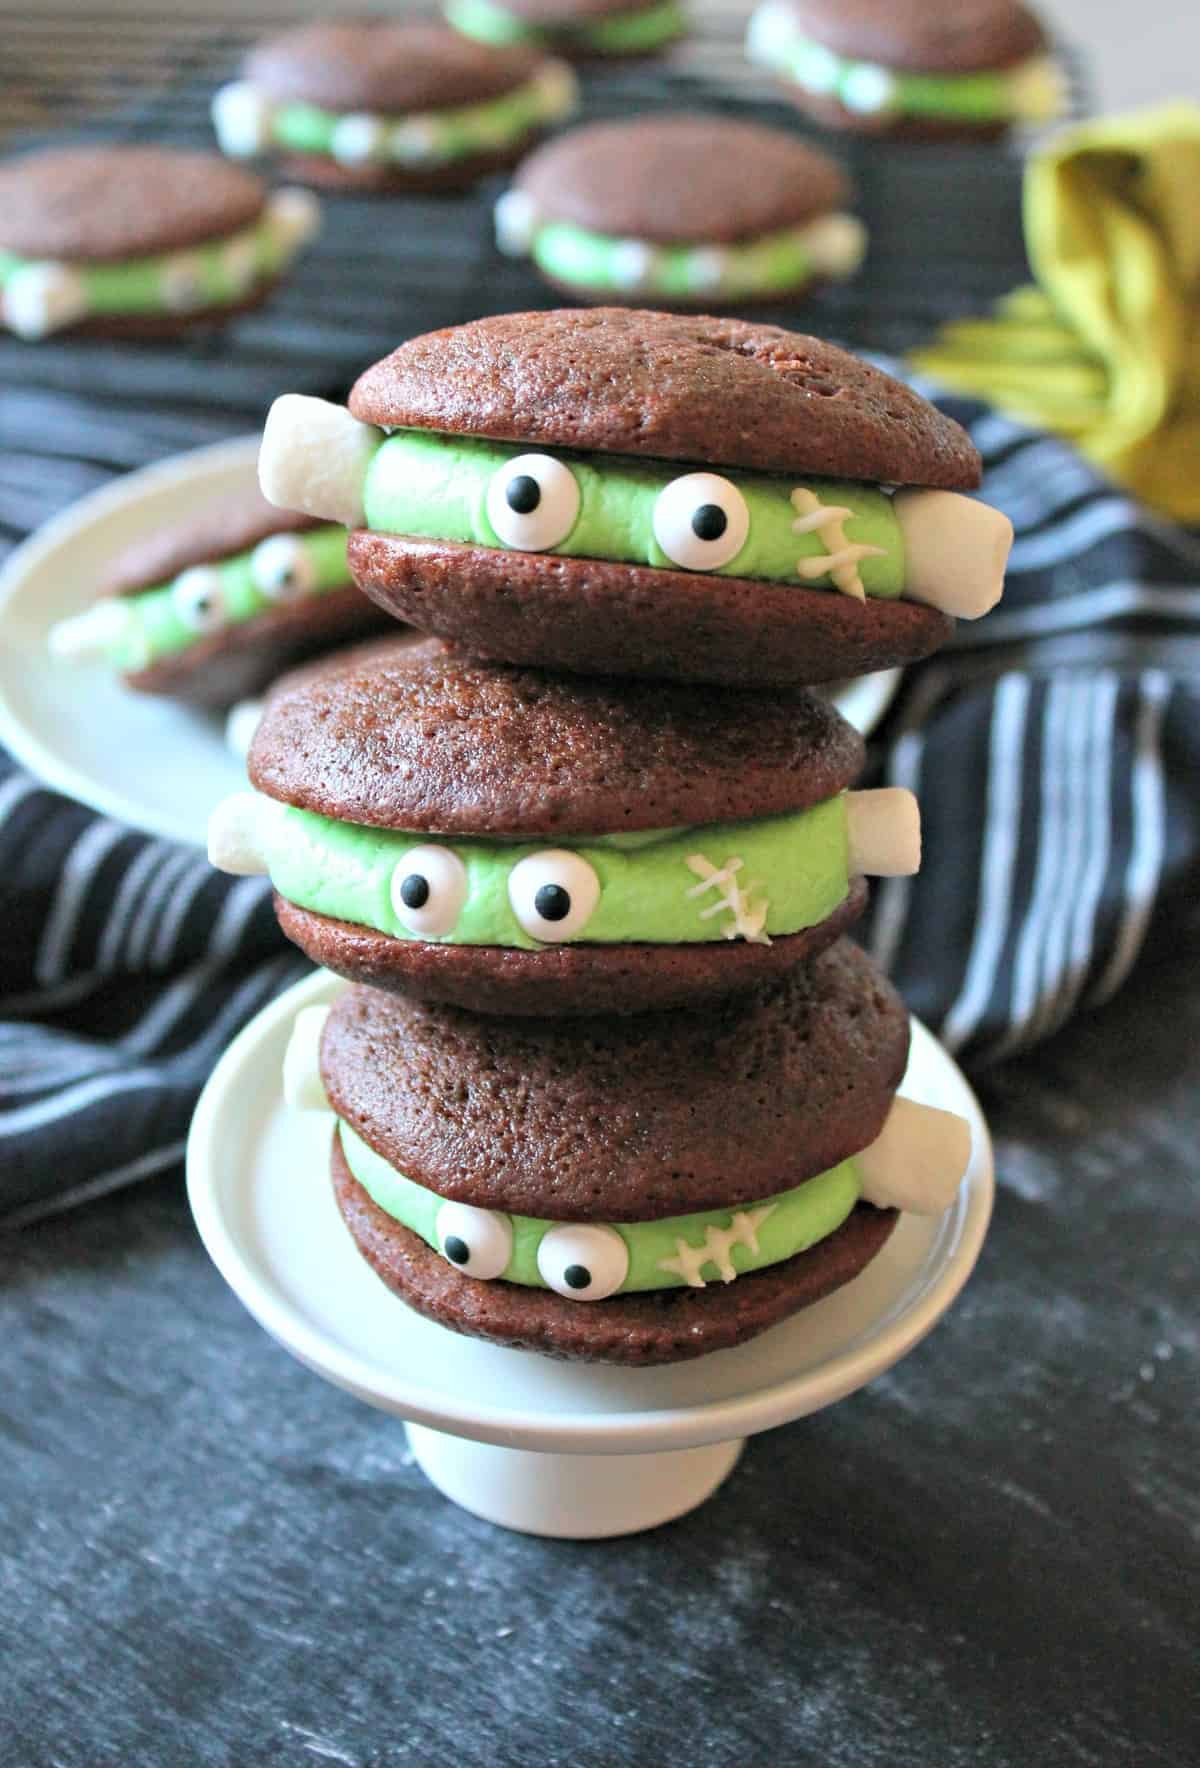
Frankenstein Chocolate Whoopie Pie! The classic, chocolate whoopie pie gets a Halloween monster makeover in these delicious, hand-held treats!
This post may contain affiliate links, which means that, at no extra cost to you, I may earn a small commission if you click a link and purchase an item I’ve recommended. Thanks for your support in running this blog!
Chocolate Whoopie Pies are basically just a way to indulge in a thick smear of sweet, creamy buttercream filling using two soft, cakey cookies as the mode of transportation to your mouth.
They’re rich, indulgent and — most importantly — portable and easy to serve, making it an ideal treat to take to potlucks and celebrations.
This Halloween version came to be when I was asked to review a copy of The Easy Homemade Cookie Cookbook several years ago, and came across a plain version that was asking for a monstrous makeover!
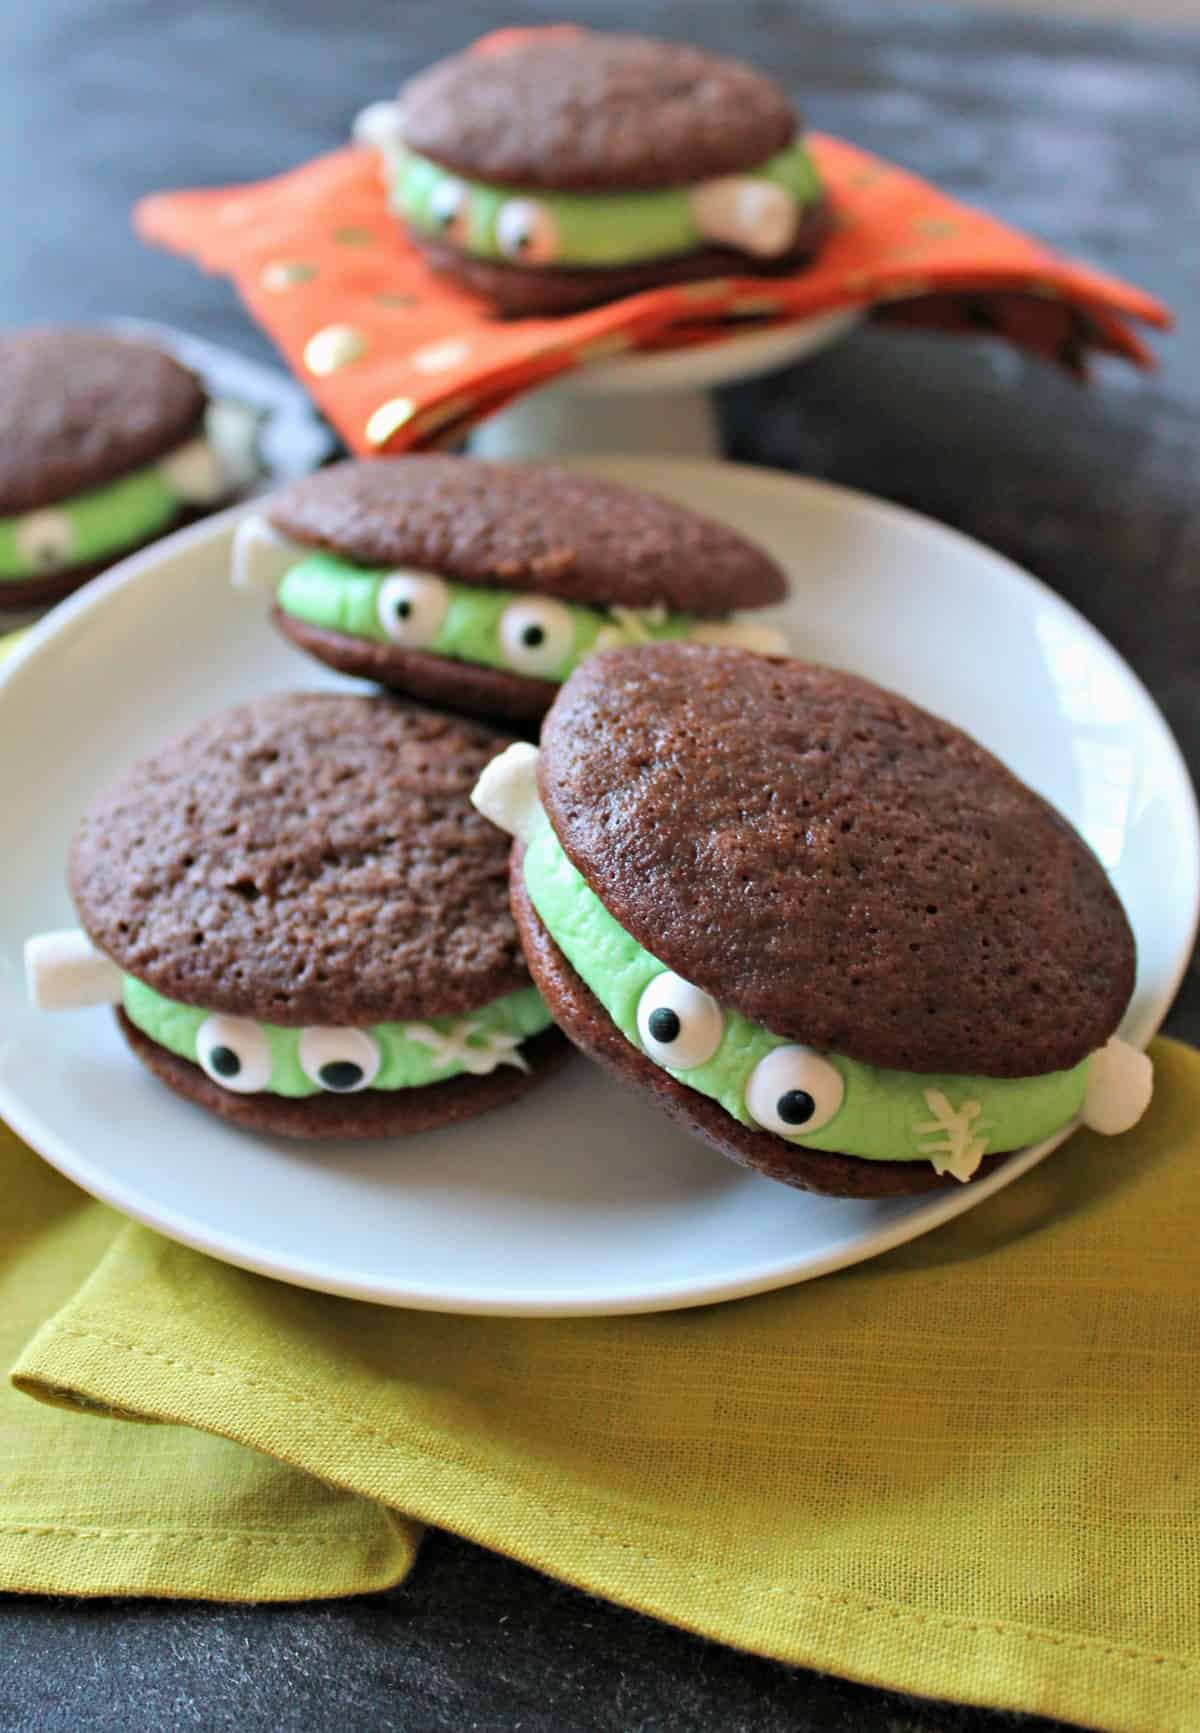
I used food dye, melted chocolate, candy eyes and mini marshmallows to add some frighteningly fun details to these whoopie pies that lean more towards cute than creepy!
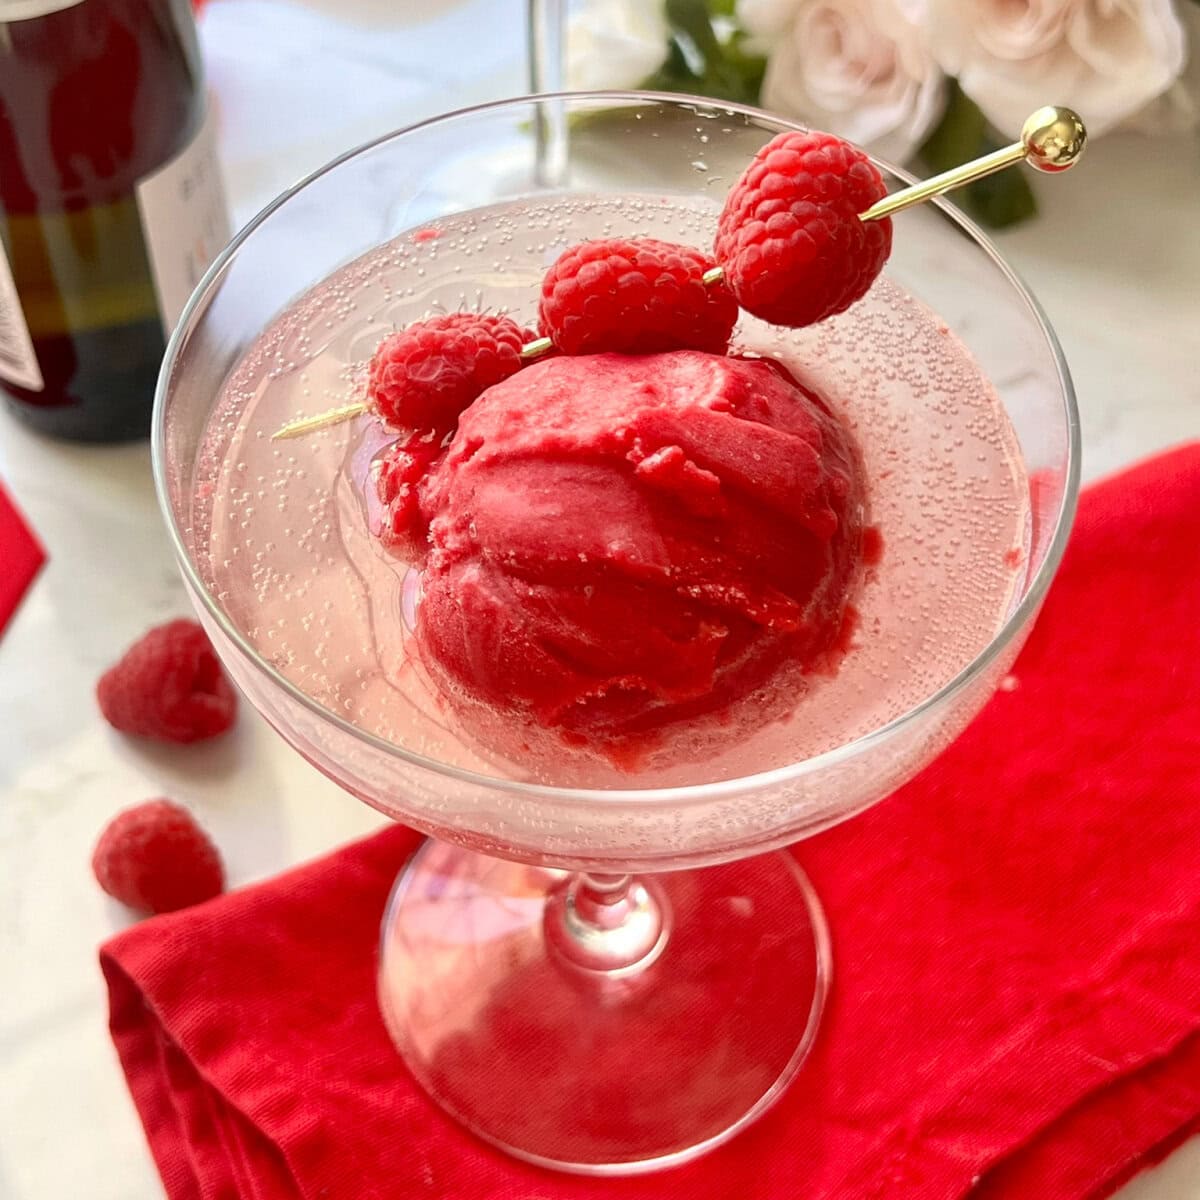
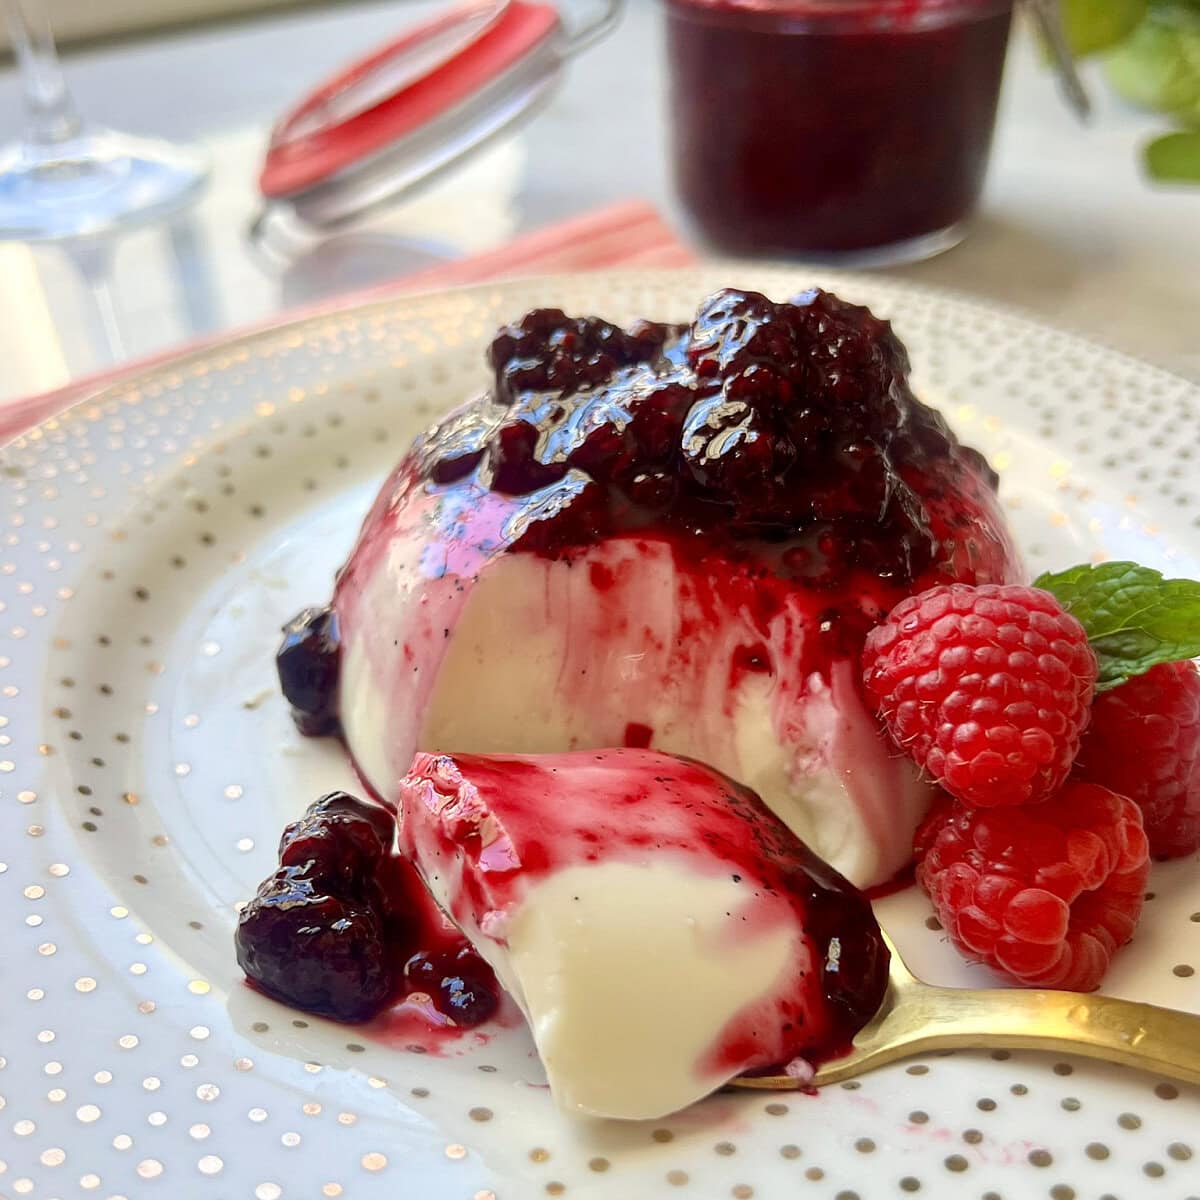
Looking for more festive Halloween recipes? Try my completely no-bake Spooky Eyeball Sweet Rolls, Peek-a-BOO Halloween Pound Cake, or sweet and silly Berry & Cheese Danish Mummies!
This recipe is naturally vegetarian and can be made gluten-free. See Variations & Substitutions area below.
Ingredients
The ingredient list for these whoopies pies might seem long, but that’s only because there are three parts: Cake, frosting and decorations. Here’s what you’ll need:
- All-purpose flour
- Unsweetened cocoa powder
- Baking powder
- Baking soda
- Sea salt
- Unsalted butter
- Light brown sugar
- Granulated sugar
- Eggs
- Vanilla extract
- Buttermilk
- Confectioners’ sugar
- Milk
- Mini marshmallows
- Candy eyes
- White chocolate
- Green food coloring
Instructions
Make the cakes/cookies
Preheat the oven to 350F. Line a cookie sheet with parchment paper.
In a medium mixing bowl, sift or whisk together the flour, cocoa powder, baking powder, baking soda, and salt.
In a large mixing bowl, beat together the butter and both sugars until light and creamy, about 3 minutes.
Add the eggs and vanilla, and beat to combine. Add the buttermilk and dry ingredients in alternating batches, beating on low speed until incorporated.
Using a medium (1 1/2 tablespoon) cookie scoop, scoop the batter and drop about 2 inches apart on the prepared cookie sheet.
Bake for 13 to 14 minutes, until they’re puffed and set and the tops are slightly cracked.
Let the cookies rest on the cookie sheets for 5 minutes before transferring them to wire racks to cool completely.
Make the Filling
In a large bowl, beat together the butter, confectioners’ sugar, milk, and vanilla until light and fluffy, 1 to 2 minutes. Stir in a few drops of green food coloring to tint the buttercream until the desired color is achieved.
Transfer the filling to a piping bag or a zip-top bag with one corner snipped. Once the cookies are completely cooled, pipe a swirl on the bottom (flat) side of half of the whoopie pies. Add the top cookies, flat-side down, and gently press together.
Decorate
Carefully press two candy eyes into the buttercream. Place one mini marshmallow on each side of the eyes to create Frankenstein’s “bolts”.
Use white chocolate to pipe “sutures” on one side to complete the monster look.
Recipe FAQ’s
Whoopie pies usually have a sweet, creamy filling. Most are made with either buttercream or a marshmallow crème filling.
Yes. Make the whoopie pies as directed, place in an airtight container and refrigerate for up to 3 days, or keep at room temperature for 4 hours. Alternatively, whoopie pie elements can be made ahead (refrigerate buttercream), and assembled the day they will be eaten.
Yes. Whoopie pies are just like layer cakes and freeze beautifully. Place in an airtight, freezer-safe container and freeze for up to 2 months. Simply thaw overnight in the refrigerator or at room temperature for a few hours to defrost and enjoy.
Variations & Substitutions
Try these variations for a fun twist:
- Change up the flavor of the buttercream filling! Try adding a pinch of ground cinnamon, flavored extracts such as almond or peppermint, or a few tablespoons of marshmallow crème.
- Add an extra special filling: Pipe a buttercream “wall” around the exterior of the whoopie pie and fill the center with jam, Nutella or ganache.
- Skip the Frankenstein decor and roll the edges in colorful, festive sprinkles.
Diet-Specific Substitutions
- Gluten-Free: Use your favorite one-to-one gluten-free flour blend in place of all-purpose.
- Vegan/Dairy-Free: I have not personally made these with plant-based substitutes, but if you do try substituting the butter, eggs and buttermilk for plant-based versions and have a good result, let me know!
Frankenstein Chocolate Whoopie Pies

6 comments
Hillary Harper
These are adorable! I love all things halloween, so I will definitely have to add these to my baking list!
thekitchenprep
Thanks, Hillary! The best part is you could really dress these up for just about any holiday with some appropriately colored sprinkles, which means whoopie pies year round! ? Thanks for stopping by!
cakespy
STOP IT THESE ARE TOO CUTE!!! I love these happy little dudes, and I bet they taste as good as they look!
thekitchenprep
Thank you! They were delish, and I only felt slightly devious eating their little faces. ? Thanks for stopping by!
Sabine
Can’t imagine that I’m able to eat these little cute buddies! They are so adorable. They make Halloween cute instead of spooky.
thekitchenprep
Thank you, Sabine! Once you’re near them and smell that sweet chocolate scent, you kind of get over how cute they are and go straight for a bite! ? Glad you stopped by!