
A few things:
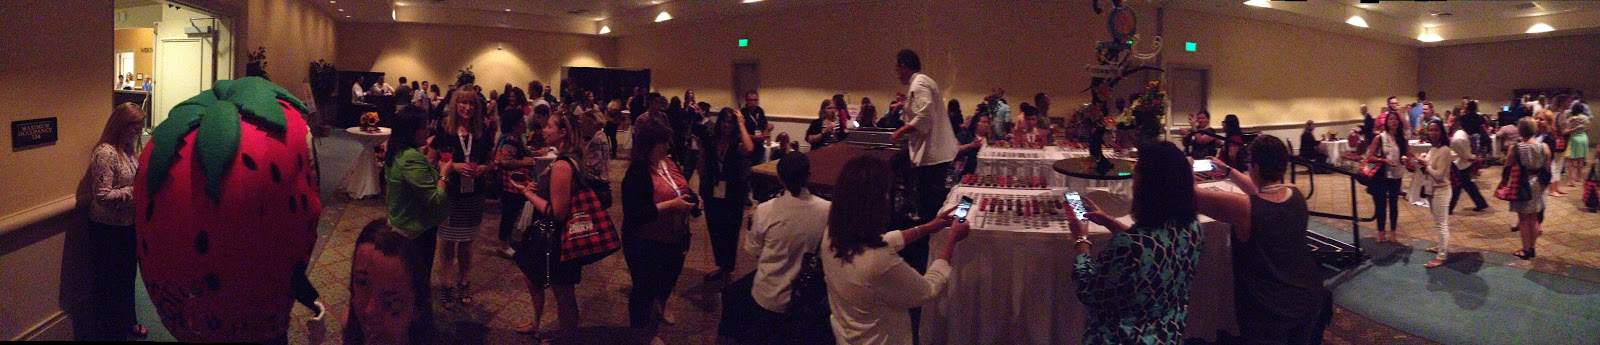
1. I just returned from a weekend in Orlando for the Food & Wine Conference and oh. em. geeee. So much good food, information and amusement. {Enough to elicit expressions suitable for a teenage girl, clearly.} I want to tell you all about it but, let’s be real, I still haven’t shared the recap from my trip to Philly 2 months ago. So, yeah.
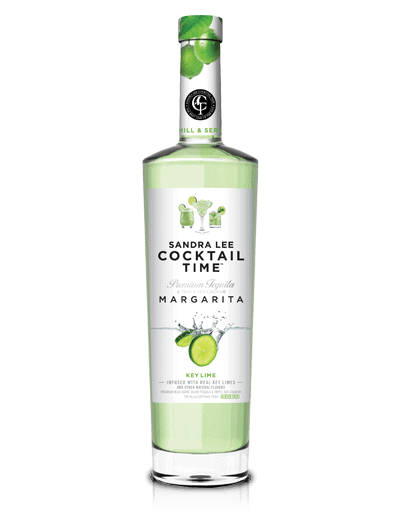
2. I didn’t think this could ever, ever happen because I’m a bit of a margarita snob, but I’m totally digging these Sandra Lee Cocktail Time ready-made margs. I know. They were sent to me to try out and I was all, “Yeah, this is gonna taste like lime-flavored Pinesol”, and then I completely had to eat — er, drink? — my words because it was truly tasty. I should have known to trust good ol’ “Aunt Sandy”, homegirl knows her boozy drinks. They reminded me of back in the day when I used to frequent OTB for happy hour margaritas. Except now I’m old and instead of starting the night with margaritas, a few sips and I’m ready for bed.
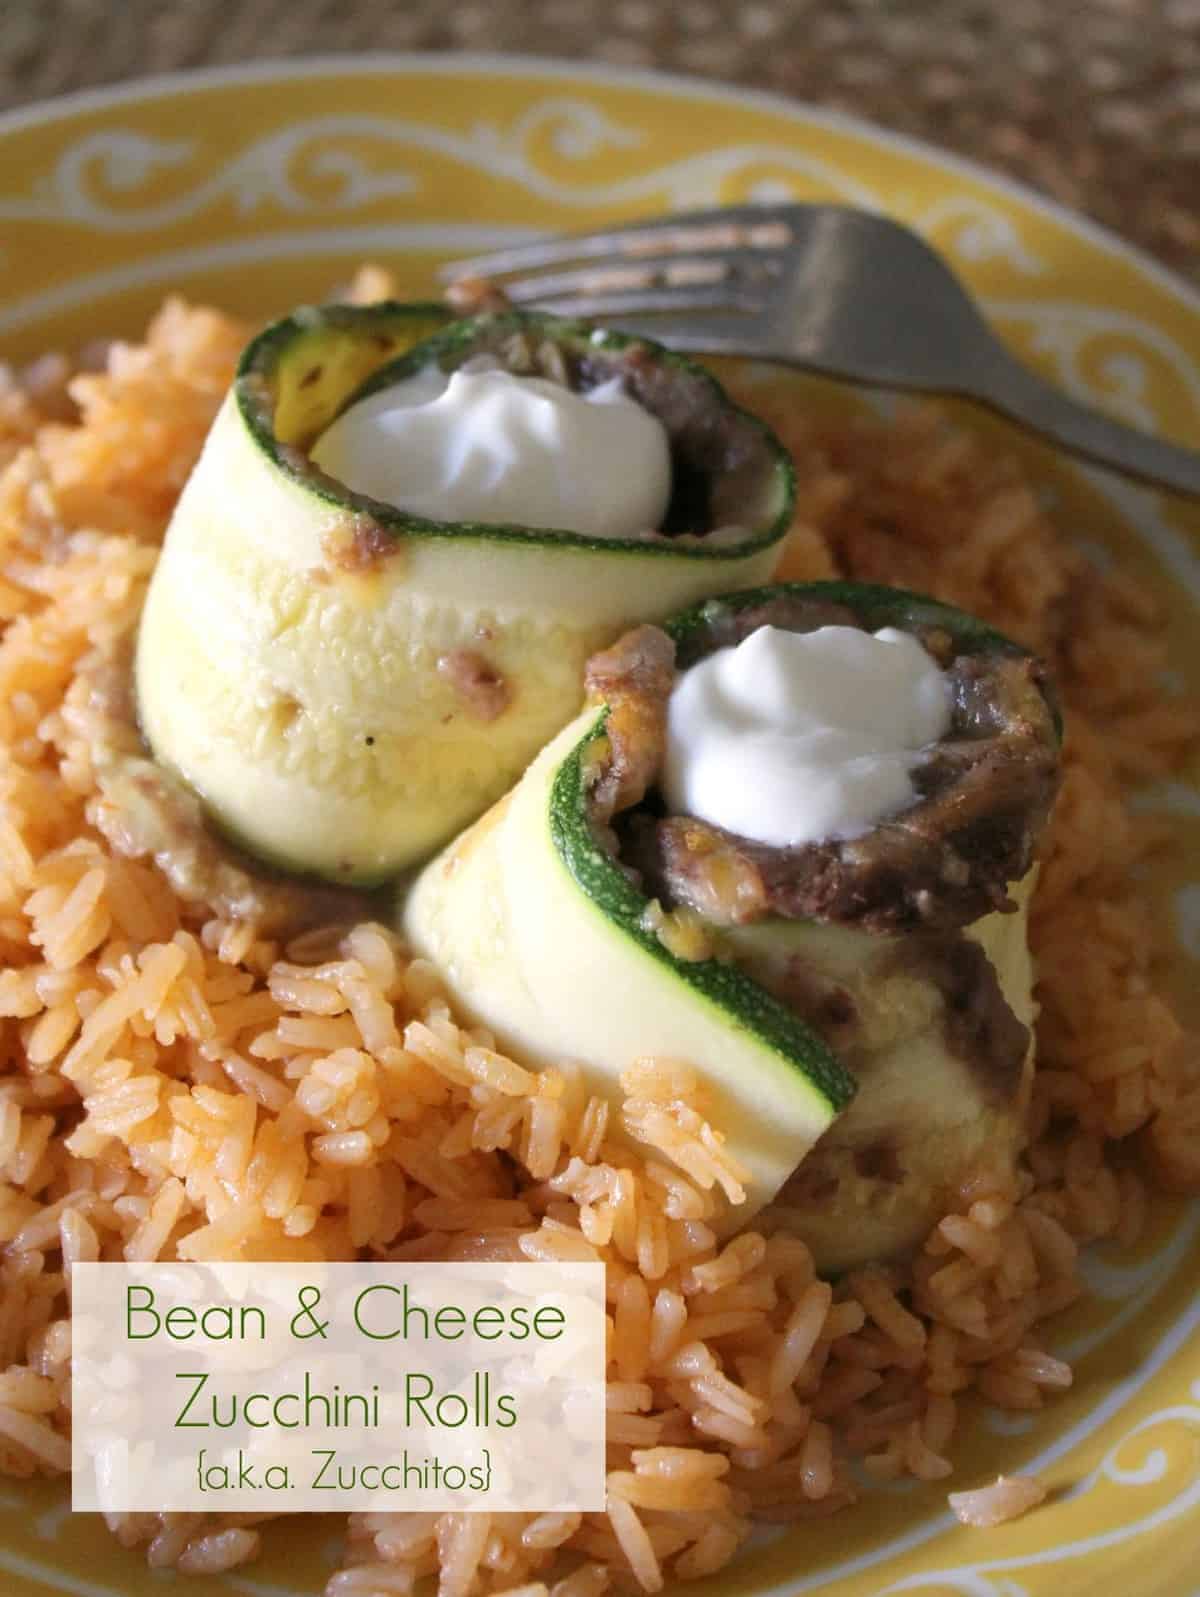
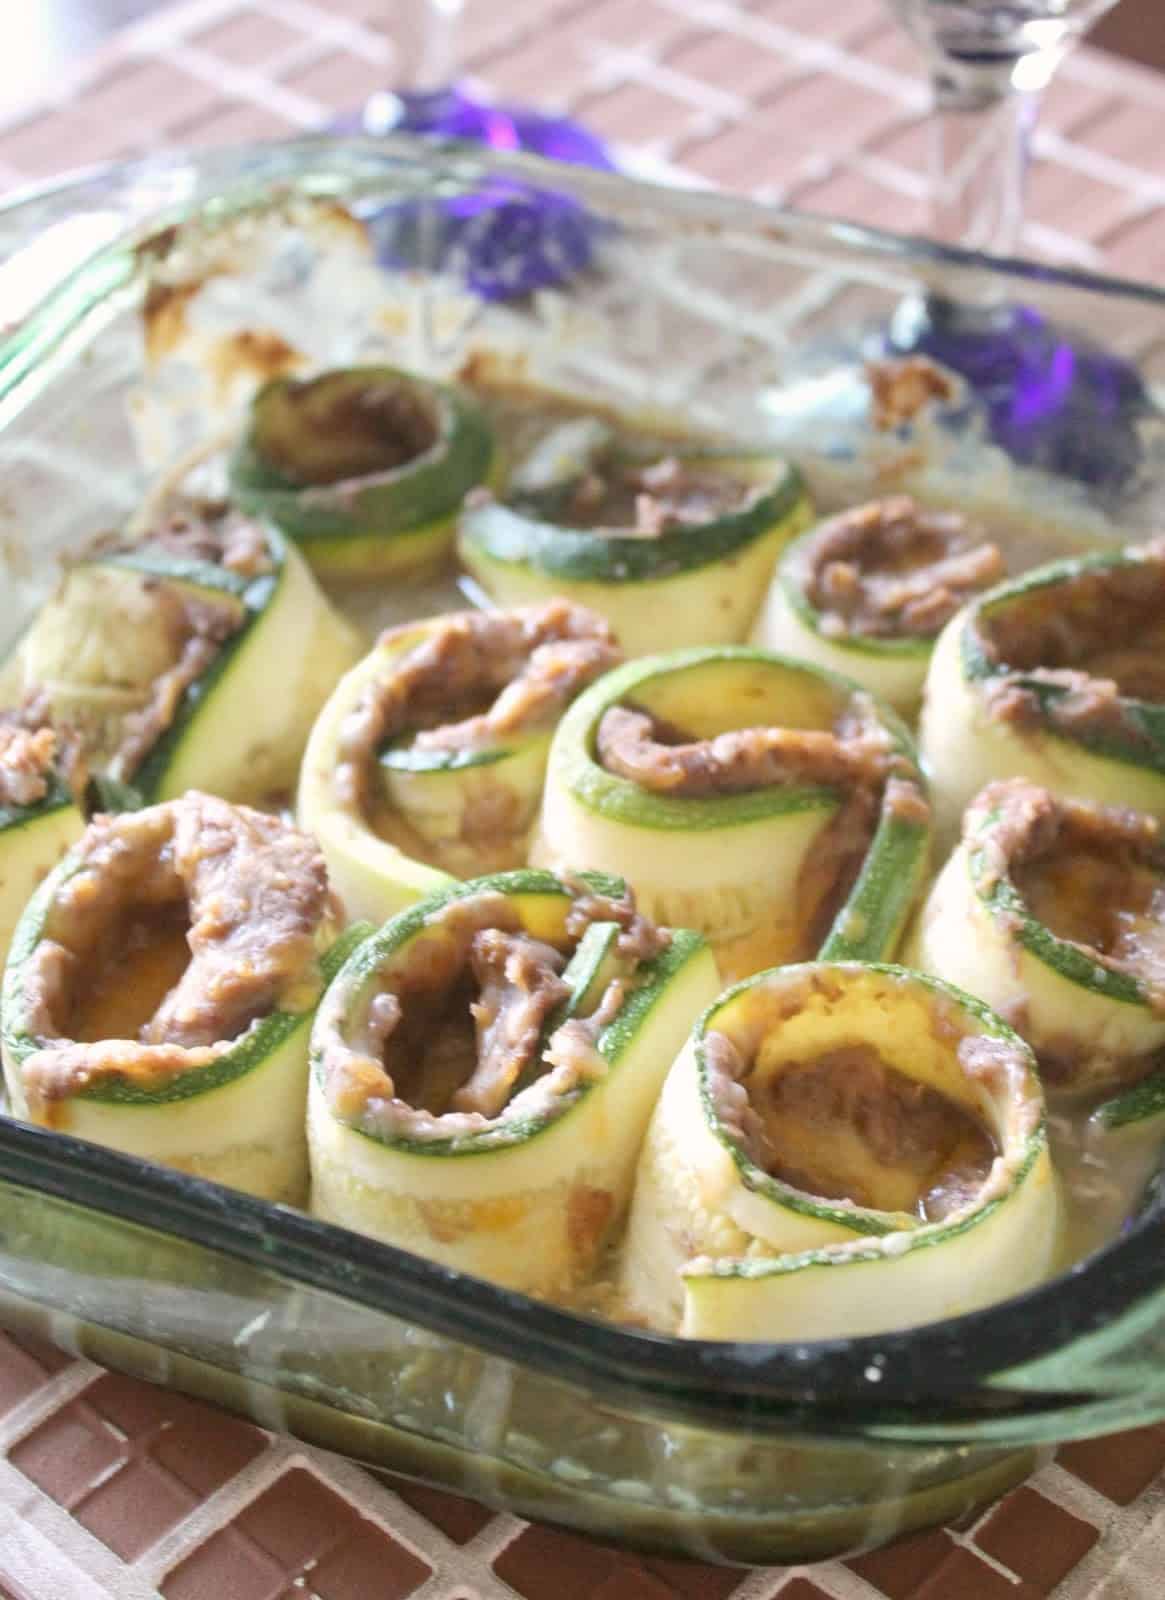
3. These Bean & Cheese Zucchini Rolls look horrendous. Let’s just be clear about that. There is no angle or light that could make these look pretty, and quite frankly, I couldn’t care less because I just wanted to stuff them in my face. This isn’t Glamour Shots, this is dinner.
Here I am, trying to channel darling Faith from An Edible Mosaic and savvy Julius from Droolius who gave a fantastic presentation on how to photograph difficult food during FWCon and all I can think is, “Good grief, these look pretty gross.”
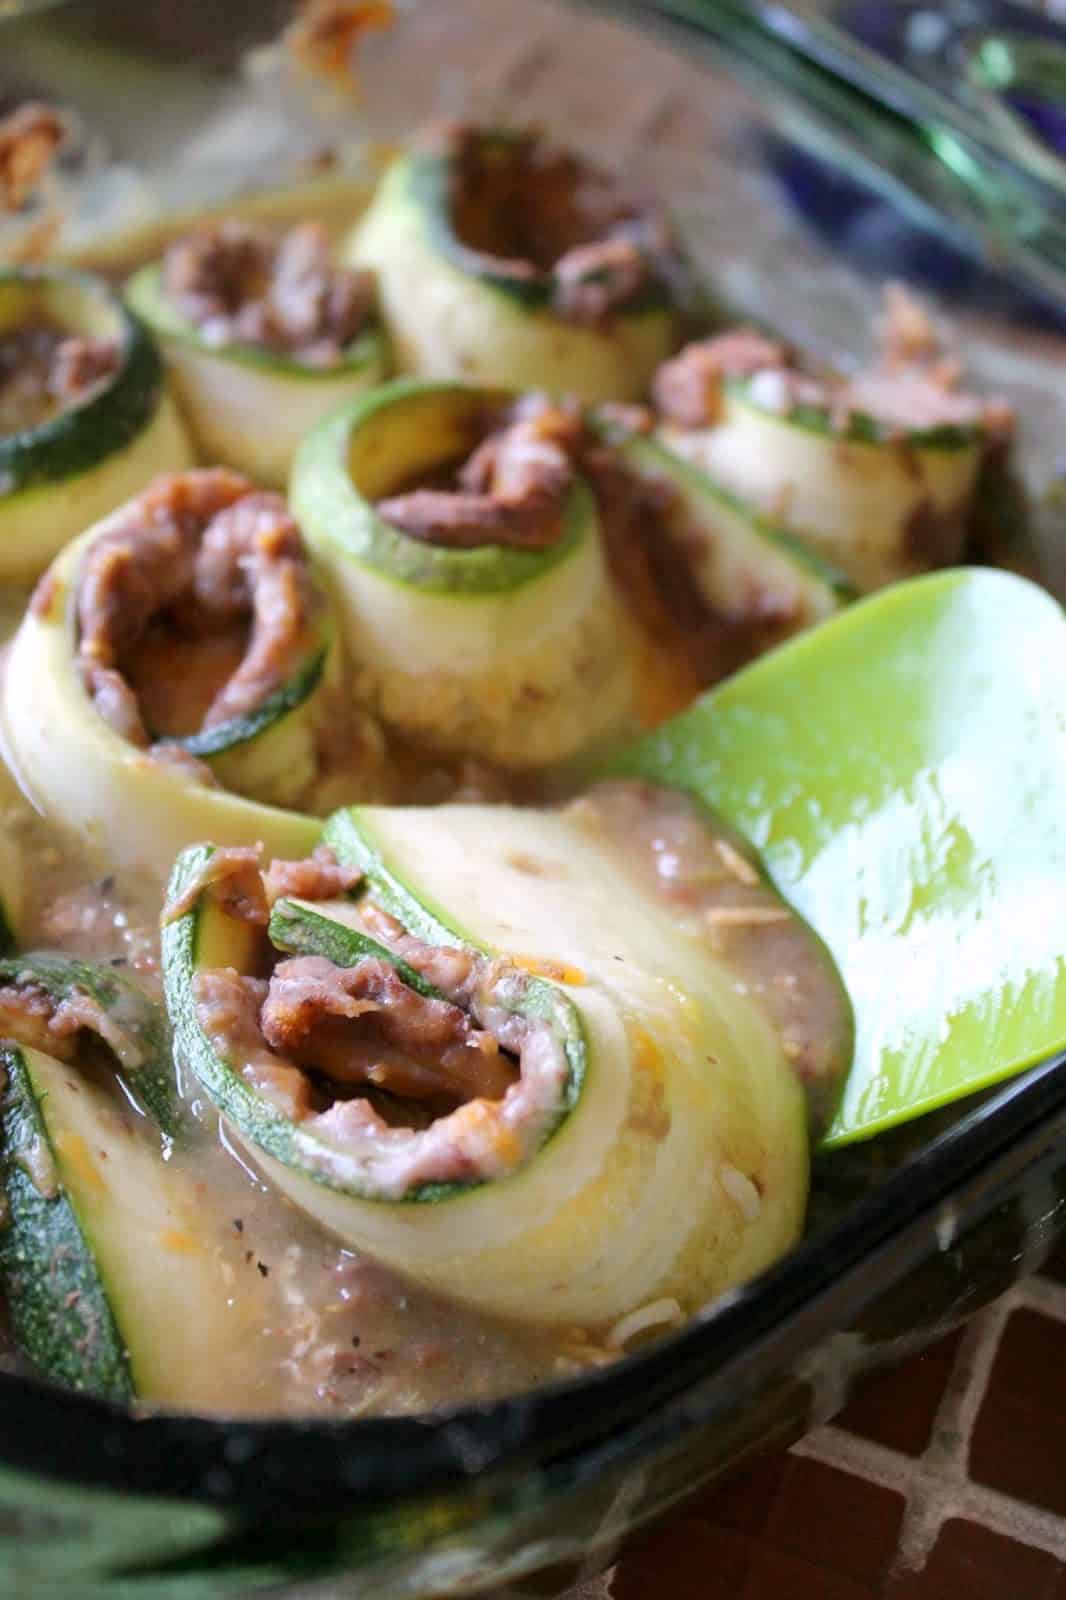
Pay no mind to this disturbing fact, my friends. Because what you’ve got here is a better-for-you version of a bean & cheese burrito. A “Zucchito”, if you will. They taste like a heavenly little Mexican-inspired pinwheel of dinnertime love. And best of all, they only require 4 ingredients.
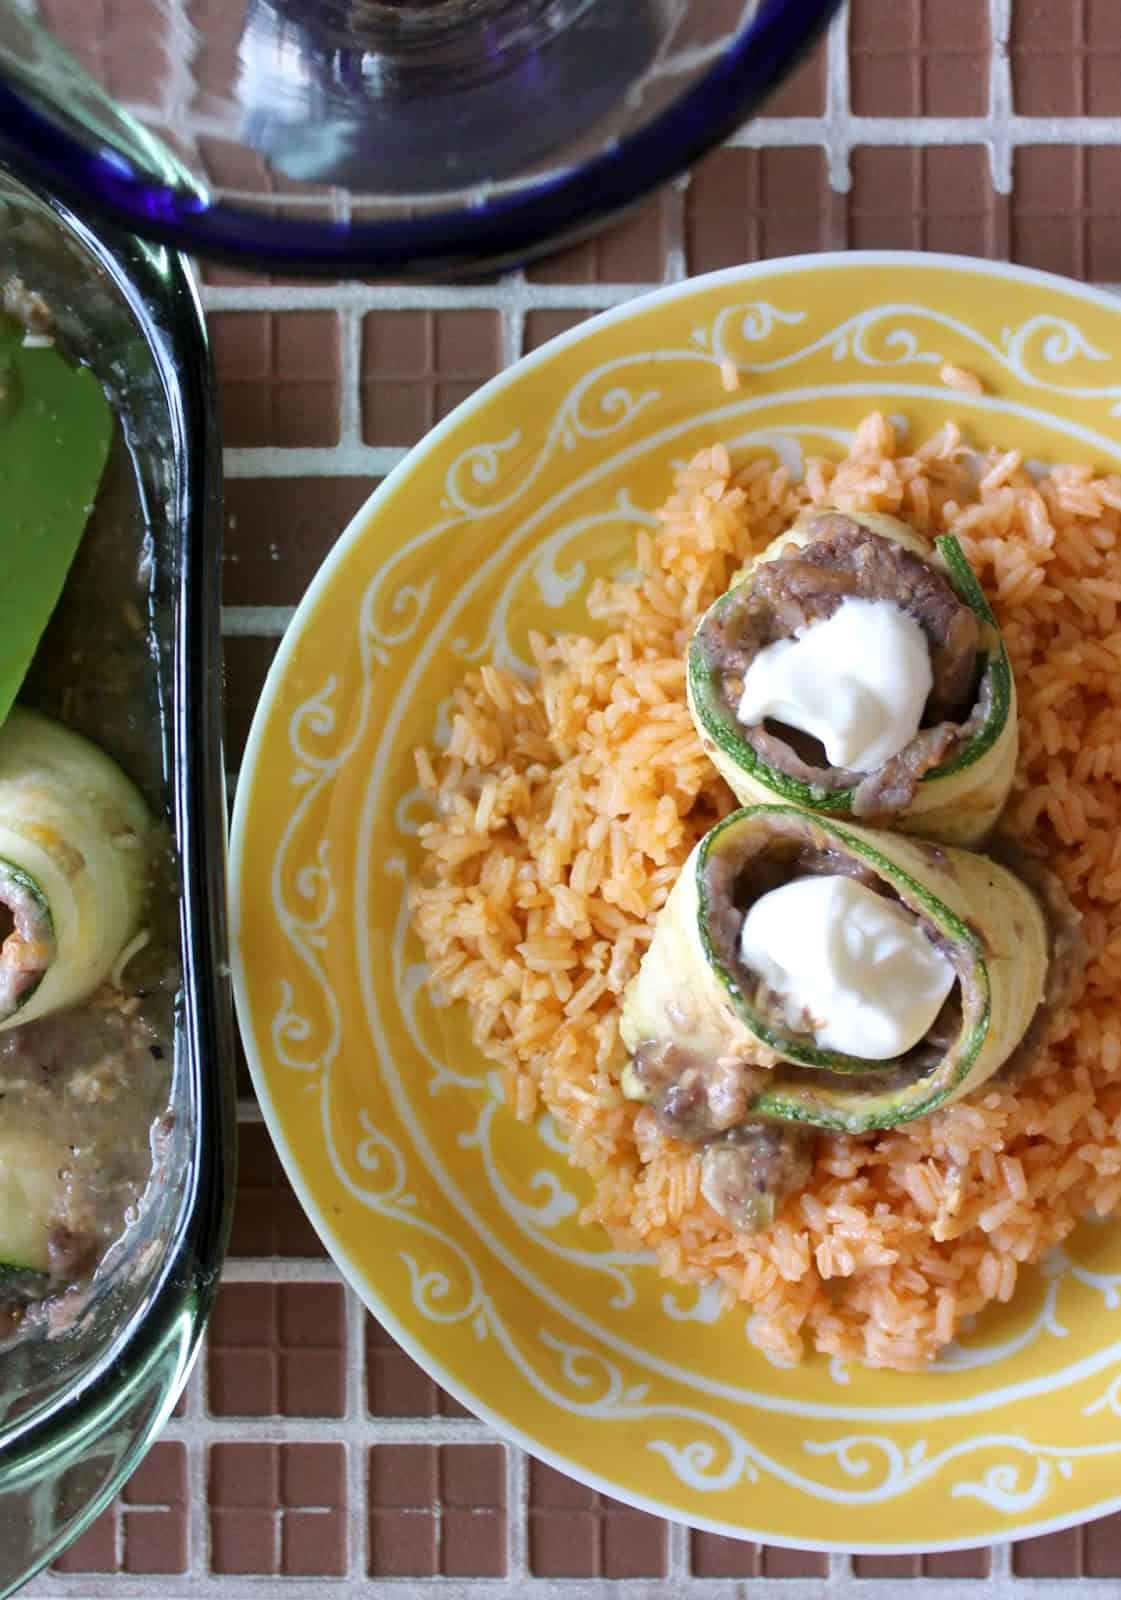
A smear of refried beans and a sprinkle of cheese is all it takes to turn zucchini into a vegetable fiesta. For a bit of a zesty kick, these rolls are nestled into a pool of your favorite salsa verde {enchilada sauce would do the trick, too} and baked until tender. Serve with a side of rice and you’ve got yourself a meal.

They may not be a work of art, but their looks are nothing a few margaritas won’t beautify. 😉


2 comments
Sarai Henderson
I've never been a big fan of zucchini, but these look really good. Confessions of an Ex-Ballerina
thekitchenprep
@Sarai – Thanks! The zucchini is pretty neutral, so the filling and salsa verde really amp up the flavor of the dish. Hope you'll try them!