

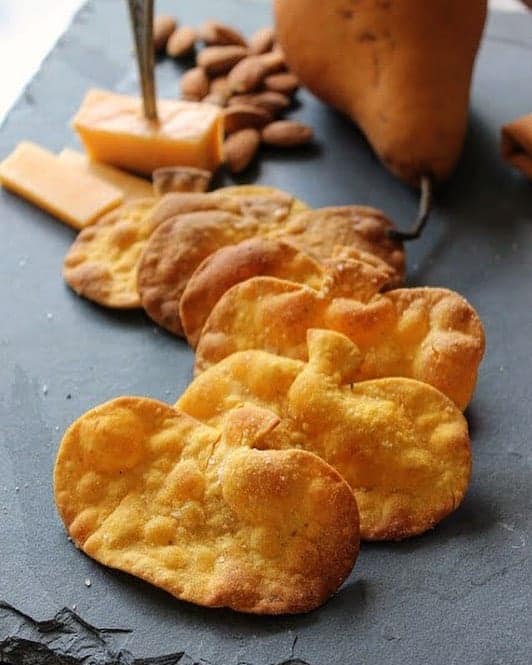
Homemade Pumpkin Crackers! Made with simple ingredients, these crisp crackers are the perfect addition to a fall charcuterie or cheese board. Use a cookie cutter to create any fall shape!
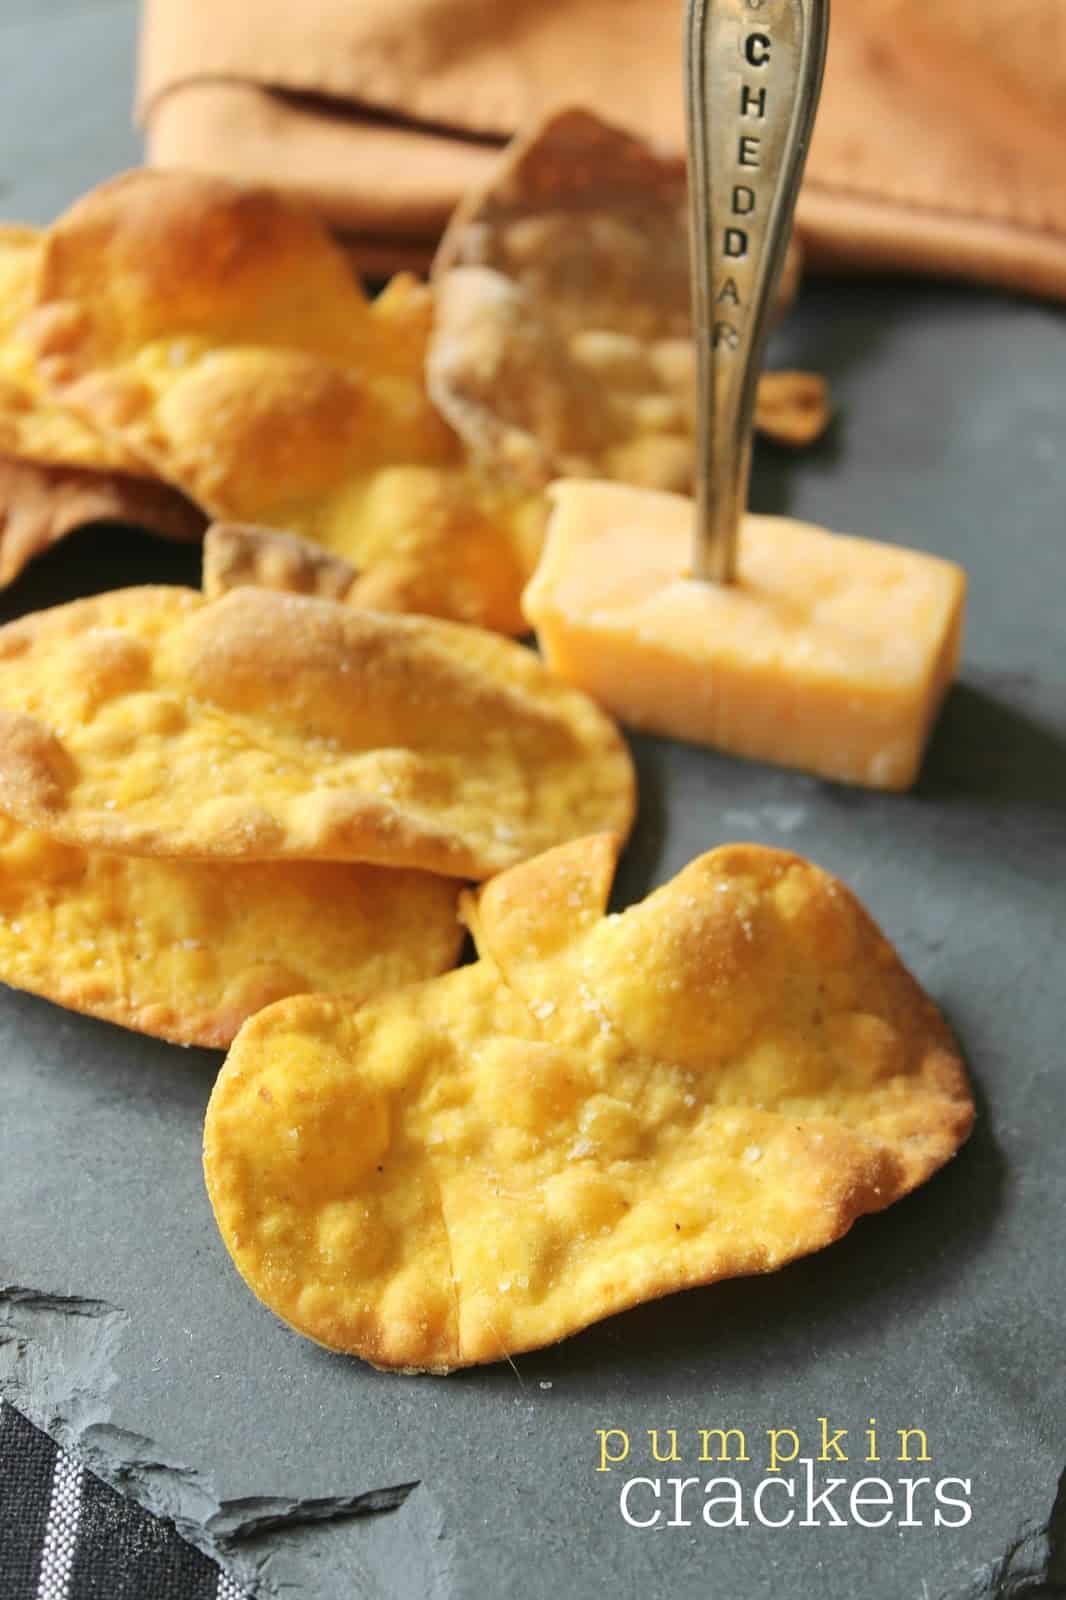
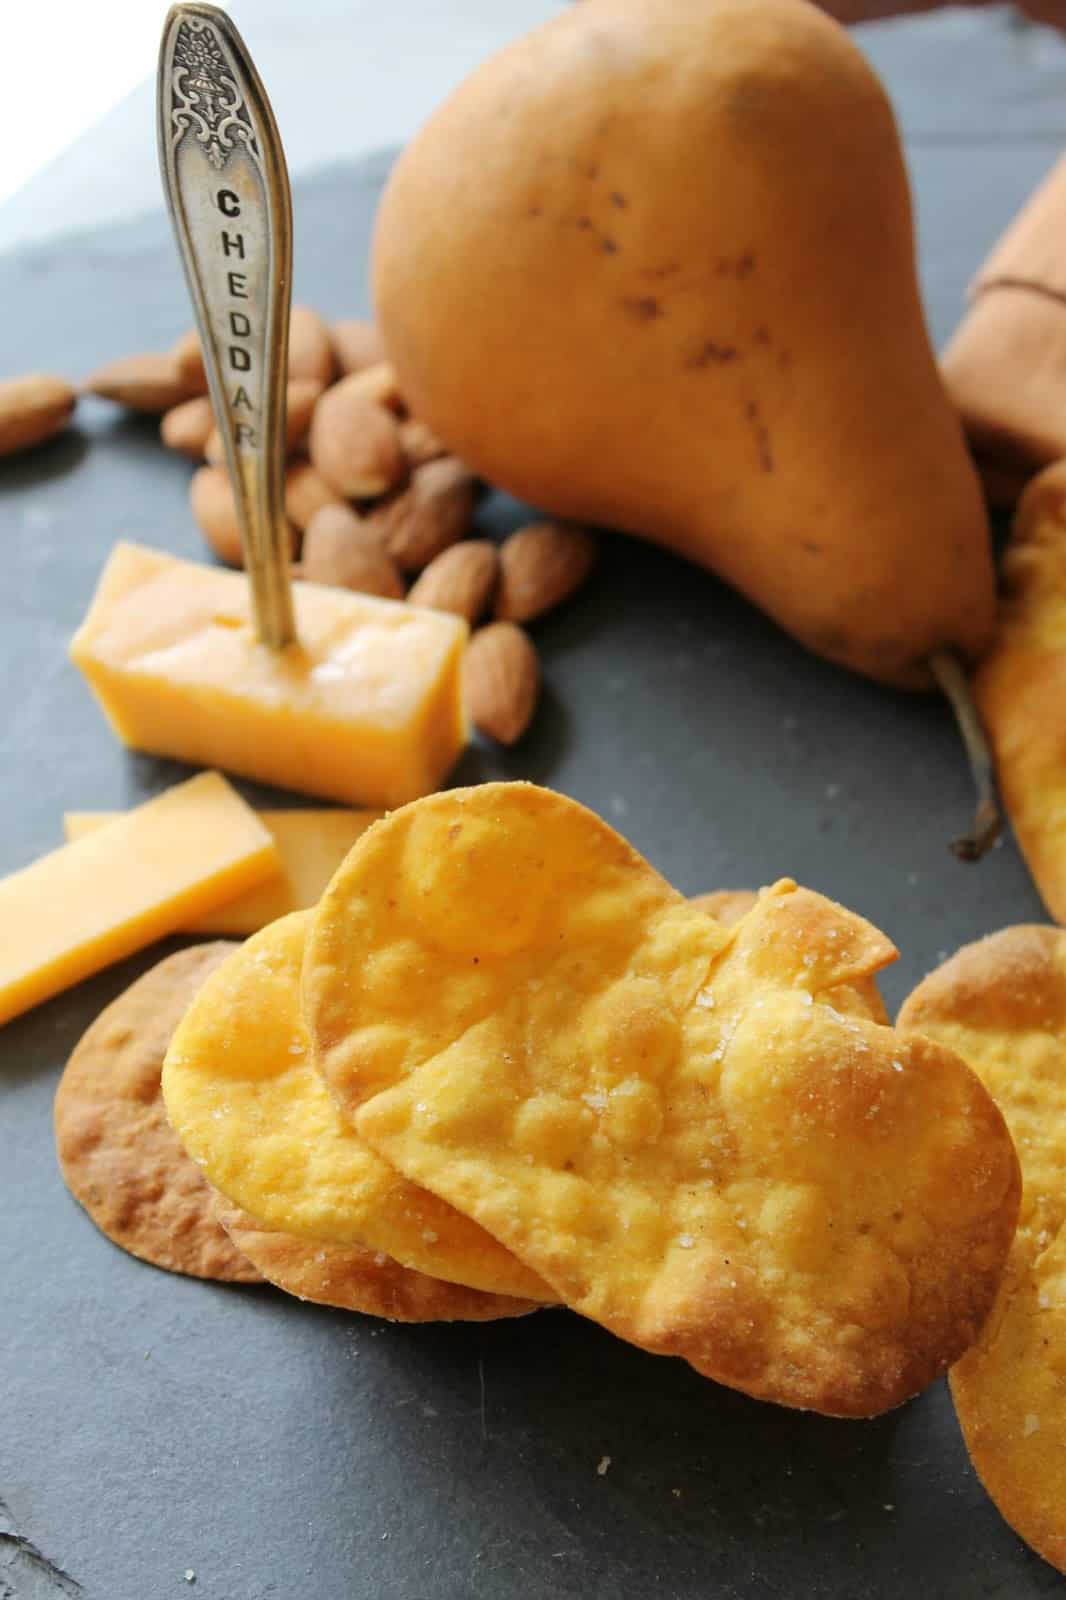
Homemade Pumpkin Crackers are thin, crisp and surprisingly simple to make with just a handful of ingredients. Pumpkin purée gives the dough a warm orange color and subtle fall flavor, while rolling it extra thin creates the crisp texture you want in a homemade cracker.
They’re especially fun for fall entertaining because you can keep them rustic or cut them into seasonal shapes for a cheese board, snack spread or appetizer platter.
The Short & Sweet
- The Concept: Thin, crisp homemade crackers made with pumpkin purée and just a few pantry ingredients.
- Why It’s Worth Making: They’re simple, inexpensive and completely customizable with different shapes and seasonings. They can also make an ordinary cheese board feel instantly more seasonal!
- Best For: Fall cheese boards, grazing tables, appetizers, after-school snacks or a homemade addition to a seasonal snack spread.
- Prep Ahead? Yes. Bake the crackers ahead and store them completely cooled in an airtight container until ready to serve.
- Before You Start: Roll the dough as thinly and evenly as possible. Thickness matters more than almost anything else here — thinner dough produces crisp crackers, while thicker pieces will stay softer.
Why You’ll Love This Recipe
- Easy to customize: Keep them simple with sea salt or add herbs, seeds or other savory seasonings.
- Perfect for entertaining: Cut the dough into fall shapes or break it into rustic pieces for cheese boards and dips.
- No special cracker equipment required: A rolling pin and sheet pan or pizza stone are all you need. (Although, if you have a pasta roller attachment, you can use that, too!)
Ingredients
- Pumpkin purée: Use plain canned pumpkin purée, not pumpkin pie filling. The pumpkin gives the crackers color and moisture, but the flavor itself is intentionally subtle.
- Flour: Regular all-purpose flour works well and keeps the dough easy to roll.
- Water: Add it gradually. Pumpkin purée varies slightly in moisture, so you may not need the exact same amount every time.
- Salt: Start with salt in the dough, then add a little extra on top before baking if desired.
How to Make Pumpkin Crackers
Preheat the oven to 400°F with a baking sheet or pizza stone inside. Combine the flour, salt and pumpkin purée, then add water gradually until a firm, workable dough forms. Knead the dough a few times and let it rest for about 20 minutes. The dough should be pliable but not wet or sticky.
Divide the dough into four portions and roll each one as thinly and evenly as possible on a lightly floured surface. Aim for approximately 1/16 to 1/8 inch thick. This is the most important step for crisp crackers: thicker areas may stay soft even when the edges are browned.

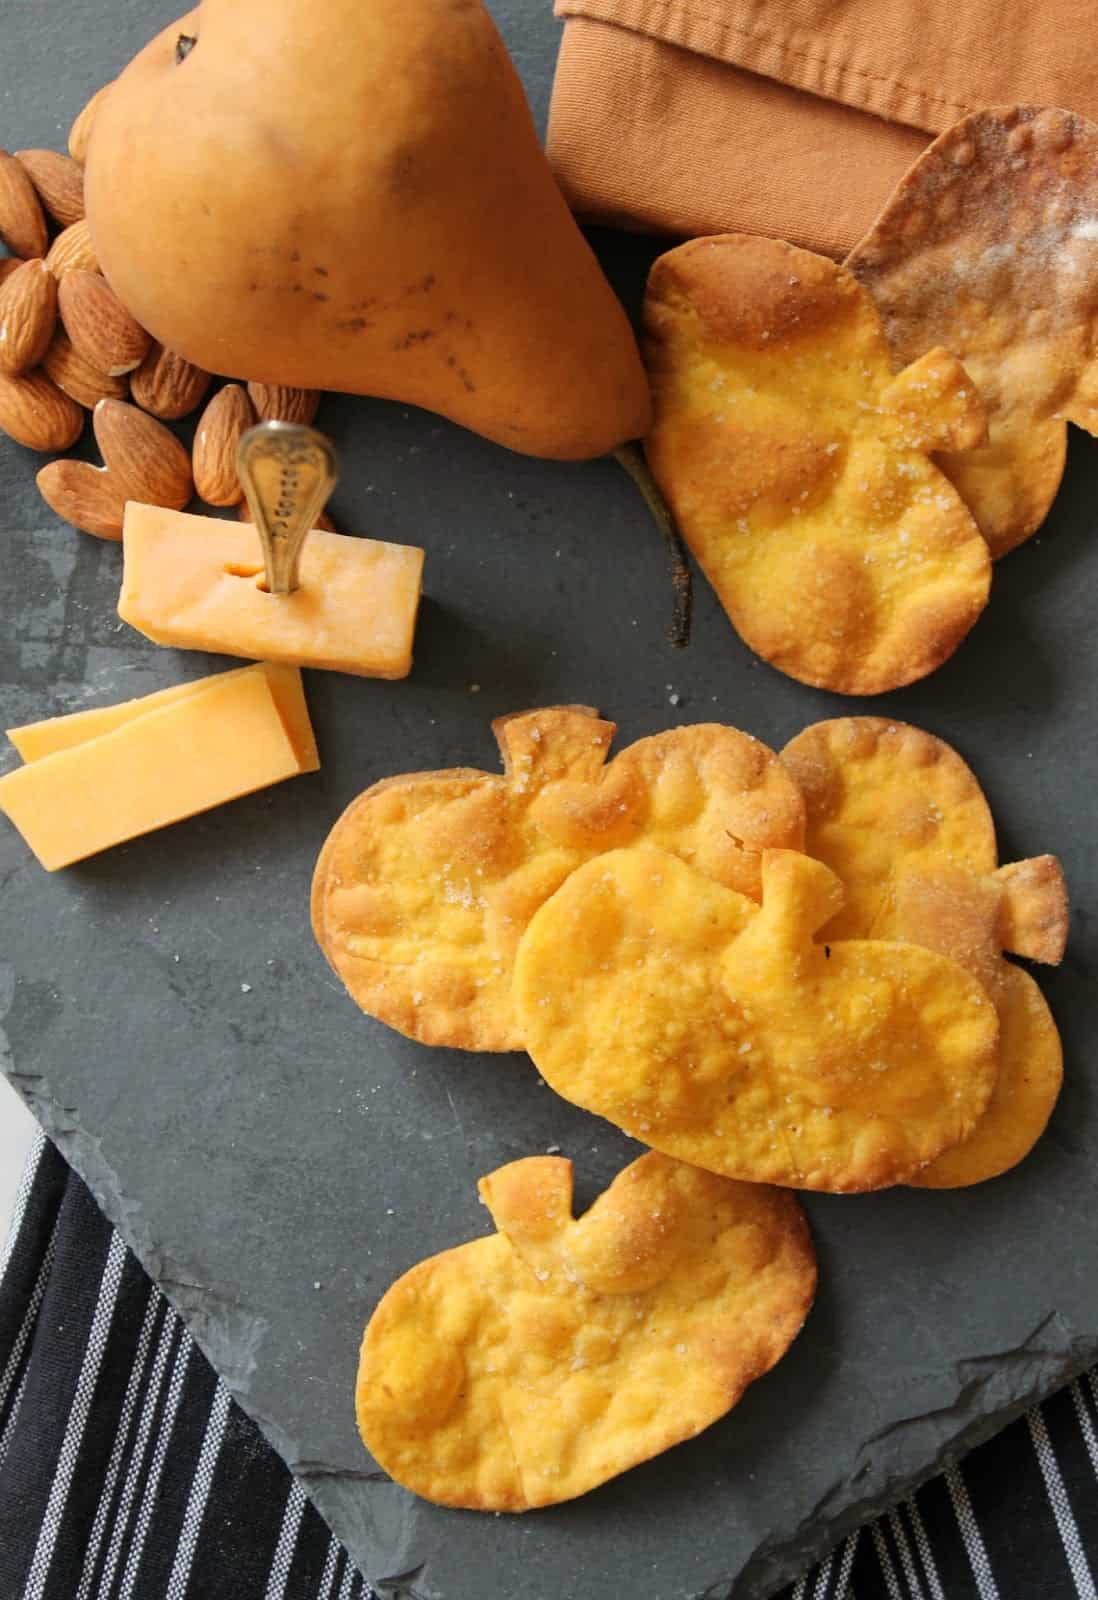
Cut the dough into squares or seasonal shapes, or leave it in rustic sheets to break apart after baking. If desired, lightly brush or spray with olive oil and add your favorite savory seasonings.
Transfer the dough to the hot baking sheet or pizza stone and bake for about 8 to 10 minutes, watching closely toward the end. The crackers should be lightly browned and feel dry around the edges. Very thin pieces may finish sooner, so remove them as needed to prevent burning.
Let the crackers cool completely before serving; they’ll continue to crisp as they cool.
Dianna’s Tips
- Add the water slowly. Pumpkin purée can vary in moisture, so treat the water measurement as a guideline rather than pouring it in all at once.
- Thin is the goal. This is the most important part of the recipe. Put a little muscle into rolling and aim for an evenly thin sheet.
- Watch the edges. Homemade crackers can go from golden to overly browned quickly, particularly if they’re rolled very thin.
- Let them cool completely. The texture becomes crisper as the crackers cool.
- Bake similar sizes together. If you’re using cookie cutters, keeping the shapes roughly the same size helps them bake evenly.
Seasoning Ideas
The basic crackers are intentionally simple, so they’re easy to customize.
Before baking, lightly mist or brush the dough with olive oil and try:
- Flaky or coarse sea salt
- Sesame seeds
- Everything bagel seasoning
- Finely chopped fresh rosemary
- Fresh thyme
- Grated Parmesan
- Cracked black pepper
- Garlic powder
Lightly press down to help the toppings adhere. For heavier add-ons, you may want to use an egg white wash to ensure that things stick.
Storage
Allow the crackers to cool completely before storing them. Keep them in an airtight container at room temperature. If they soften slightly during storage, place them in a low oven for a few minutes to help restore their crisp texture.
Do not store the crackers while they’re still warm; trapped steam will soften them.
Serve It in Style
Pumpkin Crackers are one of those small details that make a fall appetizer spread feel more intentional and highly seasonal!
For a cheese board, pile them into a small basket, low bowl or section of the board alongside creamy Brie, goat cheese or sharp cheddar. Their warm orange color also looks especially pretty next to sliced pears, apples, grapes, fig jam and toasted nuts.
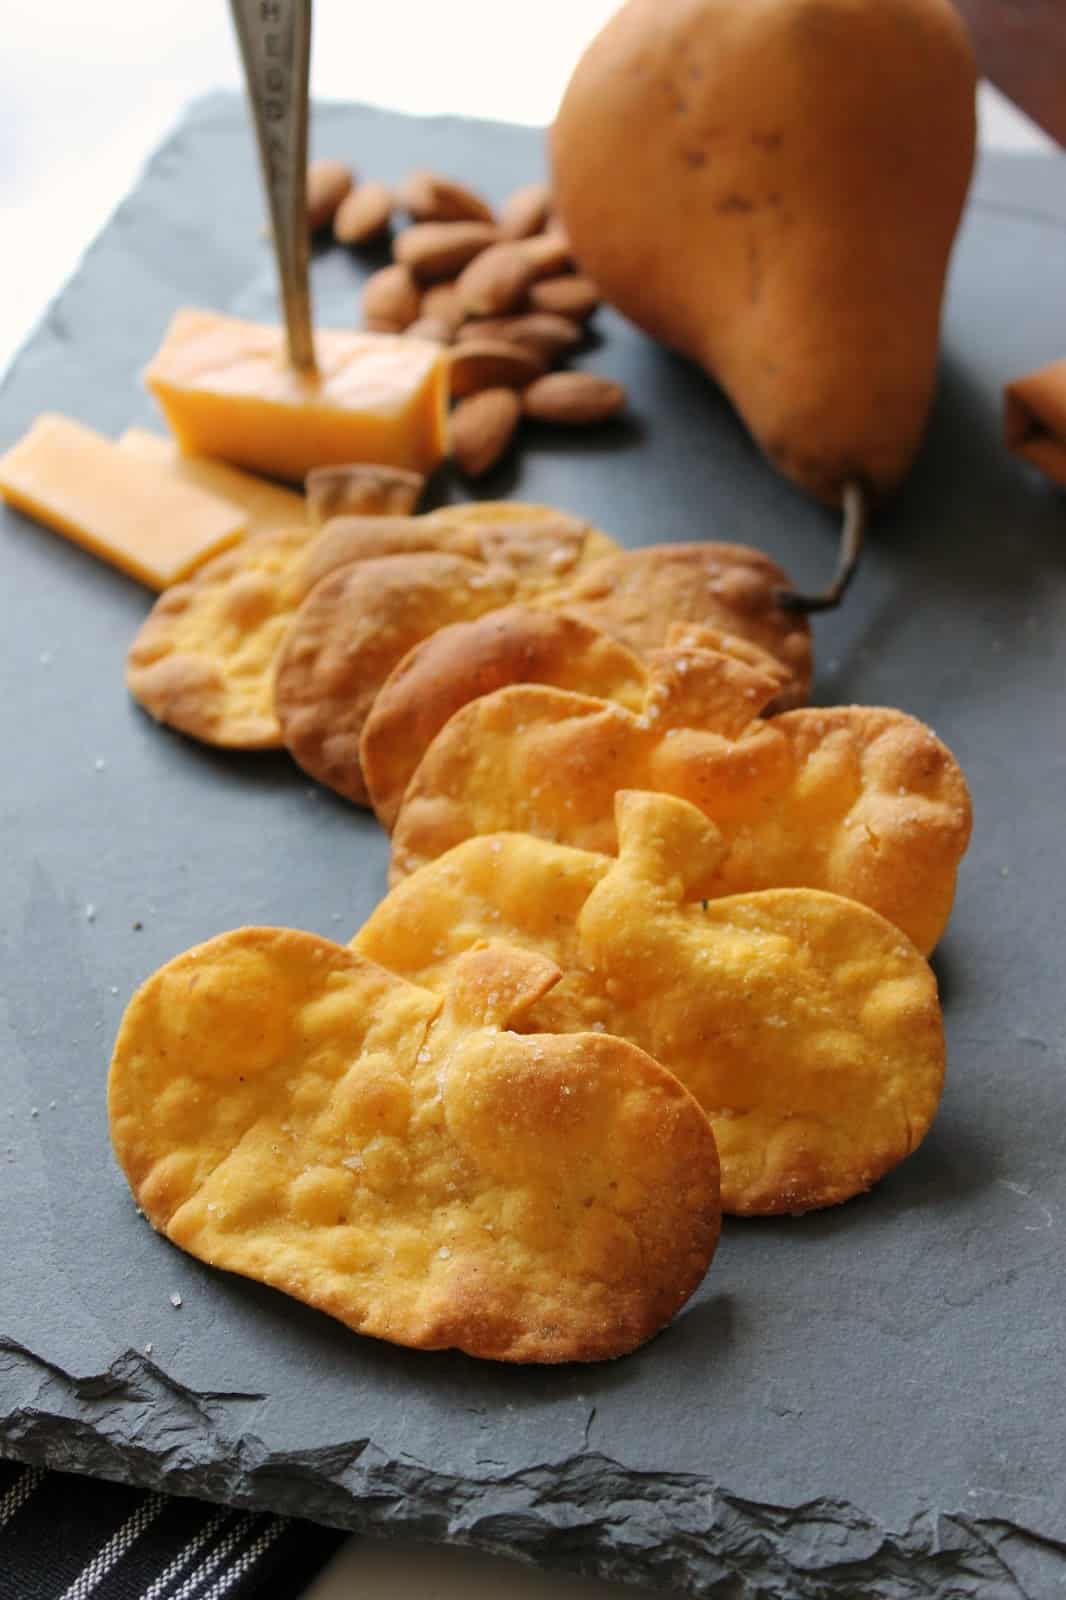
If you’re hosting a fall gathering, use a small leaf or pumpkin cookie cutter to make a few shaped crackers and mix them among rustic pieces rather than cutting every single cracker into a perfect shape. You’ll still get the seasonal effect with considerably less effort.
They’d pair especially well with Caramel Pear Butter, a creamy cheese spread or your favorite fall dip or served alongside a bowl of Creamy Butternut Squash Soup.
Frequently Asked Questions
Do pumpkin crackers taste strongly like pumpkin?
No. The pumpkin flavor is fairly subtle. The purée contributes more color and moisture than strong pumpkin flavor, which makes these crackers versatile enough to pair with savory cheeses, dips and spreads.
Can I use homemade pumpkin purée?
Yes, but homemade purée can contain more moisture than canned pumpkin. If using homemade purée, add the water very gradually and stop as soon as a firm, workable dough forms.
Why are my homemade crackers soft?
The most common reason is that the dough was rolled too thickly. Roll it very thin and evenly, bake until dry and lightly browned, and let the crackers cool completely. They continue to crisp as they cool.
Can I make pumpkin crackers ahead?
Yes. Bake and cool them completely, then store in an airtight container until ready to serve.
Pumpkin Crackers

4 comments
Shinee D
Umm, these are homemade?? They look perfect, Dianna. I'm so trying this recipe!!
thekitchenprep
@Shinee – Thanks, lady! 🙂 They're so easy & definitely worth a try! Plus, all that rolling is a great little workout. haha!
Jo-Ellen Randolph
This recipe looks great. Do happen to have nutrition facts?
thekitchenprep
I don’t have the nutrition facts, but there are lots of online nutrition calculators that you can plug recipes into and it should give you an estimate.