Disclosure: This post is written in partnership with Florida Prepaid College Foundation as a member of their Believer Bloggers program. As always, all opinions here are my own.
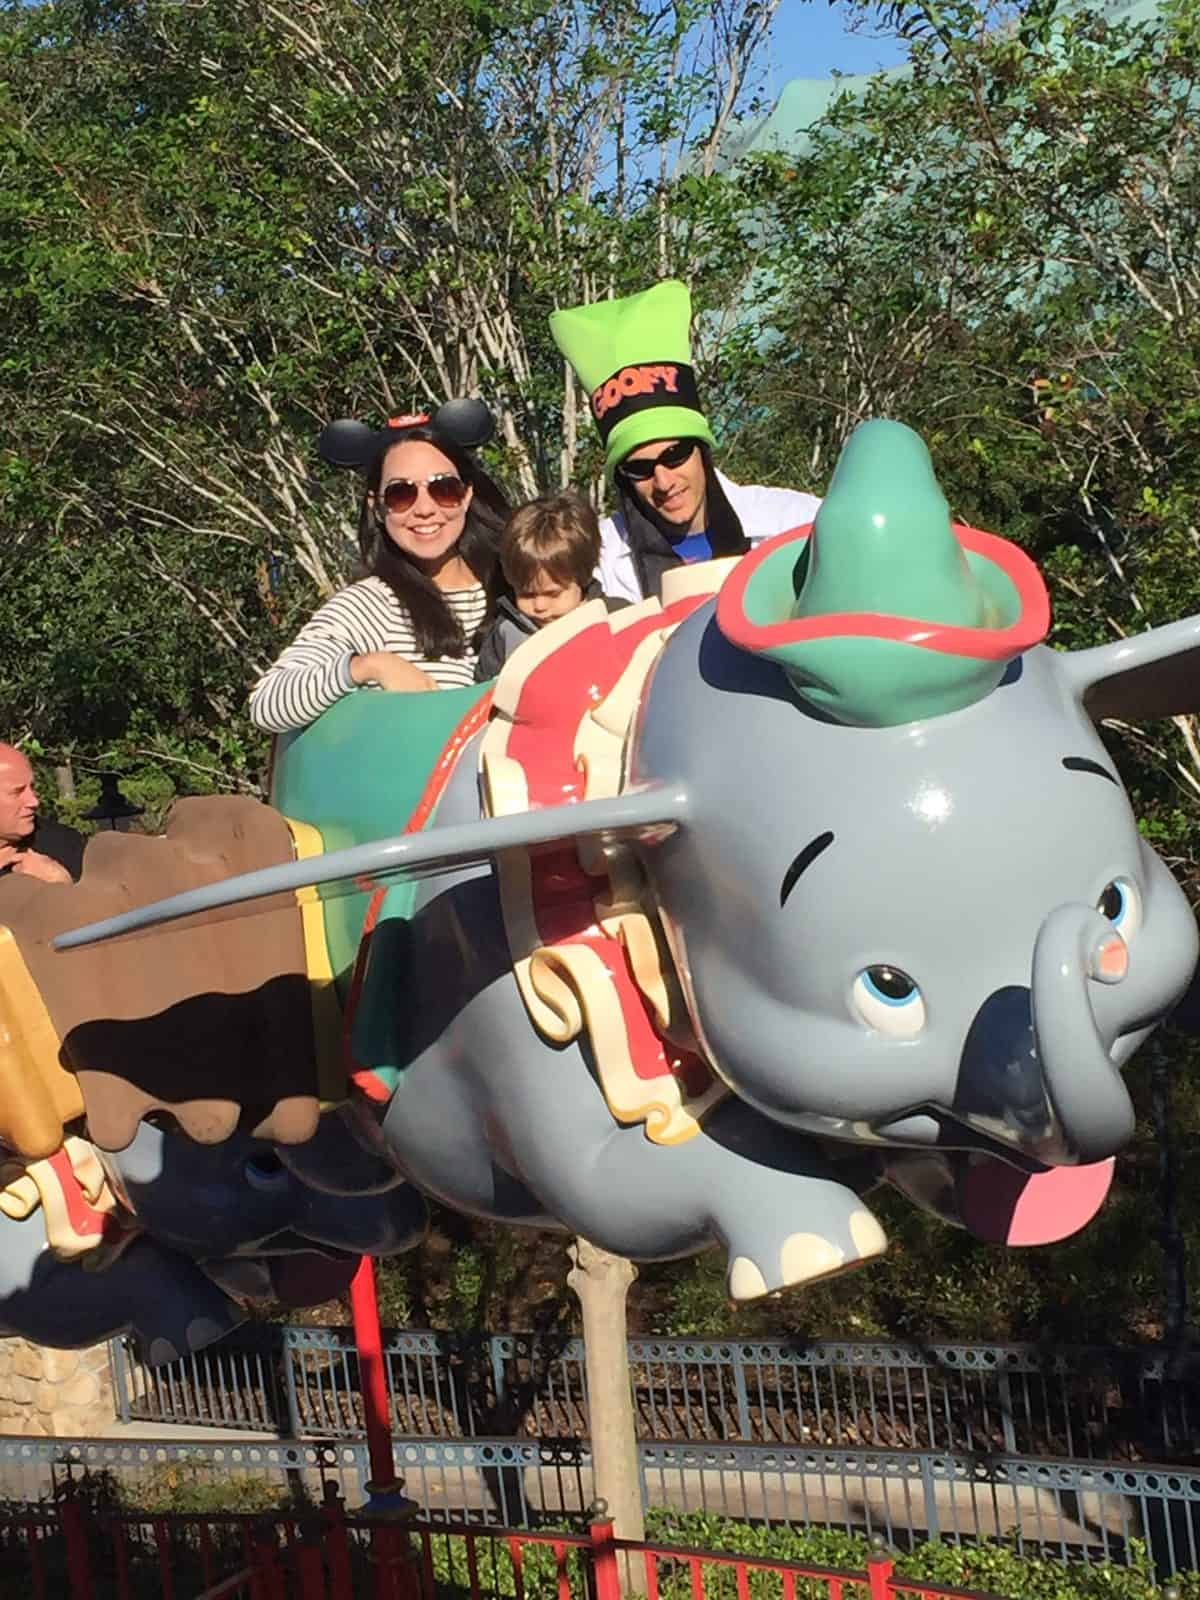
Last weekend we took a trip to Disney as an early birthday celebration for Cole. It was everything we thought it would be — busy, full of memories and exhausting! 🙂
While I was wandering the parks with a {slightly overwhelmed} toddler in tow, I couldn’t help but notice how many other families were enjoying vacations there, too, and it got me thinking about how expensive it is to spend a weekend at Disney World.
Between travel, lodging, park tickets and food alone, we’re talking thousands of dollars for a family of four! Some folks spend years saving up to be able to visit The Happiest Place on Earth, which may seem absurd to some. But for others, taking a trip to such an iconic spot filled with childhood wonder and magic makes every penny worthwhile.
A stroll down Main Street, U.S.A. in the Magic Kingdom is not complete without a visit to the Confectionery, an old-timey candy shop and bakery filled to the brim with all things sugary. My favorite part of stopping by is getting to watch as the treats are made right before your eyes.
During our last visit, I got to see how the ever-popular Mickey Mouse Caramel Apples are made, and it prompted me to want to “Mickey-fy” everything. Though it may take a while to perfect the tricks of the trade, you can easily whip up Mickey treats in your very own kitchen without having to go through the sticker shock of Disney prices. {I mean, they have to charge you a little extra for the Magic.}
Once you’re back from vacation, it may be a good idea to lay off of daily caramel apples, so instead, I made some treats that are wholesome enough to be enjoyed almost daily.
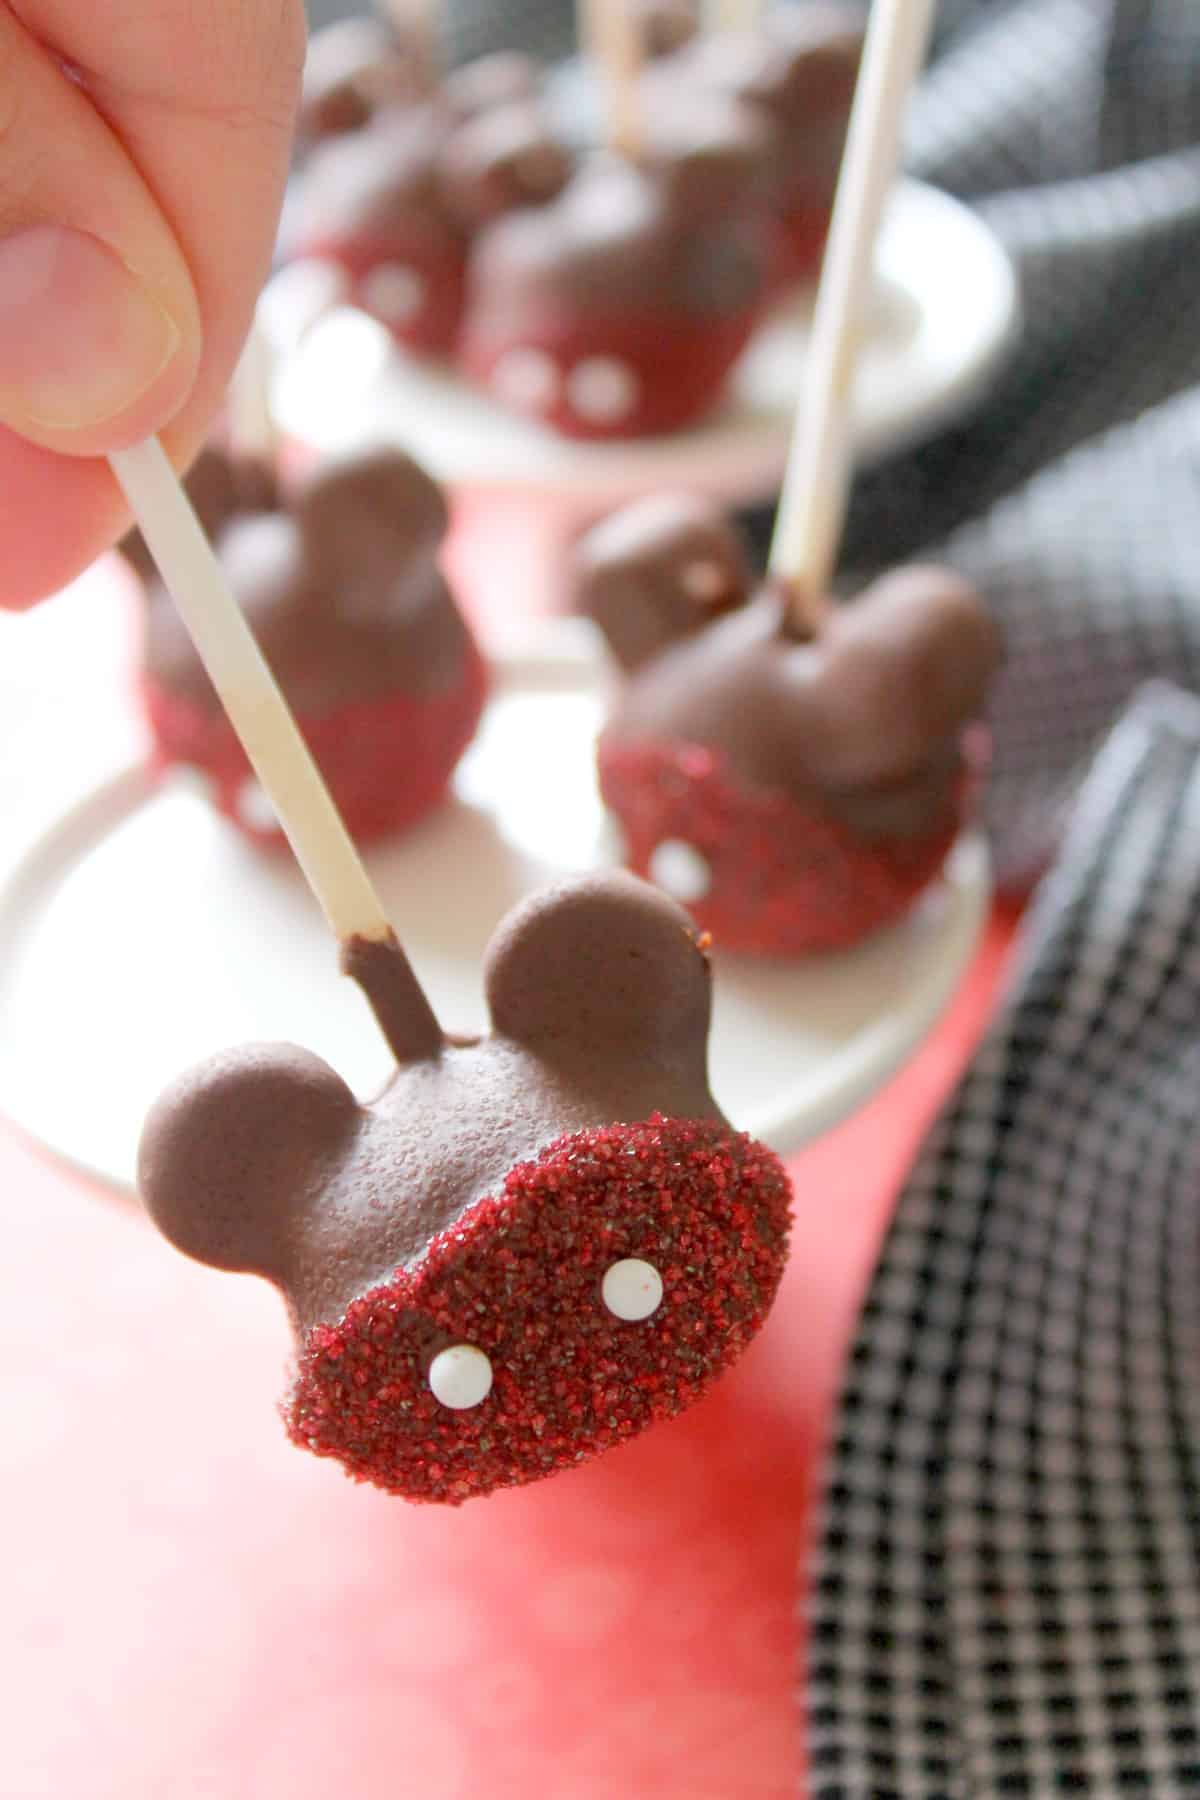
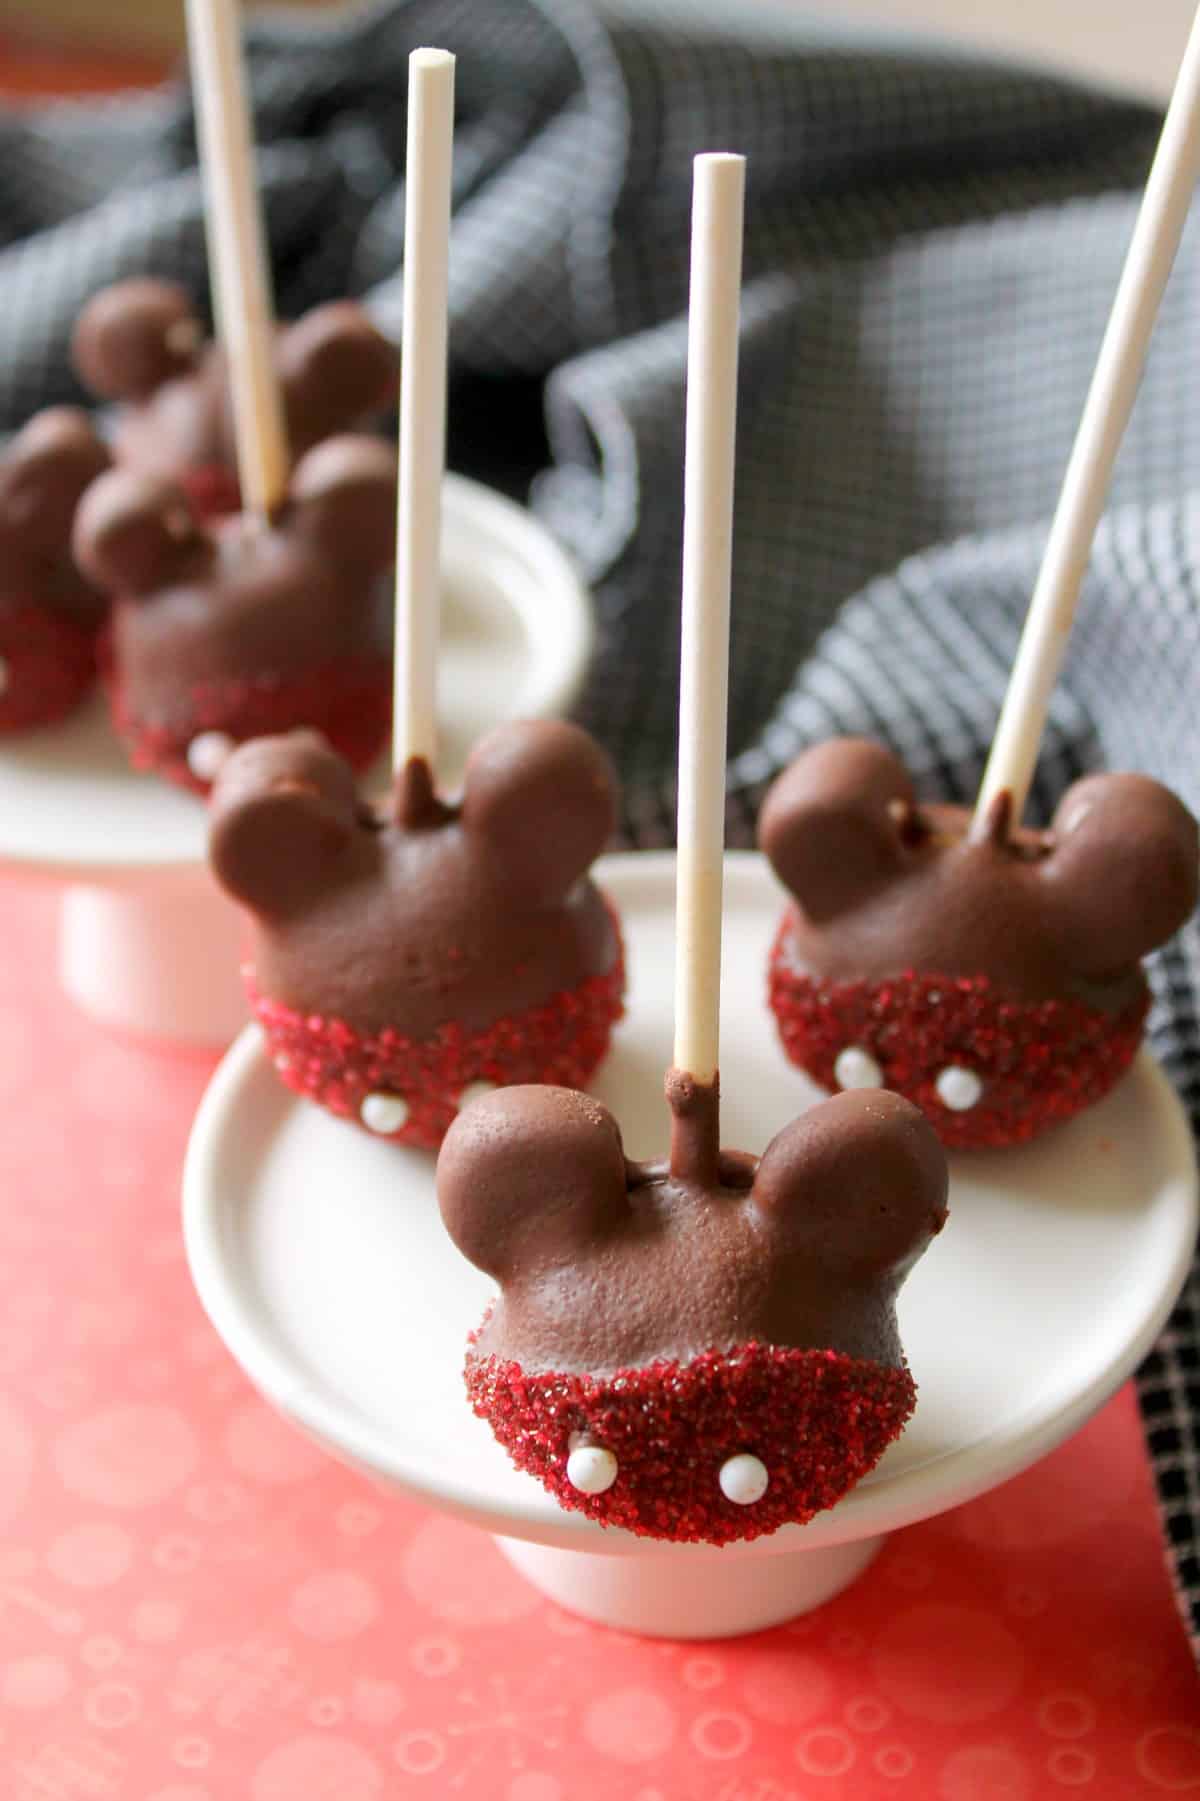
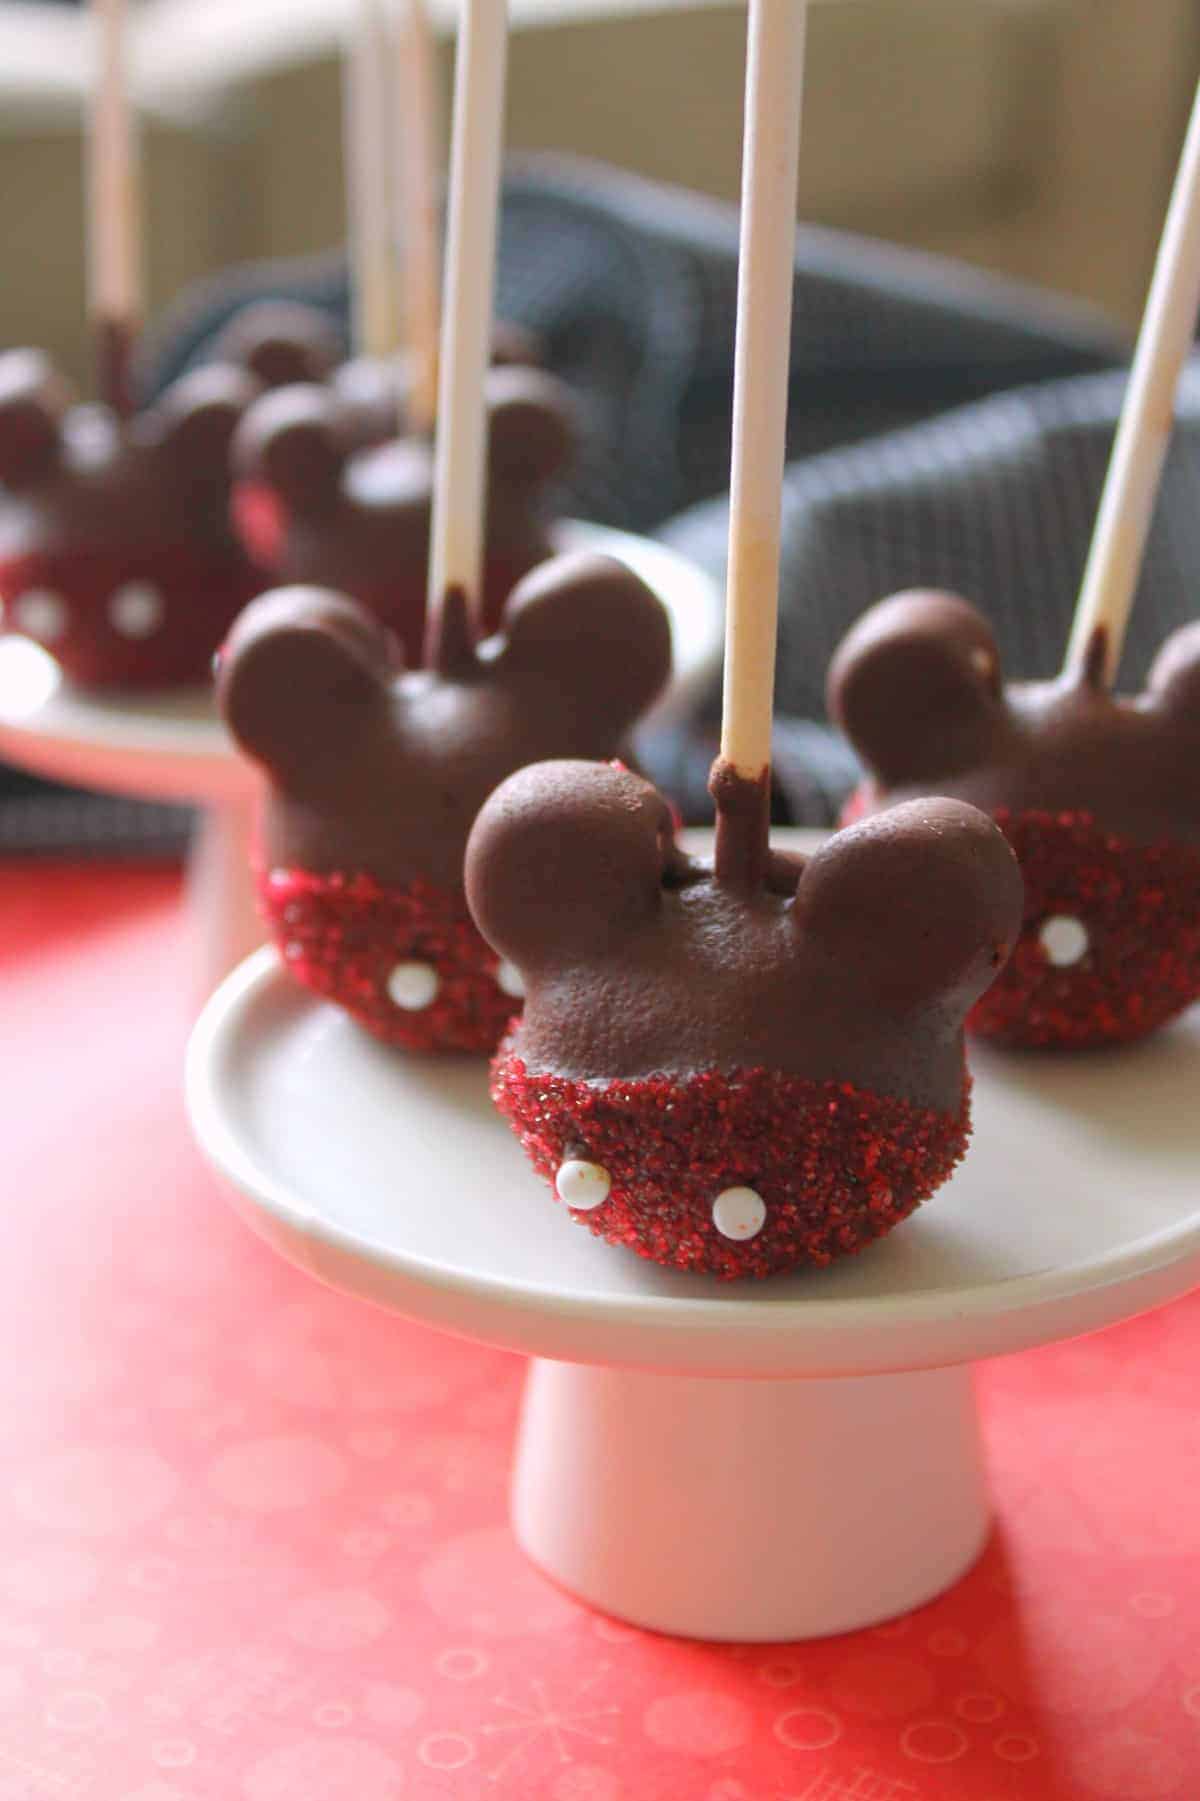
Though they look like cake pops, these Mickey-eared goodies are actually made up of simple ingredients on the inside — an energy ball consisting of gluten free oats, coconut flakes, peanut butter, vanilla and honey!
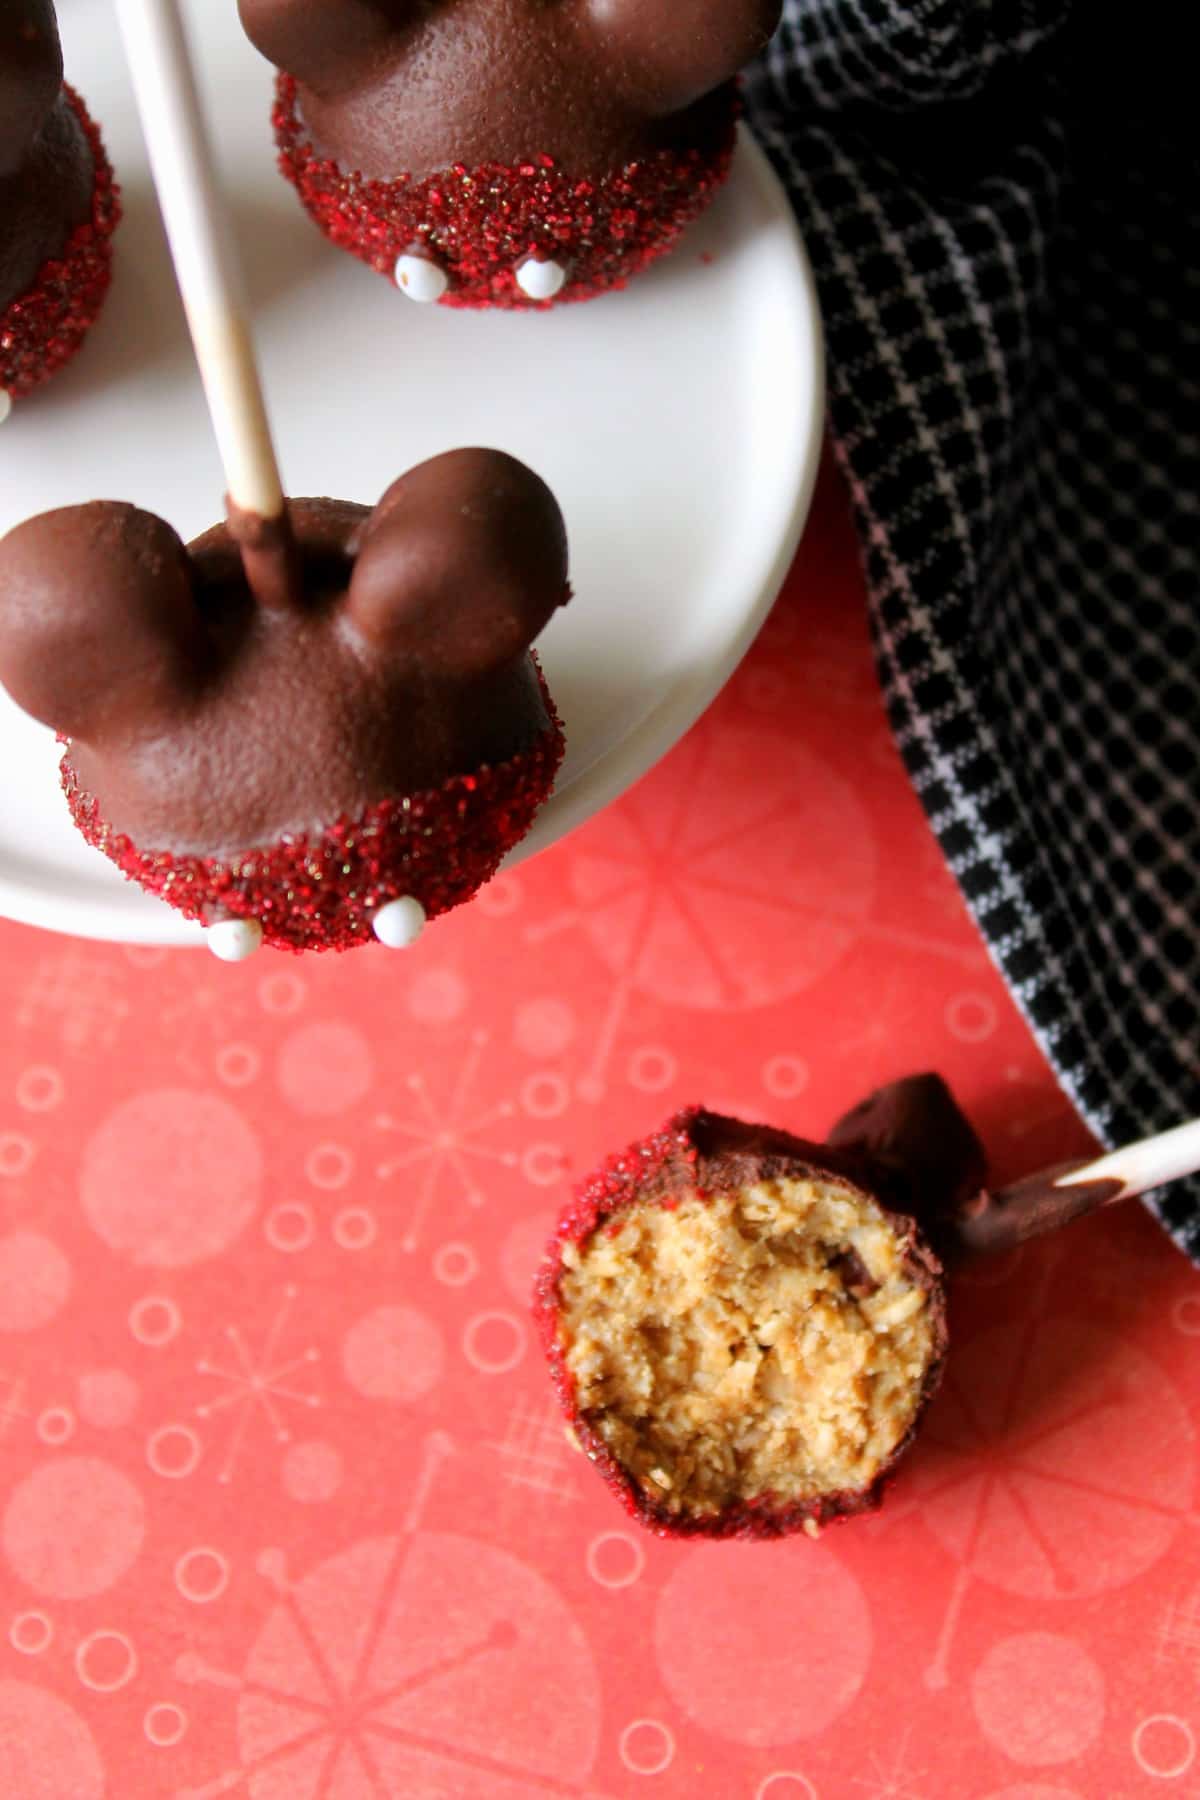
Some mini marshmallows adhered to each side and a dip in semi-sweet chocolate transform a simple snack into a magical bite that kids {and adults} will love. For a special occasion, deck them out with red sparkling sugar and some edible “buttons” for the full-blown Mickey effect!
Next time you’re craving some of Disney’s whimsical eats, you don’t have to “wish upon a star” — just whip up these energy bites to hold you over until your next visit!
Mickey Mouse Energy Pops