I mentioned my Jell-O shot fiasco briefly yesterday but never explained exactly what happened.
{I needed a break from thinking about it.}
After browsing tons of festive ideas over the last few weeks, I decided on a rummy version of this fun recipe from That’s So Michelle for “Bomb Pop Jell-O Shots”. {You know, those rocket shaped popsicles you loved as a kid.} I thought I’d bring the along to the 4th of July cookout along with the healthy Tex-Mex 3 Bean Salad with Grilled Corn & Avocado I put together yesterday. {Balance is key!}
I was so successful in following Michelle’s instructions that I didn’t even consider that it might be a little difficult to remove these little cuties from their molds.
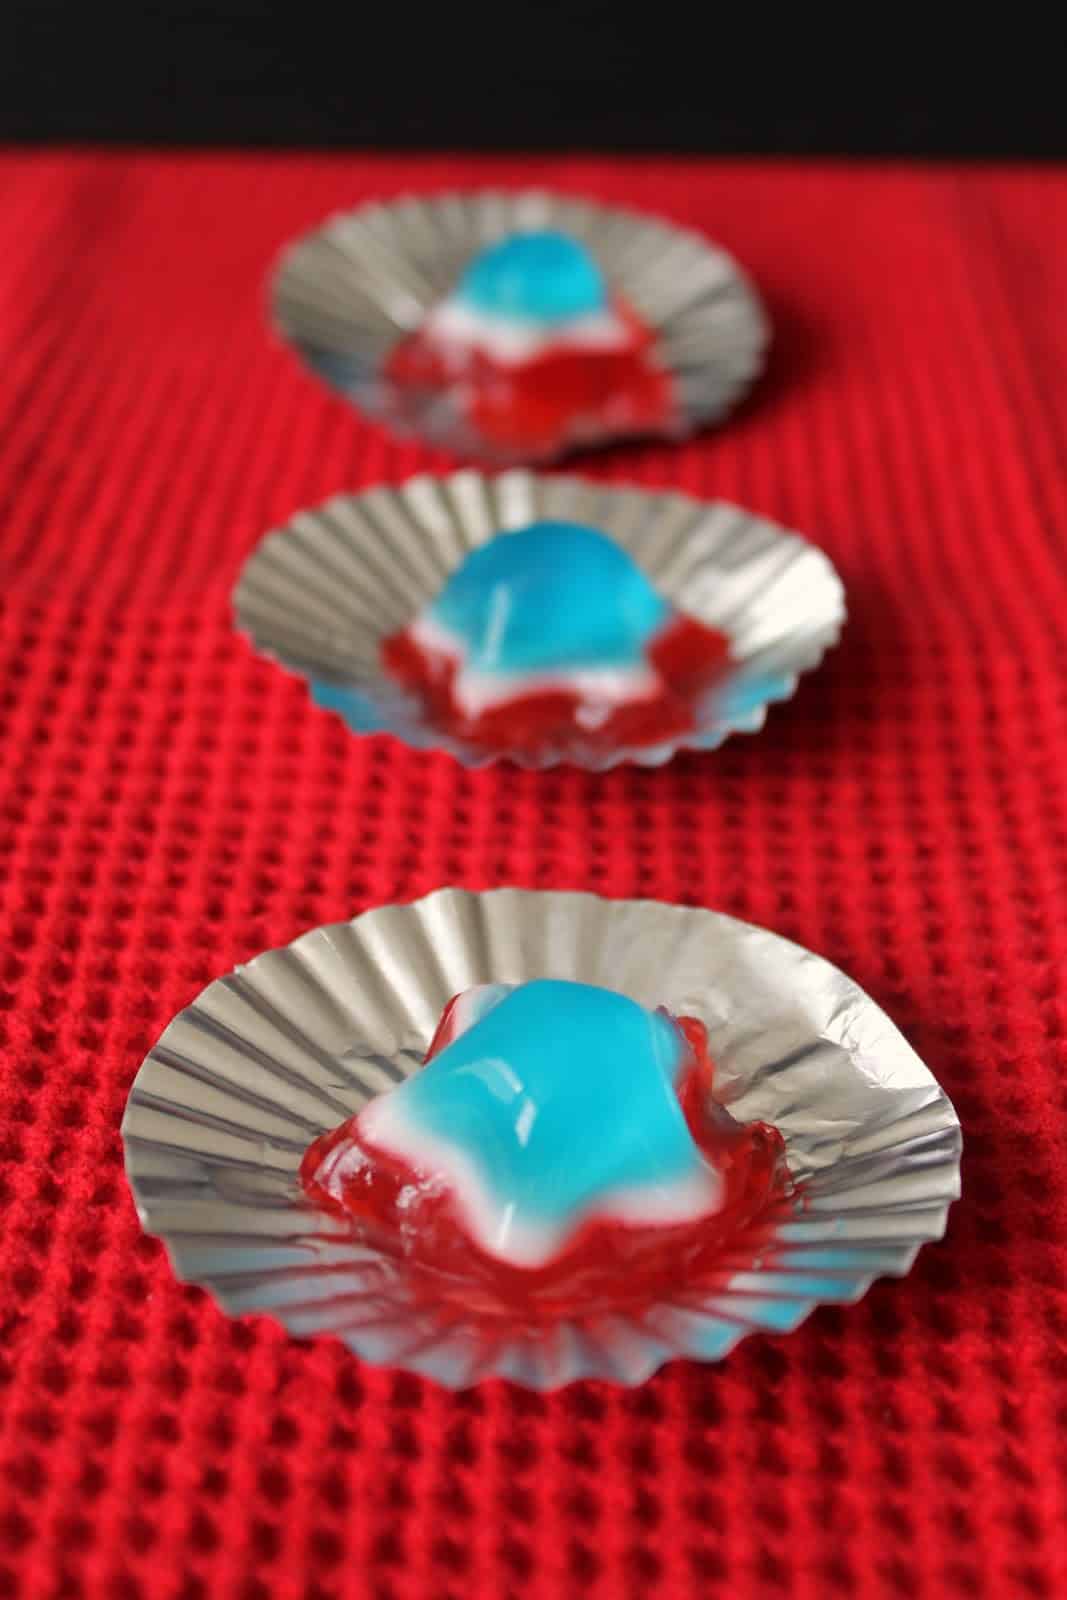
I started with the ones I made in mini-muffin tins because I figured they’d be easier than the stars. If “easy” means part of the Jell-O stays stuck to the tin, then yeah… real success. It was not looking good for that star mold.
Once I did a little research, I determined that the best chance of sliding the shots out of their cozy little trays would be to soak the bottom of the pans in super hot water to loosen up the gelatin and help them release without sticking. Genius!
As I attempted this strategy for the first batch, I got completely distracted and left them soaking for a few minutes too long. The result was completely liquified Jell-O, and purple shots. Not quite what I was looking for.
Attempt number 2 was much more successful, except I wasn’t expecting them to slide out SO quickly. When I flipped the tray, the shots slipped right out… along with a stream of blue liquid gelatin. All over my counters. Yep.
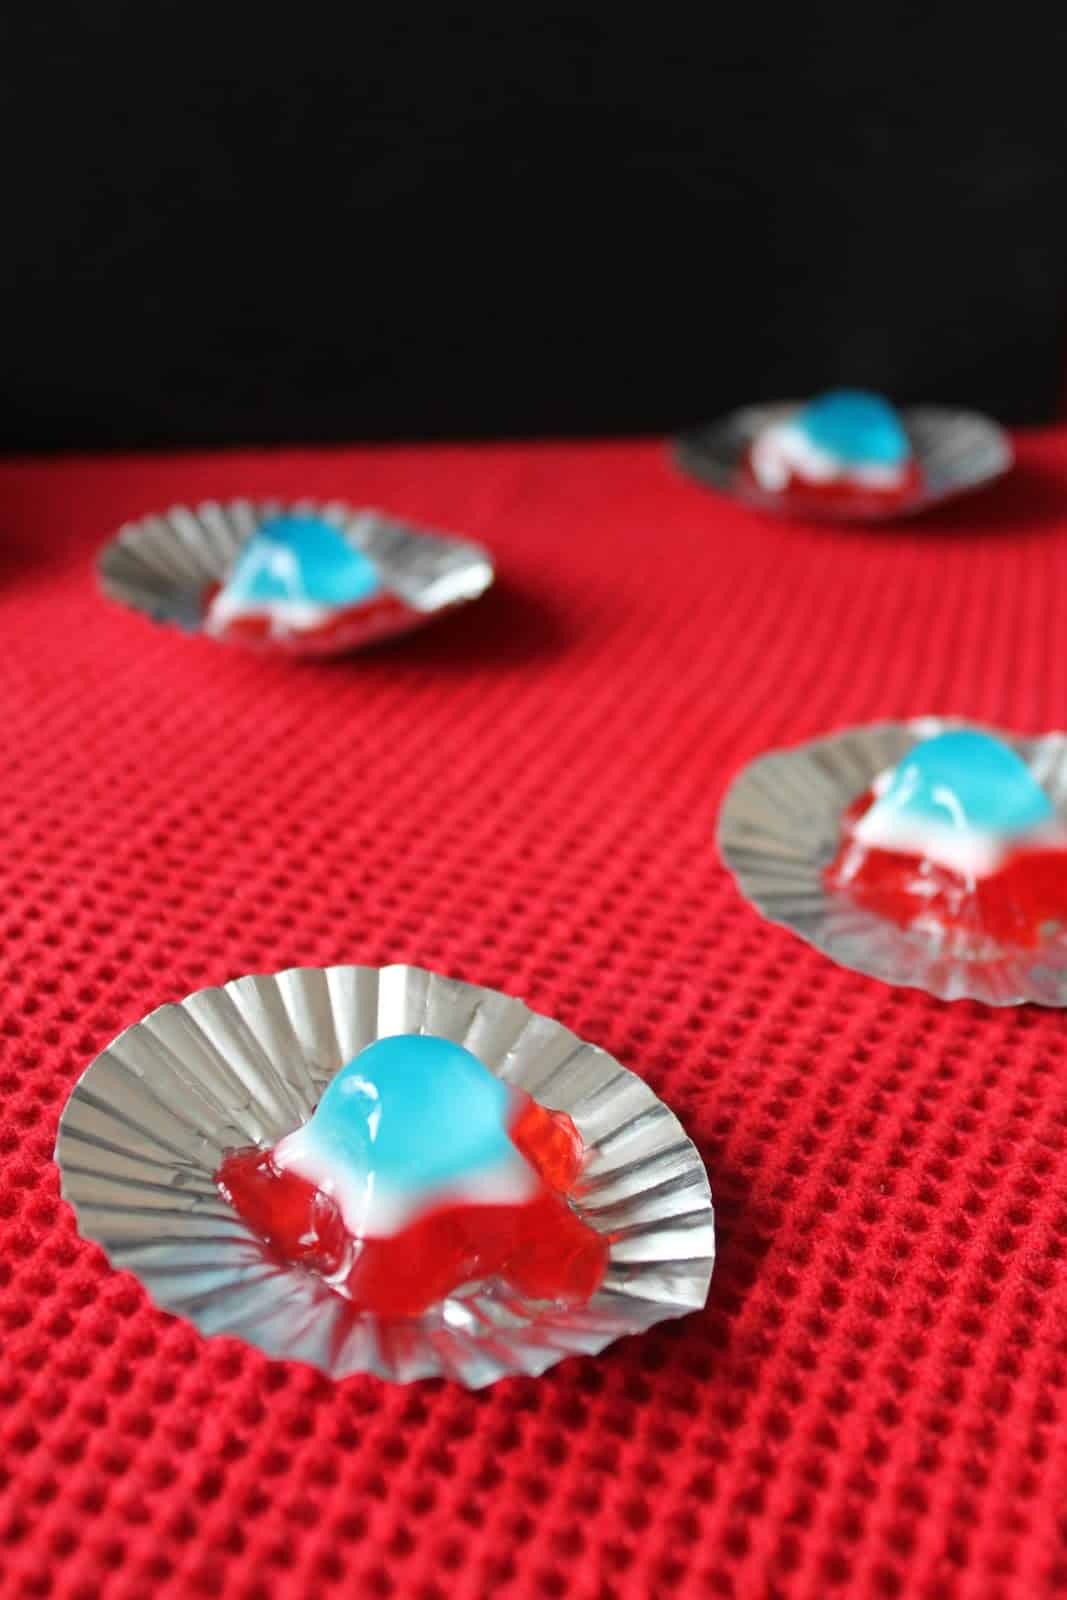
Finally, using all the info I’d gathered from the last 3 disastrous batches, I the final tray was my biggest success. {Took long enough.}
You’re lucky you have someone to get all that “trial & error” stuff out of the way for you. I’m confident yours will be just perfect. 😉
Happy 4th of July, friends!
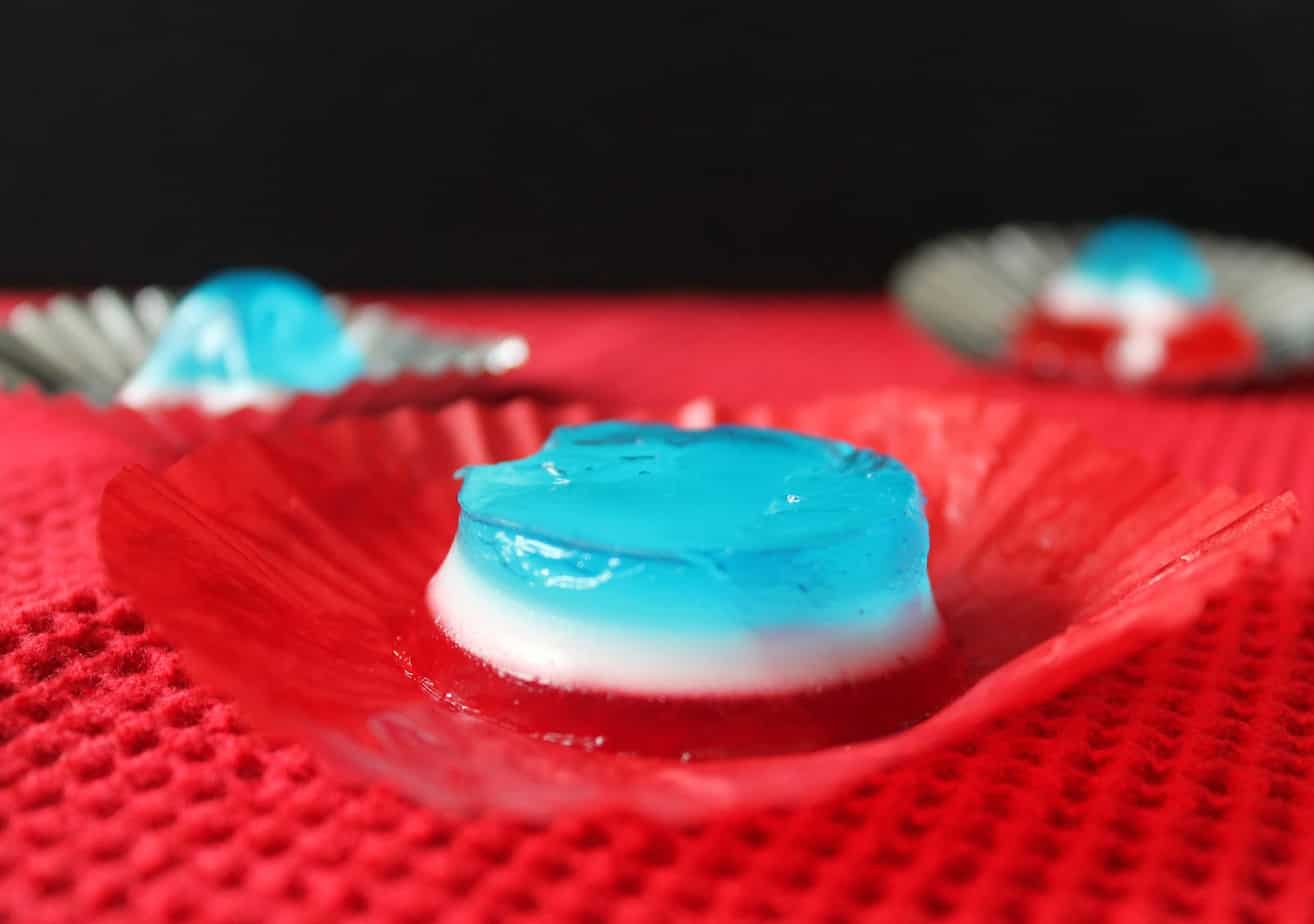
Red, White, & Blue Layered Jell-O Shots
Adapted from That’s So Michelle
Blue Layer
1 {3 oz} box Berry Blue Jell-O
2/3 cup water
2/3 cup Cruzan Vanilla Rum
1. Microwave 2/3 cup water in a large heat proof measuring cup until boiling {about 3 minutes}. Add gelatin packet, and stir until dissolved. Add rum.
2. Pour blue mixture into a lightly
greased mini-muffin tin, mold, or small cups. {30-45 mins.} Refrigerate and allow blue layer to solidify slightly before adding white layer. {Should be sticky & jiggly, but not watery.}
White
Layer
1/2 cup coconut milk
2 table spoons sugar
1
packet Knox Gelatin
1/2 cup Coconut Rum {I used Commander’s Call}
1. Pour
milk into a small sauce pan, and sprinkle gelatin packet on top. Let it sit for about 5 minutes. Stir. Turn burner to medium heat
and warm until gelatin dissolves. Add sugar and stir until dissolved. Add rum.
2. When white jello mixture has
cooled, pour it on top of the solidified blue layer. {Do not pour the red layer until the white layer is solid.} Refrigerate until jiggly and not wet.
Red
Layer
1 {3 oz} box Strawberry-Banana {or your favorite red} Jell-O
2/3 cup water
2/3 cup Cruzan Vanilla Rum
1. Microwave 2/3 cup water in a large heat proof measuring cup until boiling {about 3 minutes}. Add gelatin, and stir until dissolved. Add rum.
2. Once white layer is sticky but not wet, pour red mixture on top for the final layer. Refrigerate for 4 hours or overnight.
Unmolding
{Helpful tools: A toothpick, a platter or lined pan, non-stick cooking spray}
1. Lightly spray the surface of a pan or platter with non-stick cooking spray}. Optionally, you can run a toothpick along the outer edge of each mold to ensure that it comes out easily, but this may not be necessary.
Submerge tins or mold in a bit of hot shallow water in the sink or deep roasting pan {should come about half way up the side of mold} for about 20 seconds – if it starts to look liquidy or cloudy, remove immediately!
2. Quickly {and carefully, there will be liquid!} flip tray or mold over onto platter or pan… preferably over the sink. Shots should slide out easily.
3. Carefully move shots to serving tray sprayed lightly with non-stick cooking spray and arrange. {They were super jiggly & kind of hard to hold, but it’s possible.}