
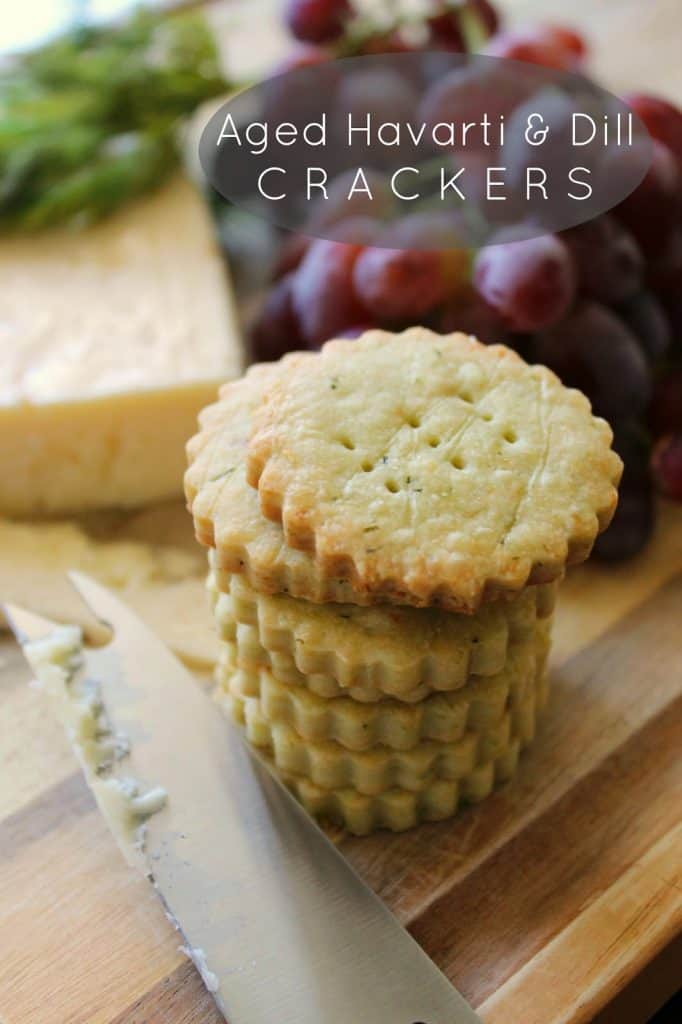
Cheese Wafers! These rich, buttery cheese wafers make a mouthwatering addition to a charcuterie board or a delicious snack. Package them up as a hostess gift or serve them up at home for any occasion!
This post may contain affiliate links, which means that, at no extra cost to you, I may earn a small commission if you click a link and purchase an item I’ve recommended. Thanks for your support in running this blog!
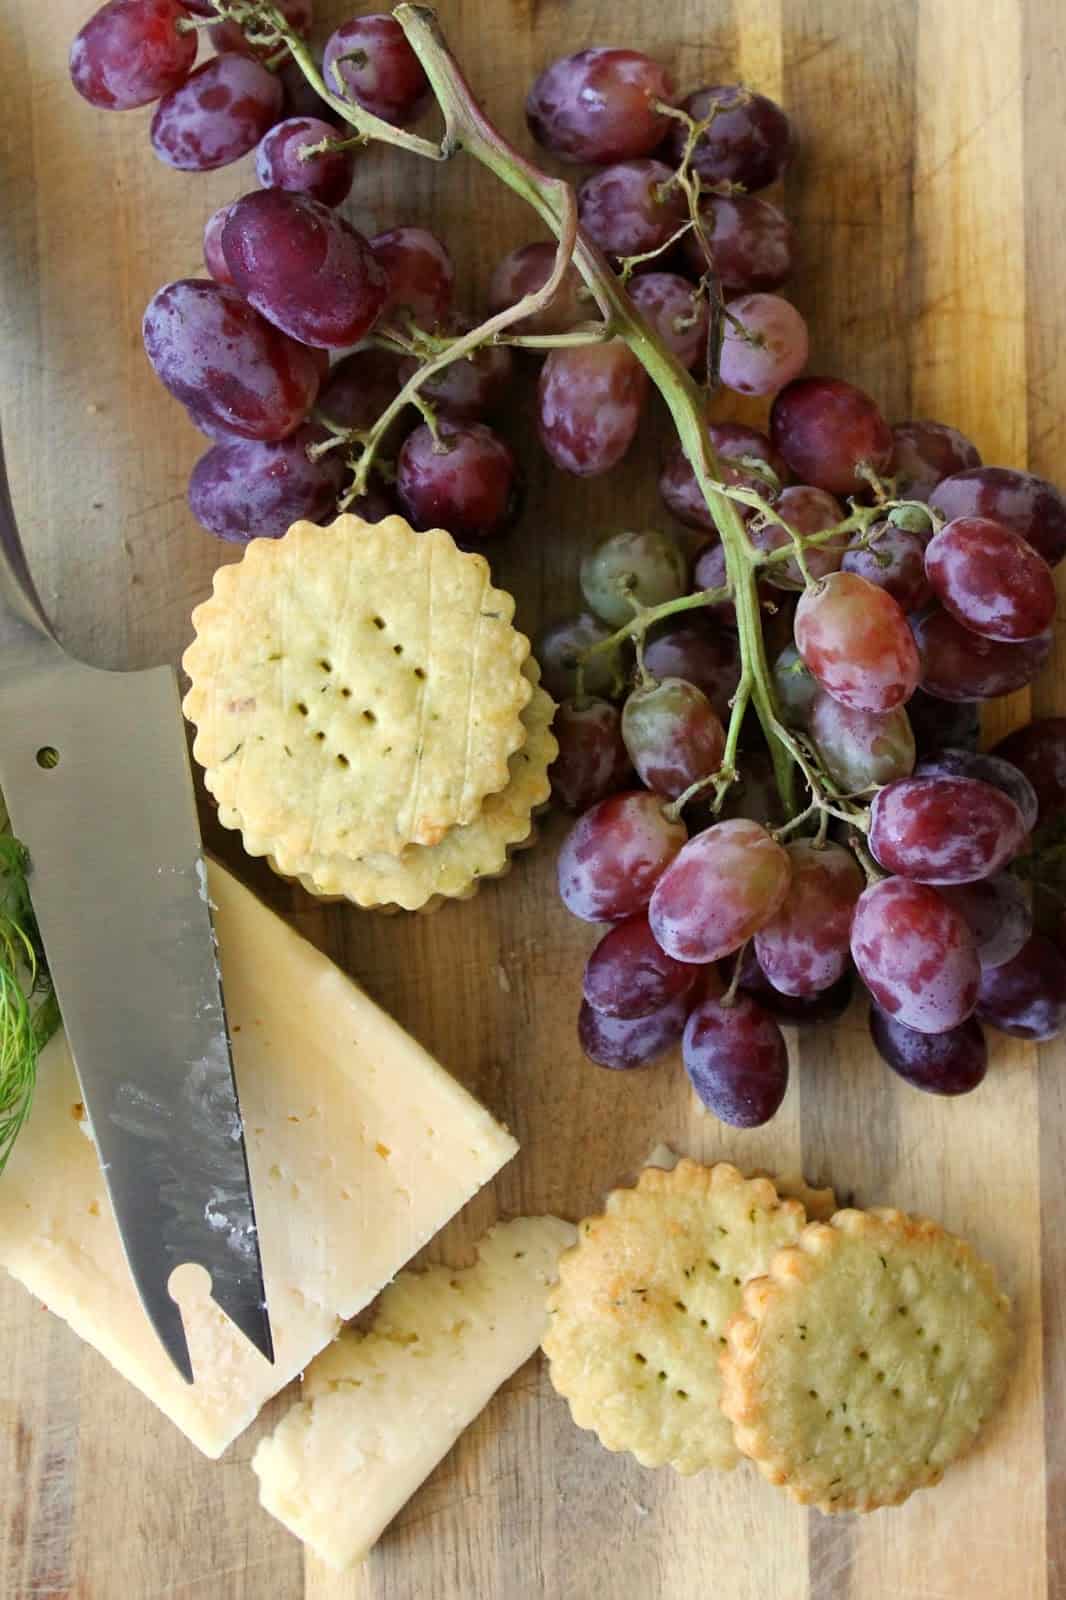
I love a homemade treat that can both impress at home when entertaining or be wrapped up as a thoughtful hostess gift. These Cheese Wafers are just that!
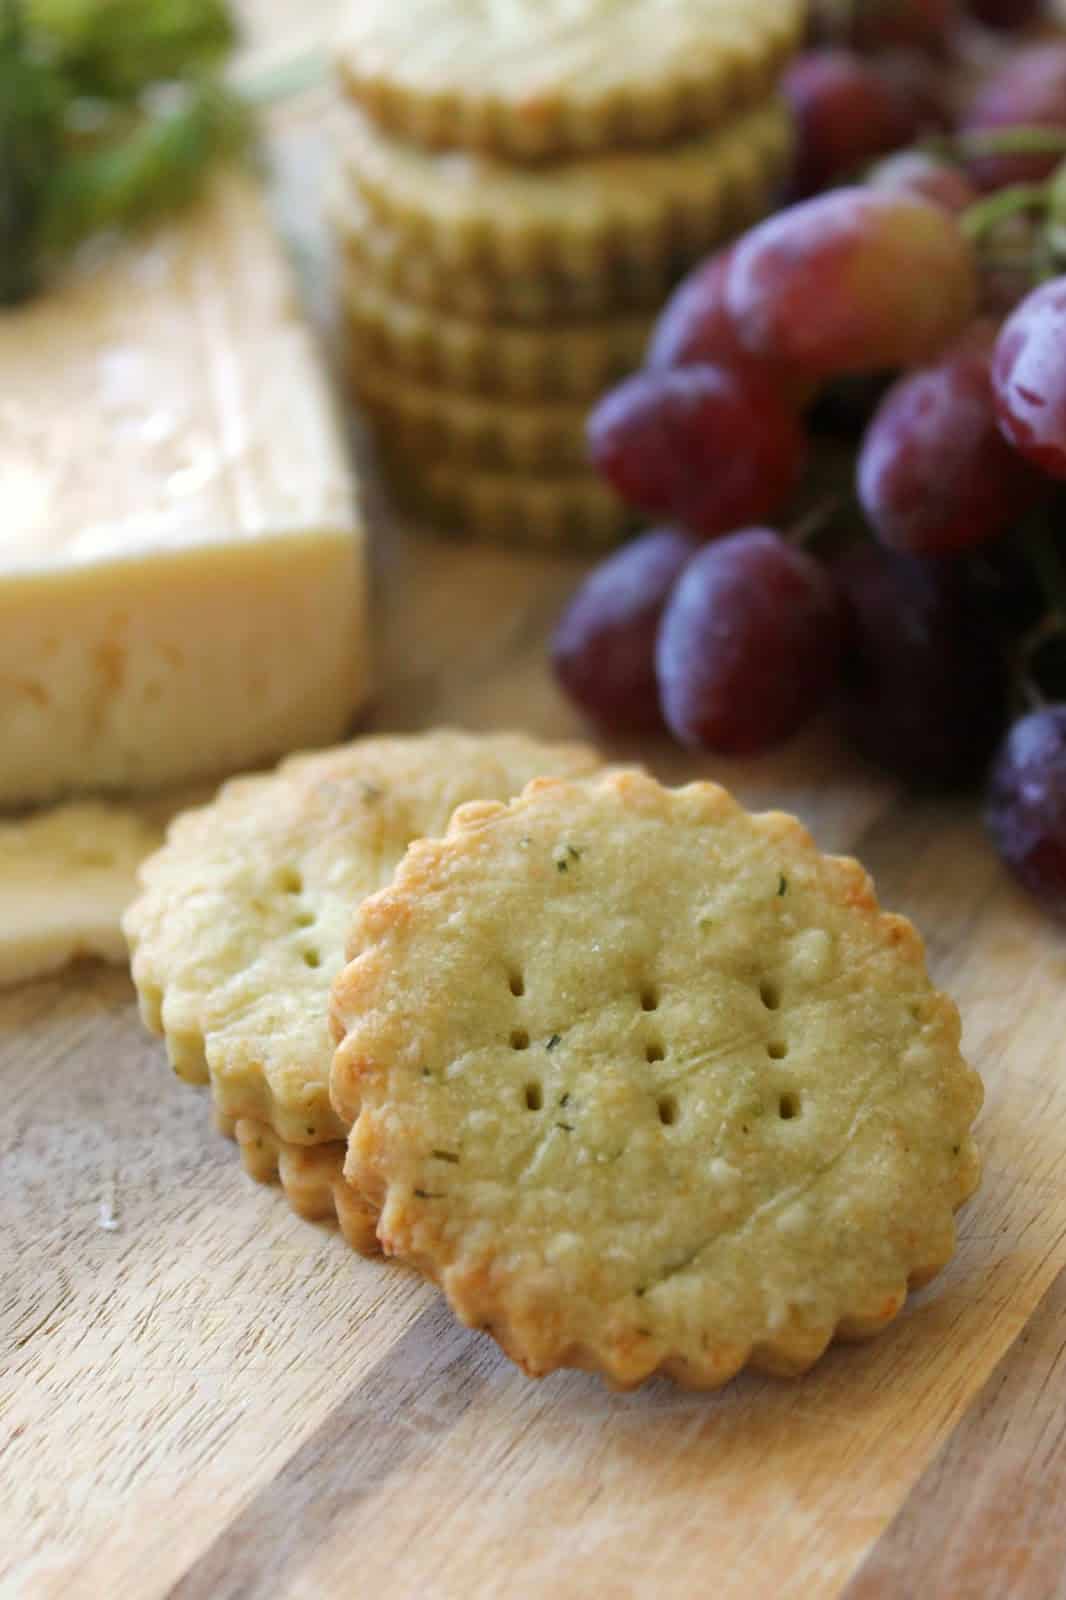
These buttery, cheesy crackers come together like cookies, but have an incredible, savory flavor thanks to the addition of cheese and herbs.
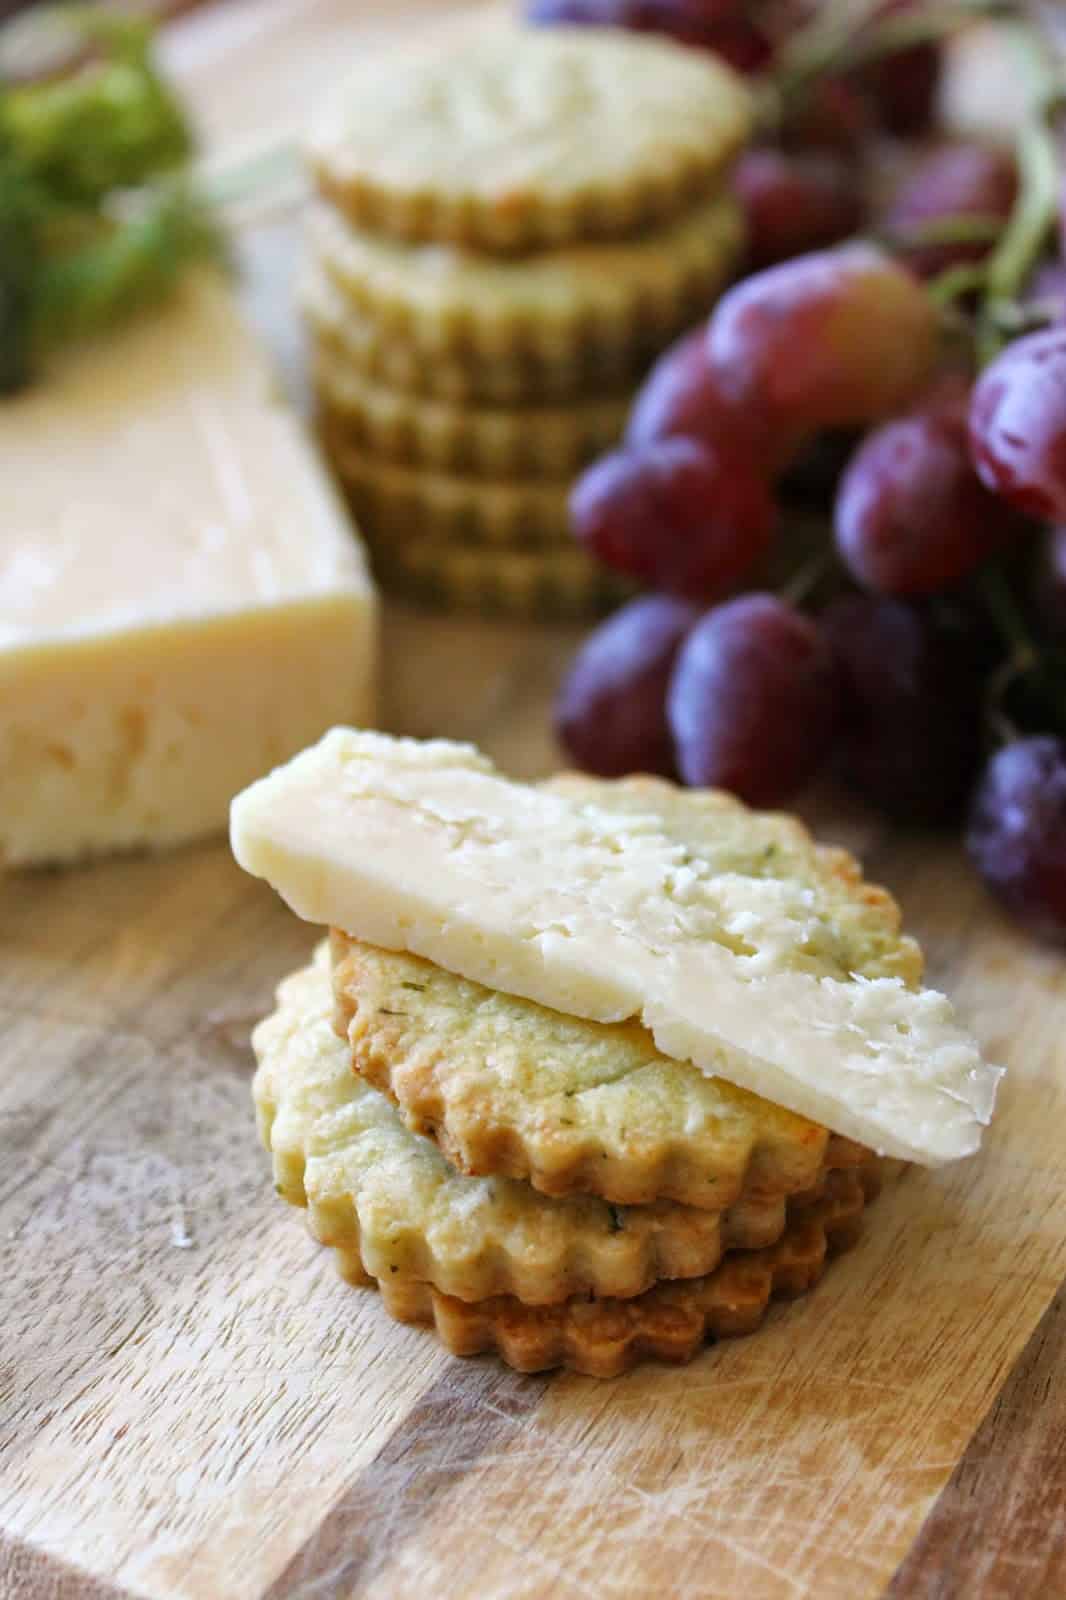
Serve them up alone as a can’t-have-just-one nibble or add them to a charcuterie board for a special homemade touch. You may want to make a double batch just to be safe because no matter how you serve them, they disappear quickly!
Looking for more recipes for savory baked goods? Try my Cheesy Tomato, Basil & Spinach Pinwheels, Pumpkin Crackers, Ham & Cheddar Scones, Savory Pumpkin-Cheddar Rugelach
This recipe is naturally vegetarian and can be made gluten-free. See Variations & Substitutions below.
What are cheese wafers?
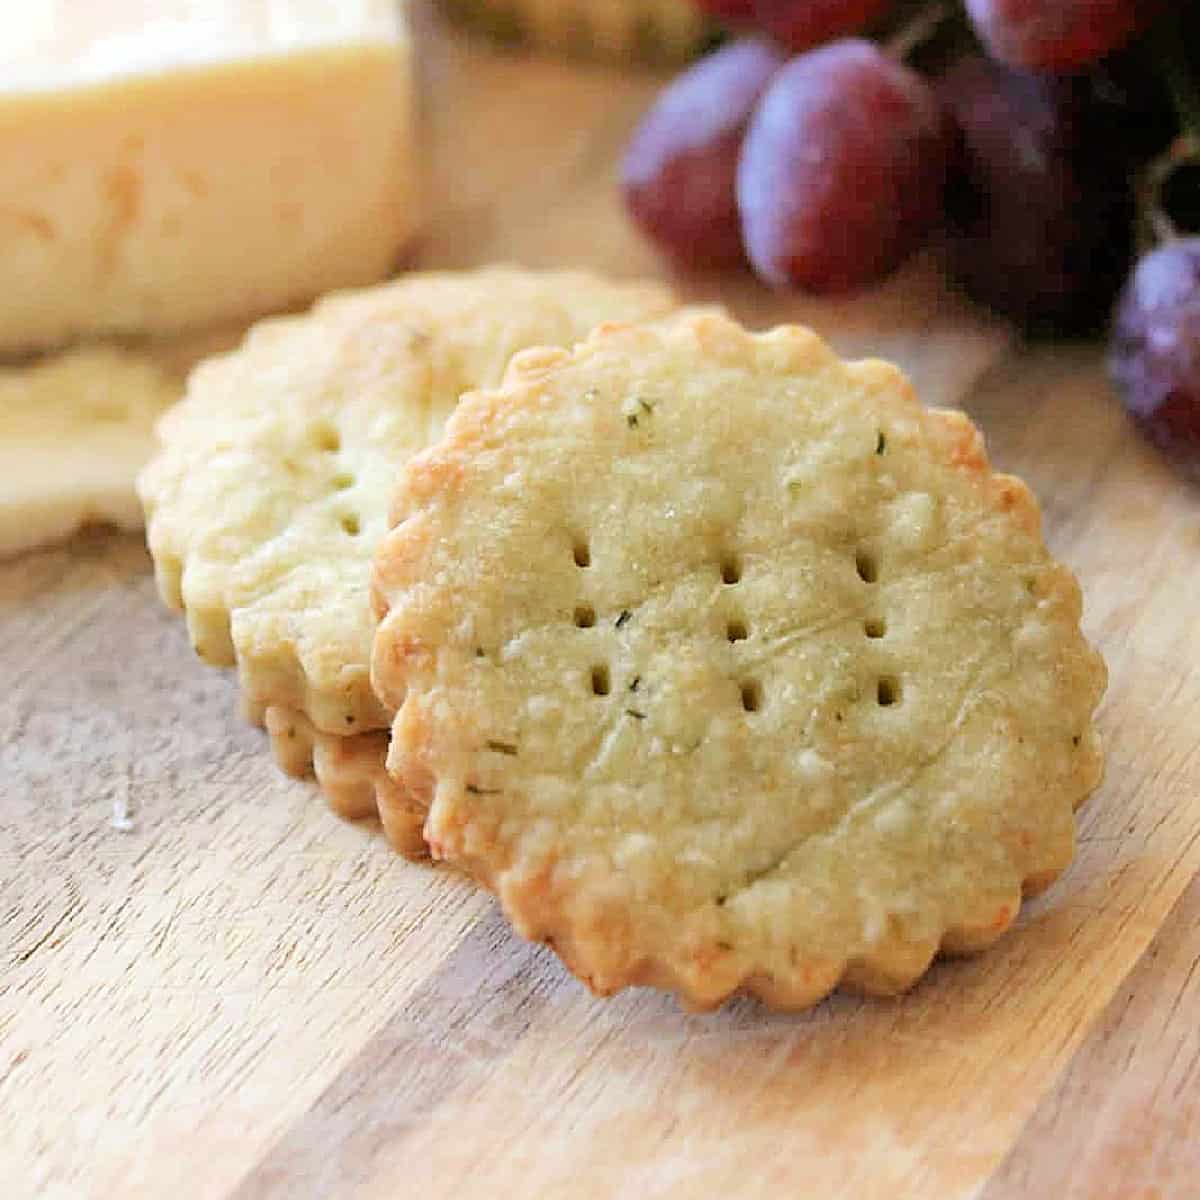
Cheese wafers are a classic Southern snack. Like a savory, cheesy shortbread, these buttery, baked crackers melt in your mouth.
Cheese wafers are sometimes also referred to as cheese straws, cheese coins and cheese biscuits depending on their shape and the method in which they are made. This method produces crumbly, flaky crackers that are a perfect treat alone or served with your favorite toppings.
Ingredients
- Butter. The key to melt-in-your-mouth cheese wafers is cold butter! It’s best to cut it into small pieces to make sure it incorporates really well into the dough.
- All purpose flour
- Sea salt
- Onion powder
- Cheese. I used an aged Havarti cheese for the cheese wafers pictured here, but you can use many different cheeses such as cheddar, Monterey jack, Parmesan or Gouda.
- Fresh dill. Dried dill also works here. Feel free to use your favorite herbs.
- Heavy cream. Cold heavy cream (or half and half) helps bind the mixture
Instructions
In the bowl of a food processor or blender, pulse together cold butter pieces, flour, salt, onion powder and dill. You can also cut in the butter by hand using a pastry blender, but this takes a little elbow grease.
Add cream or half & half and pulse a few more times until the mixture begins to form a ball or looks like clumpy, wet sand. It should hold its shape when you pinch of clump between your fingers.
Turn the mixture out onto a sheet of plastic wrap and pat it into a disk.
Tip: I like to roll my dough out at this point by covering the dough with a second sheet of plastic wrap and rolling to the desired thickness. I find it easier when the dough is soft.
Wrap the disk and refrigerate it for an hour or two until chilled, or overnight.
When you’re ready to bake, preheat the oven to 400°F. Line a large baking pan with parchment or a silicone baking mat. Set it aside.
Remove dough from refrigerator and roll it out to about ¼ inch thickness (or thinner if desired — the thinner it is rolled, the more crisp the wafers will be, but you may need to adjust the baking time so they don’t burn)
Using a cookie cutter or a pizza cutter, cut shapes out of the dough or slice it into simple squares.
Place each cheese wafer on the prepared baking pan. Prick the tops of each cracker a few times with the tines of a fork.
Bake the wafers for 10 to 12 minutes or until the tops begin to turn a light golden brown. Remove from oven and let cool before serving.
FAQ’s
Yes. White or yellow cheddar, Havarti, Pepper Jack and any other cheeses that are easy to shred work well in this recipe. (Avoid super soft cheeses.)
Cheese wafers should be cooled completely and then placed in an airtight container or zip-top bag and stored in a cool, dry place up to a week.
I’ve never personally tried to freeze these, but given the fact that they’re very similar to butter cookies or shortbread, I’d say they would probably freeze well. Just place in a freezer-safe airtight container and thaw completely before serving.
Variations & Substitutions
Try these variations for a delicious twist:
- Use your favorite dried or fresh herbs such as basil, rosemary or thyme.
- Add a hint of heat with cayenne powder or smoked paprika.
- Add a few tablespoons of chopped nuts such as toasted pecans or walnuts for extra crunch and flavor.
Diet-Specific Substitutions
- Gluten-Free: I have not tried making this recipe gluten-free, but I think a cup-for-cup gluten-free flour blend would work well in place of regular flour in these. You may have to experiment with amounts to get it right.
Cheese Wafers


3 comments
8631bf36-b2fa-11e4-ae64-636d3a9165c3
So do you put the cheese in when doing the initial mix or when you add the cream?
thekitchenprep
@bmayer – It depends on how you decide to cut them, but mine made about 28 2-inch round crackers.
bmayer
Did I miss how many crackers this recipe yields?