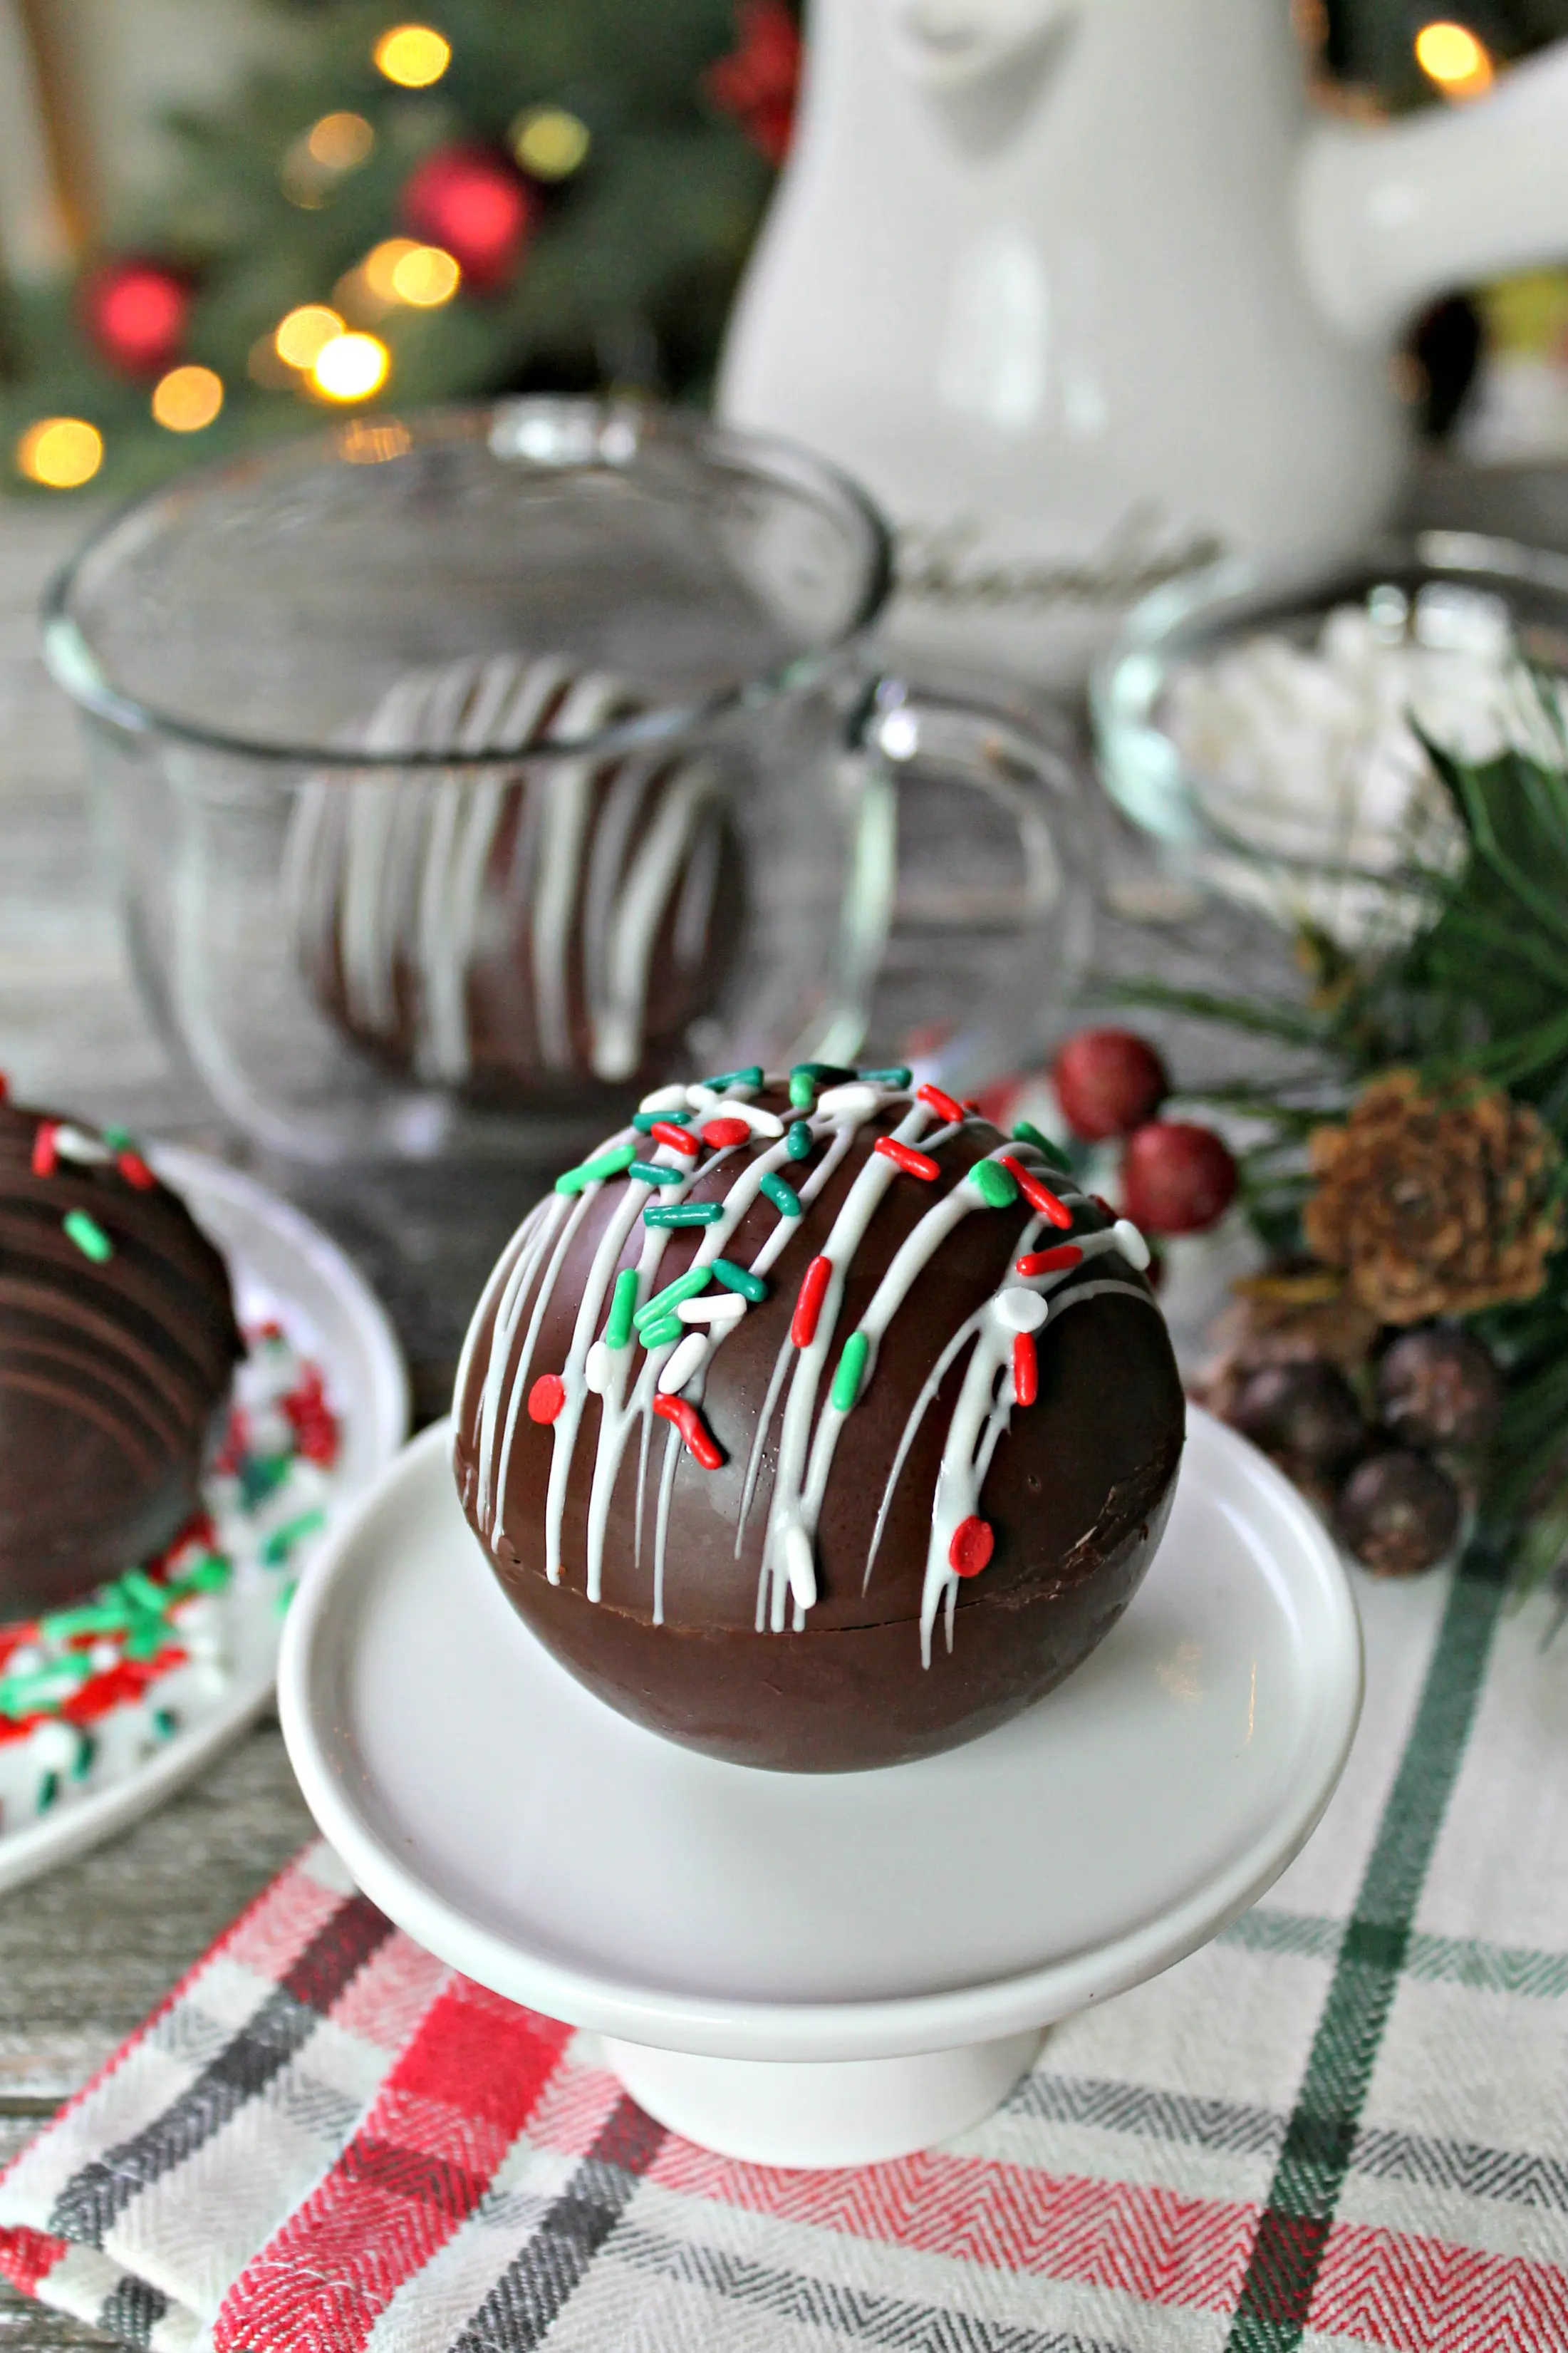
Christmas Hot Cocoa Bombs! This trendy recipe is so much fun for the cold weather months and holiday season. Add hot milk and enjoy!
Disclosure: This post may contain affiliate links, which means that, at no extra cost to you, I may earn a small commission if you click a link and purchase an item I’ve recommended. Thanks for your support in running this blog!
What Are Hot Cocoa Bombs?
Hot chocolate bombs or hot cocoa bombs are a food trend that began on Tik Tok in September 2020 and have taken off as a DIY treat for the cold weather months and beyond!
Chocolate spheres are filled with hot cocoa mix and mini marshmallows forming a candy "bomb." When hot milk is poured over the top, the chocolate bombs melt to reveal a cocoa and marshmallow "explosion!"
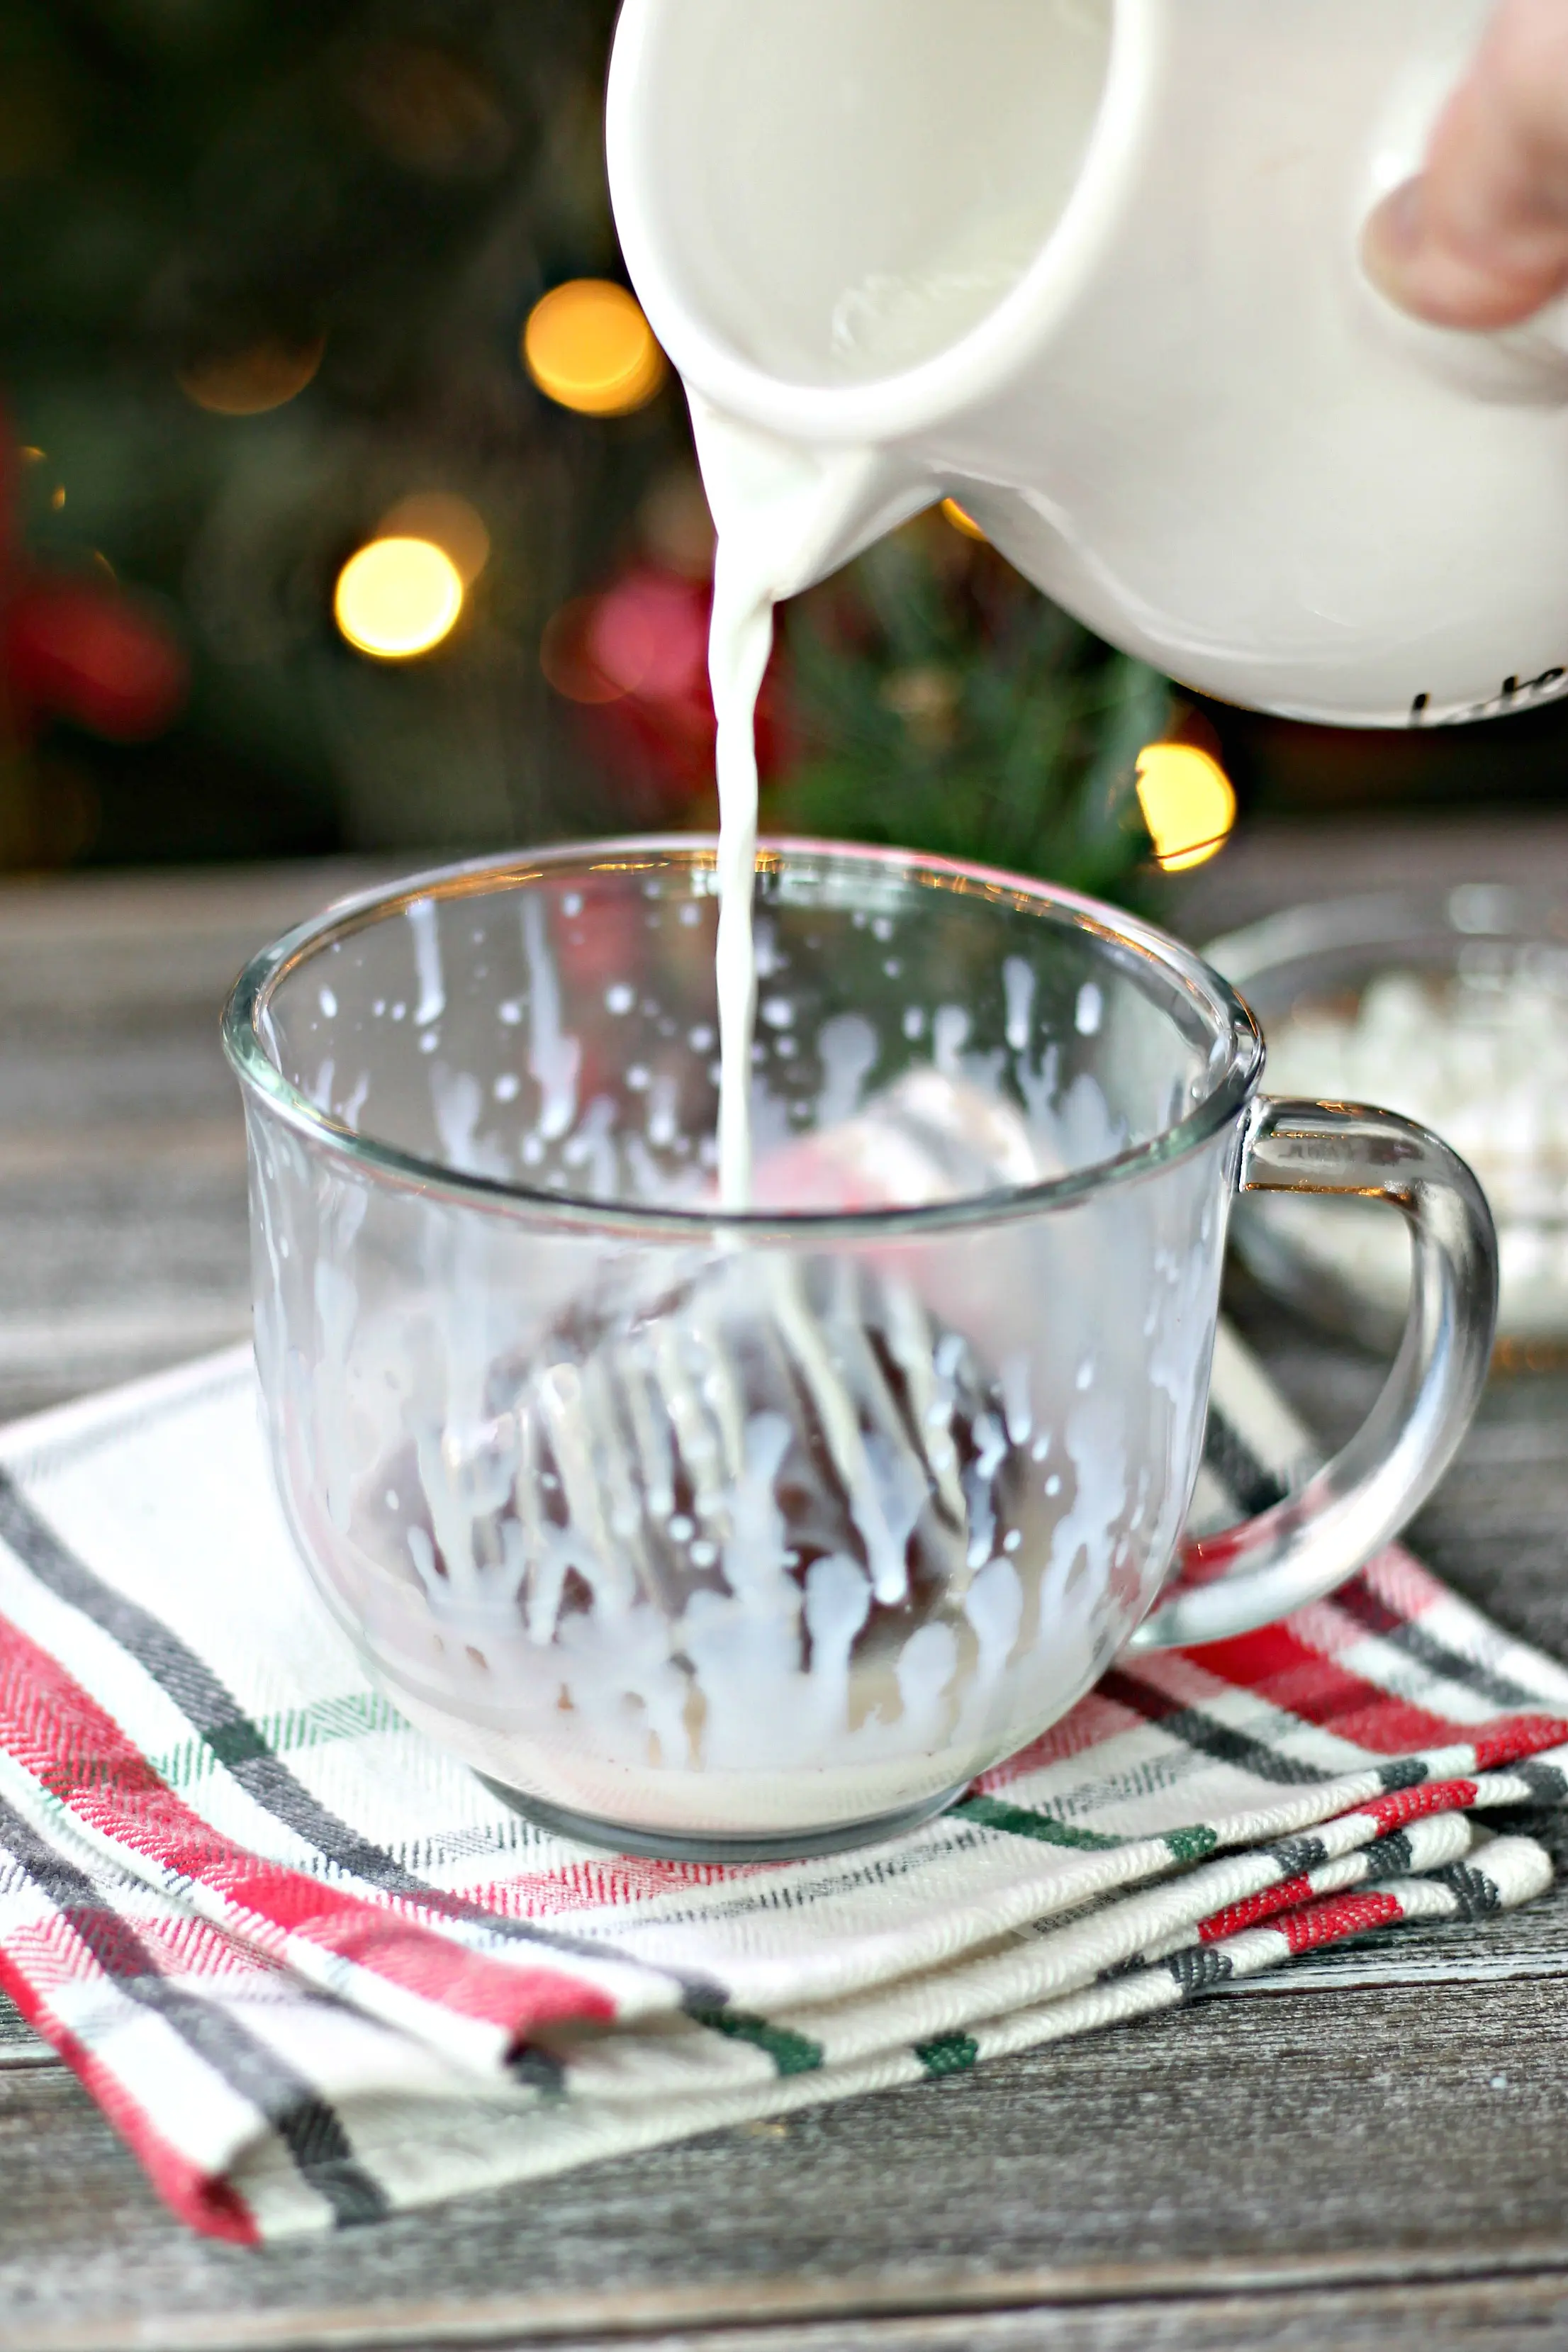
They're great for packaging up as a gift and a fun way to enjoy a cup of cocoa.
Jump to:
Ingredients
These pretty chocolate spheres may look fancy, but it only takes a handful of ingredients to make Christmas Hot Cocoa Bombs:
- Good quality chocolate. When it comes to candy-making, I've found that good quality chocolate is the best option for melting and setting. My favorites are Lindt, Valrhona or really any chocolate with minimal ingredients. Chocolate chips will work if you're not able to get your hands on chocolate in bar form. Again, I recommend a high quality chocolate chip or chunk such as Ghirardelli or Guittard. See my tips below for more information on how choosing bar chocolate versus chips will affect the recipe.
- Hot cocoa mix. Store-bought hot cocoa mix in the packet or in a jar work just fine here. If desired, you can use flavored mixes to jazz things up, or even fill with homemade hot cocoa mix if you prefer.
- Mini marshmallows. I used marshmallow bits (the small dried marshmallows that come in cocoa mix packets) for my hot chocolate bombs, but you can also use regular mini marshmallows in a bag or even festive shaped marshmallows. You can skip them altogether if you don't have any, but part of the fun of the "explosion" is watching the marshmallows bob up to the top as the hot milk melts away the chocolate shell!
- Decorative Toppings. As long as you're already going through the trouble of making these, you might as well make them pretty! A drizzle of chocolate and some festive sprinkles dress things up quite a bit.
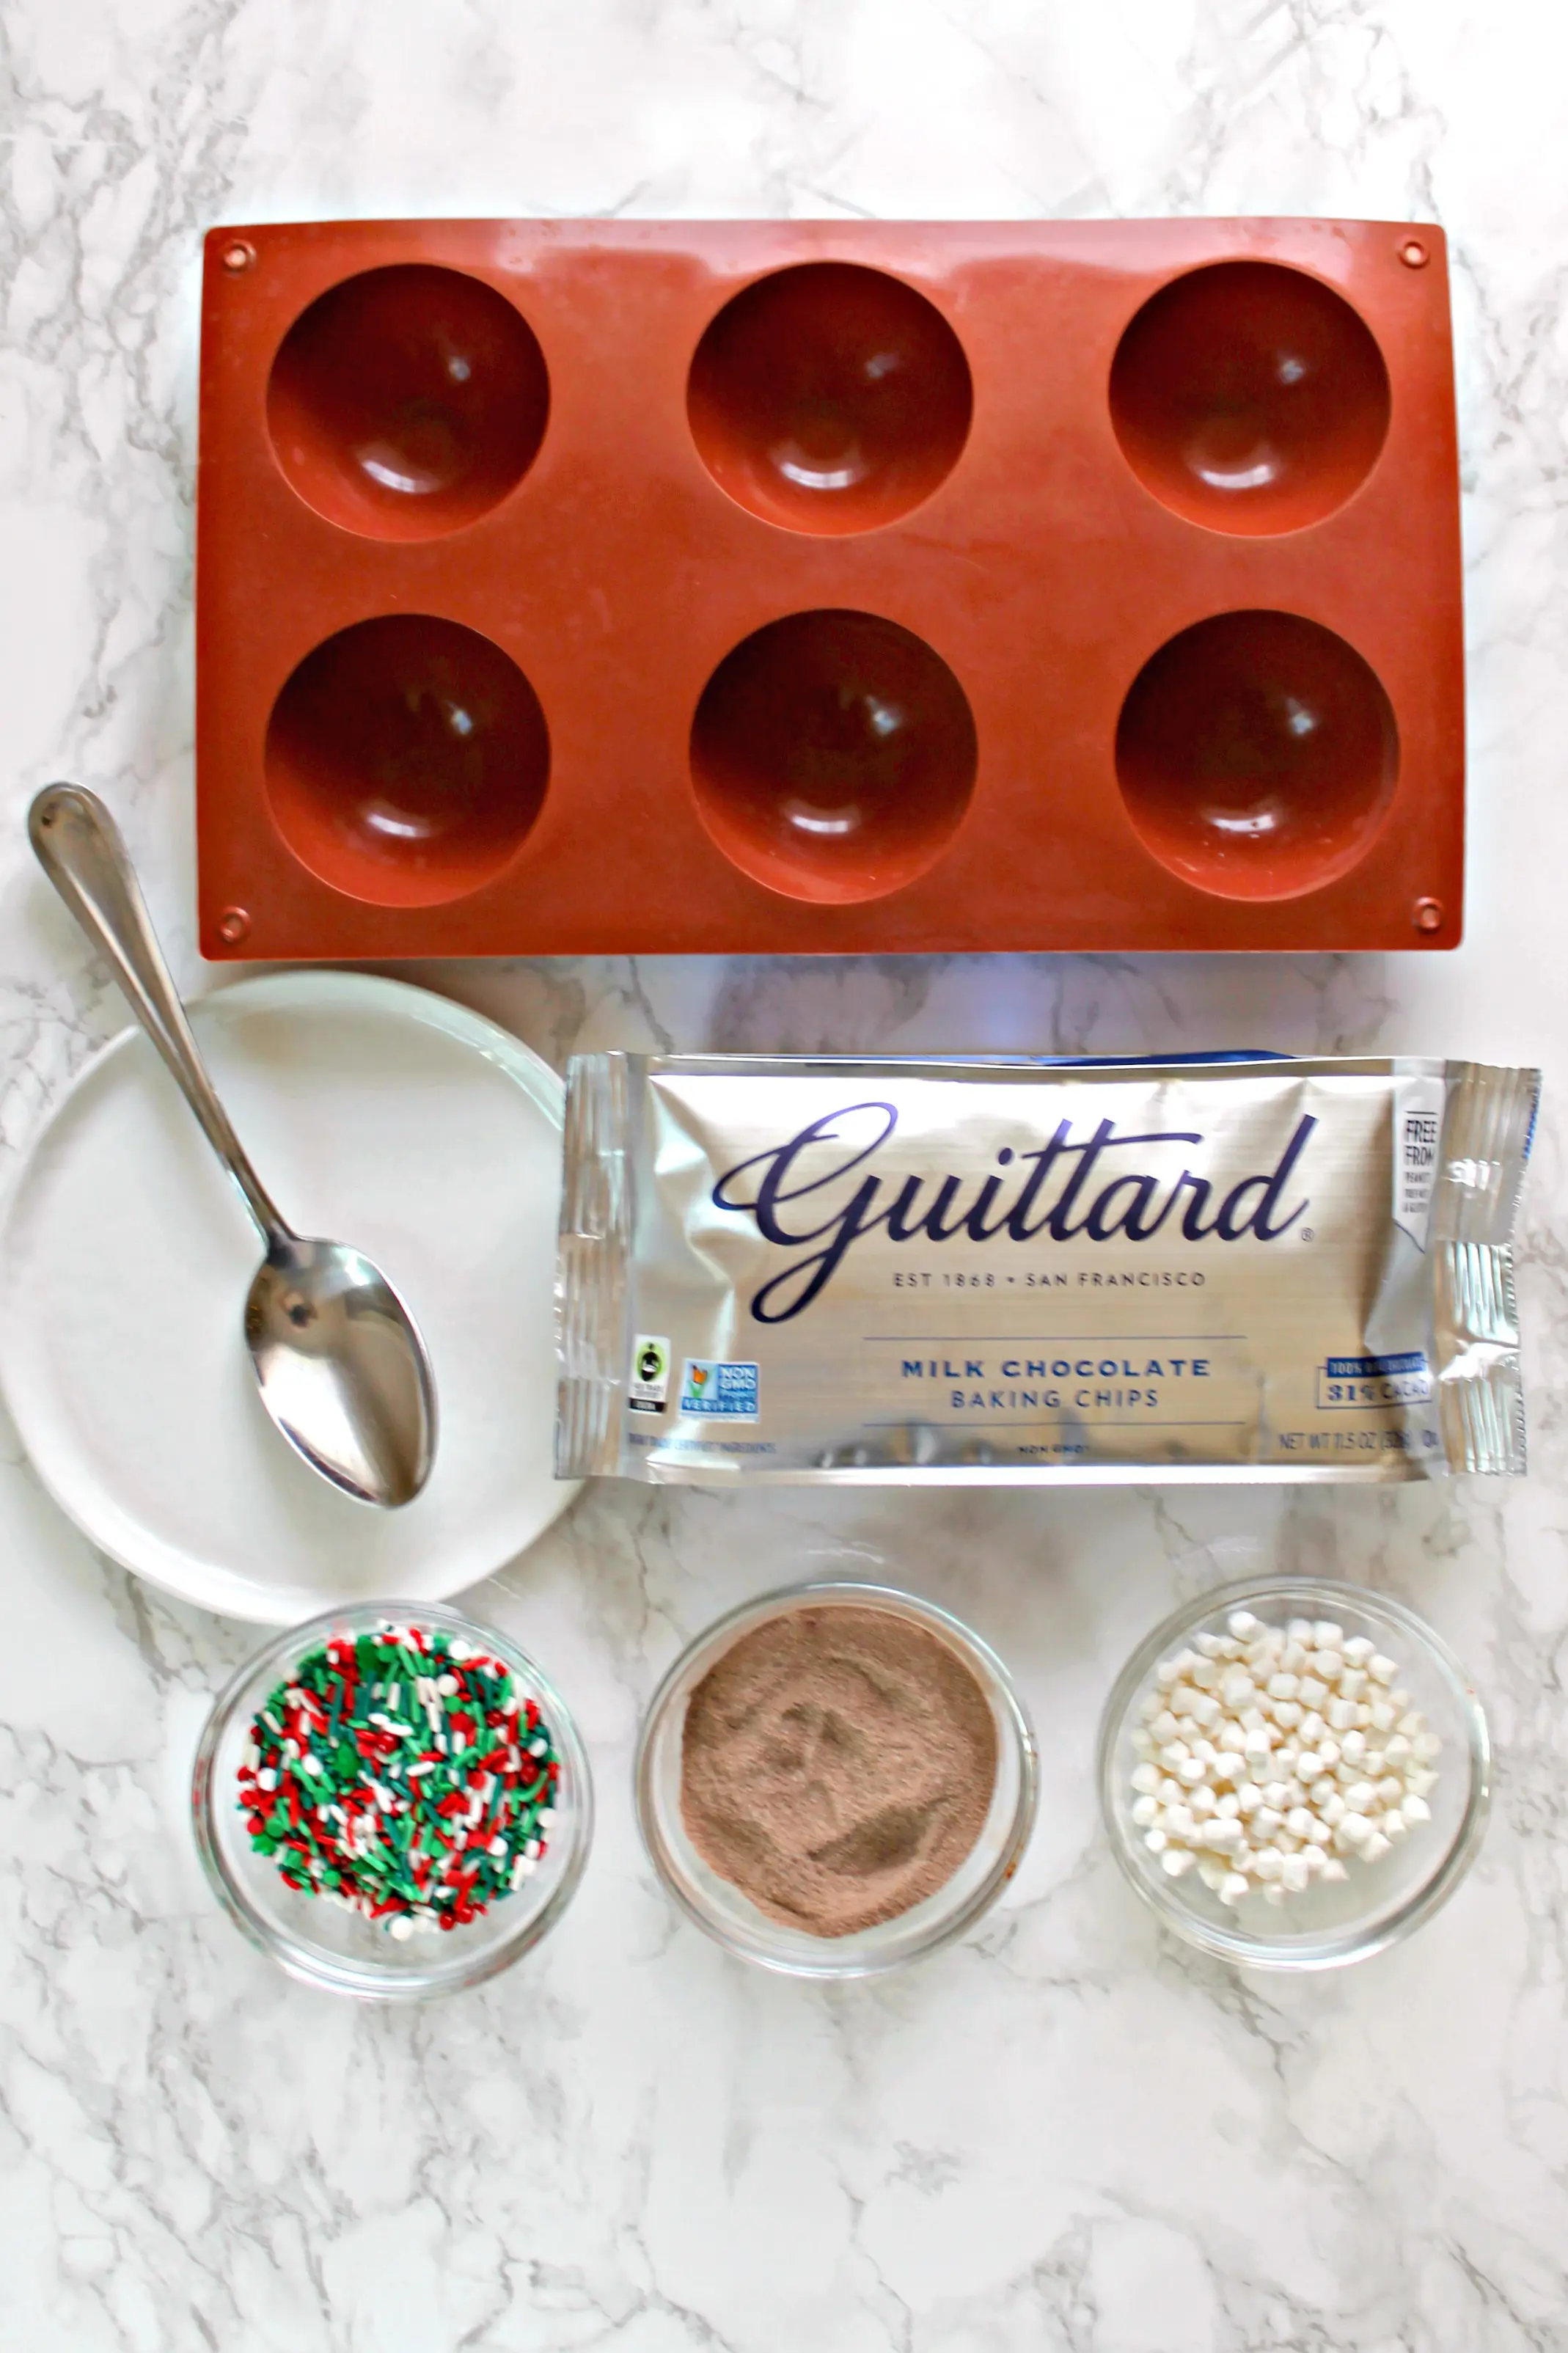
If you want to experiment with flavors and variations, you can get creative with additional ingredients! See the flavor variations I recommend below for ideas.
Tools You Will Need
There are various posts on the web that recommend different tools depending on the chosen method, but I like to keep things as easy as possible, so here are the items I used for my version:
- Semi-sphere Silicone Mold: A silicone mold is the easiest way to create the spherical chocolate shells for these bombs. I ordered mine (the 2.55 inch size) from Amazon at the end of November, but I know that they've become a hot commodity with the explosion (no pun intended) of this trend and have become hard to find. If you can't find them on Amazon, try local shops that sell cake decorating or candy-making supplies. Acrylic chocolate and candy molds may be used as an alternative, but unless you're an experienced chocolate maker or have a lot of patience, I'd stick with a silicone mold.
- A small plate. You will need a small plate that is warmed in the microwave or under hot running water to help melt the rim of your chocolate spheres, creating the "glue" that will seal them into a perfect ball.
- A metal spoon. This may seem like a strange "tool" for this recipe, but a metal spoon warmed up under hot water can serve as a welding iron of sorts when it's time to seal your hot chocolate bombs.
- Small baking pans. While there is no baking involved in this recipe, I find that baking pans are useful here for two reasons. First, you will need something flat and stable on which to set the floppy silicone mold when you put it in the refrigerator or freezer. Second, you'll need a place to collect the excess chocolate that drips off the mold when you're creating the chocolate spheres. I like to line my baking pan with a sheet of parchment for easy cleanup. (If you're so inclined and don't like to waste ingredients, you can also try to reuse the excess chocolate.)
Instructions
In theory, there isn't much to making these hot cocoa bombs:
- Melt chocolate.
- Coat molds with chocolate and let set. Remove from molds.
- Fill one sphere half with cocoa mix and marshmallows. Top with another sphere and seal closed.
- Decorate if desired.
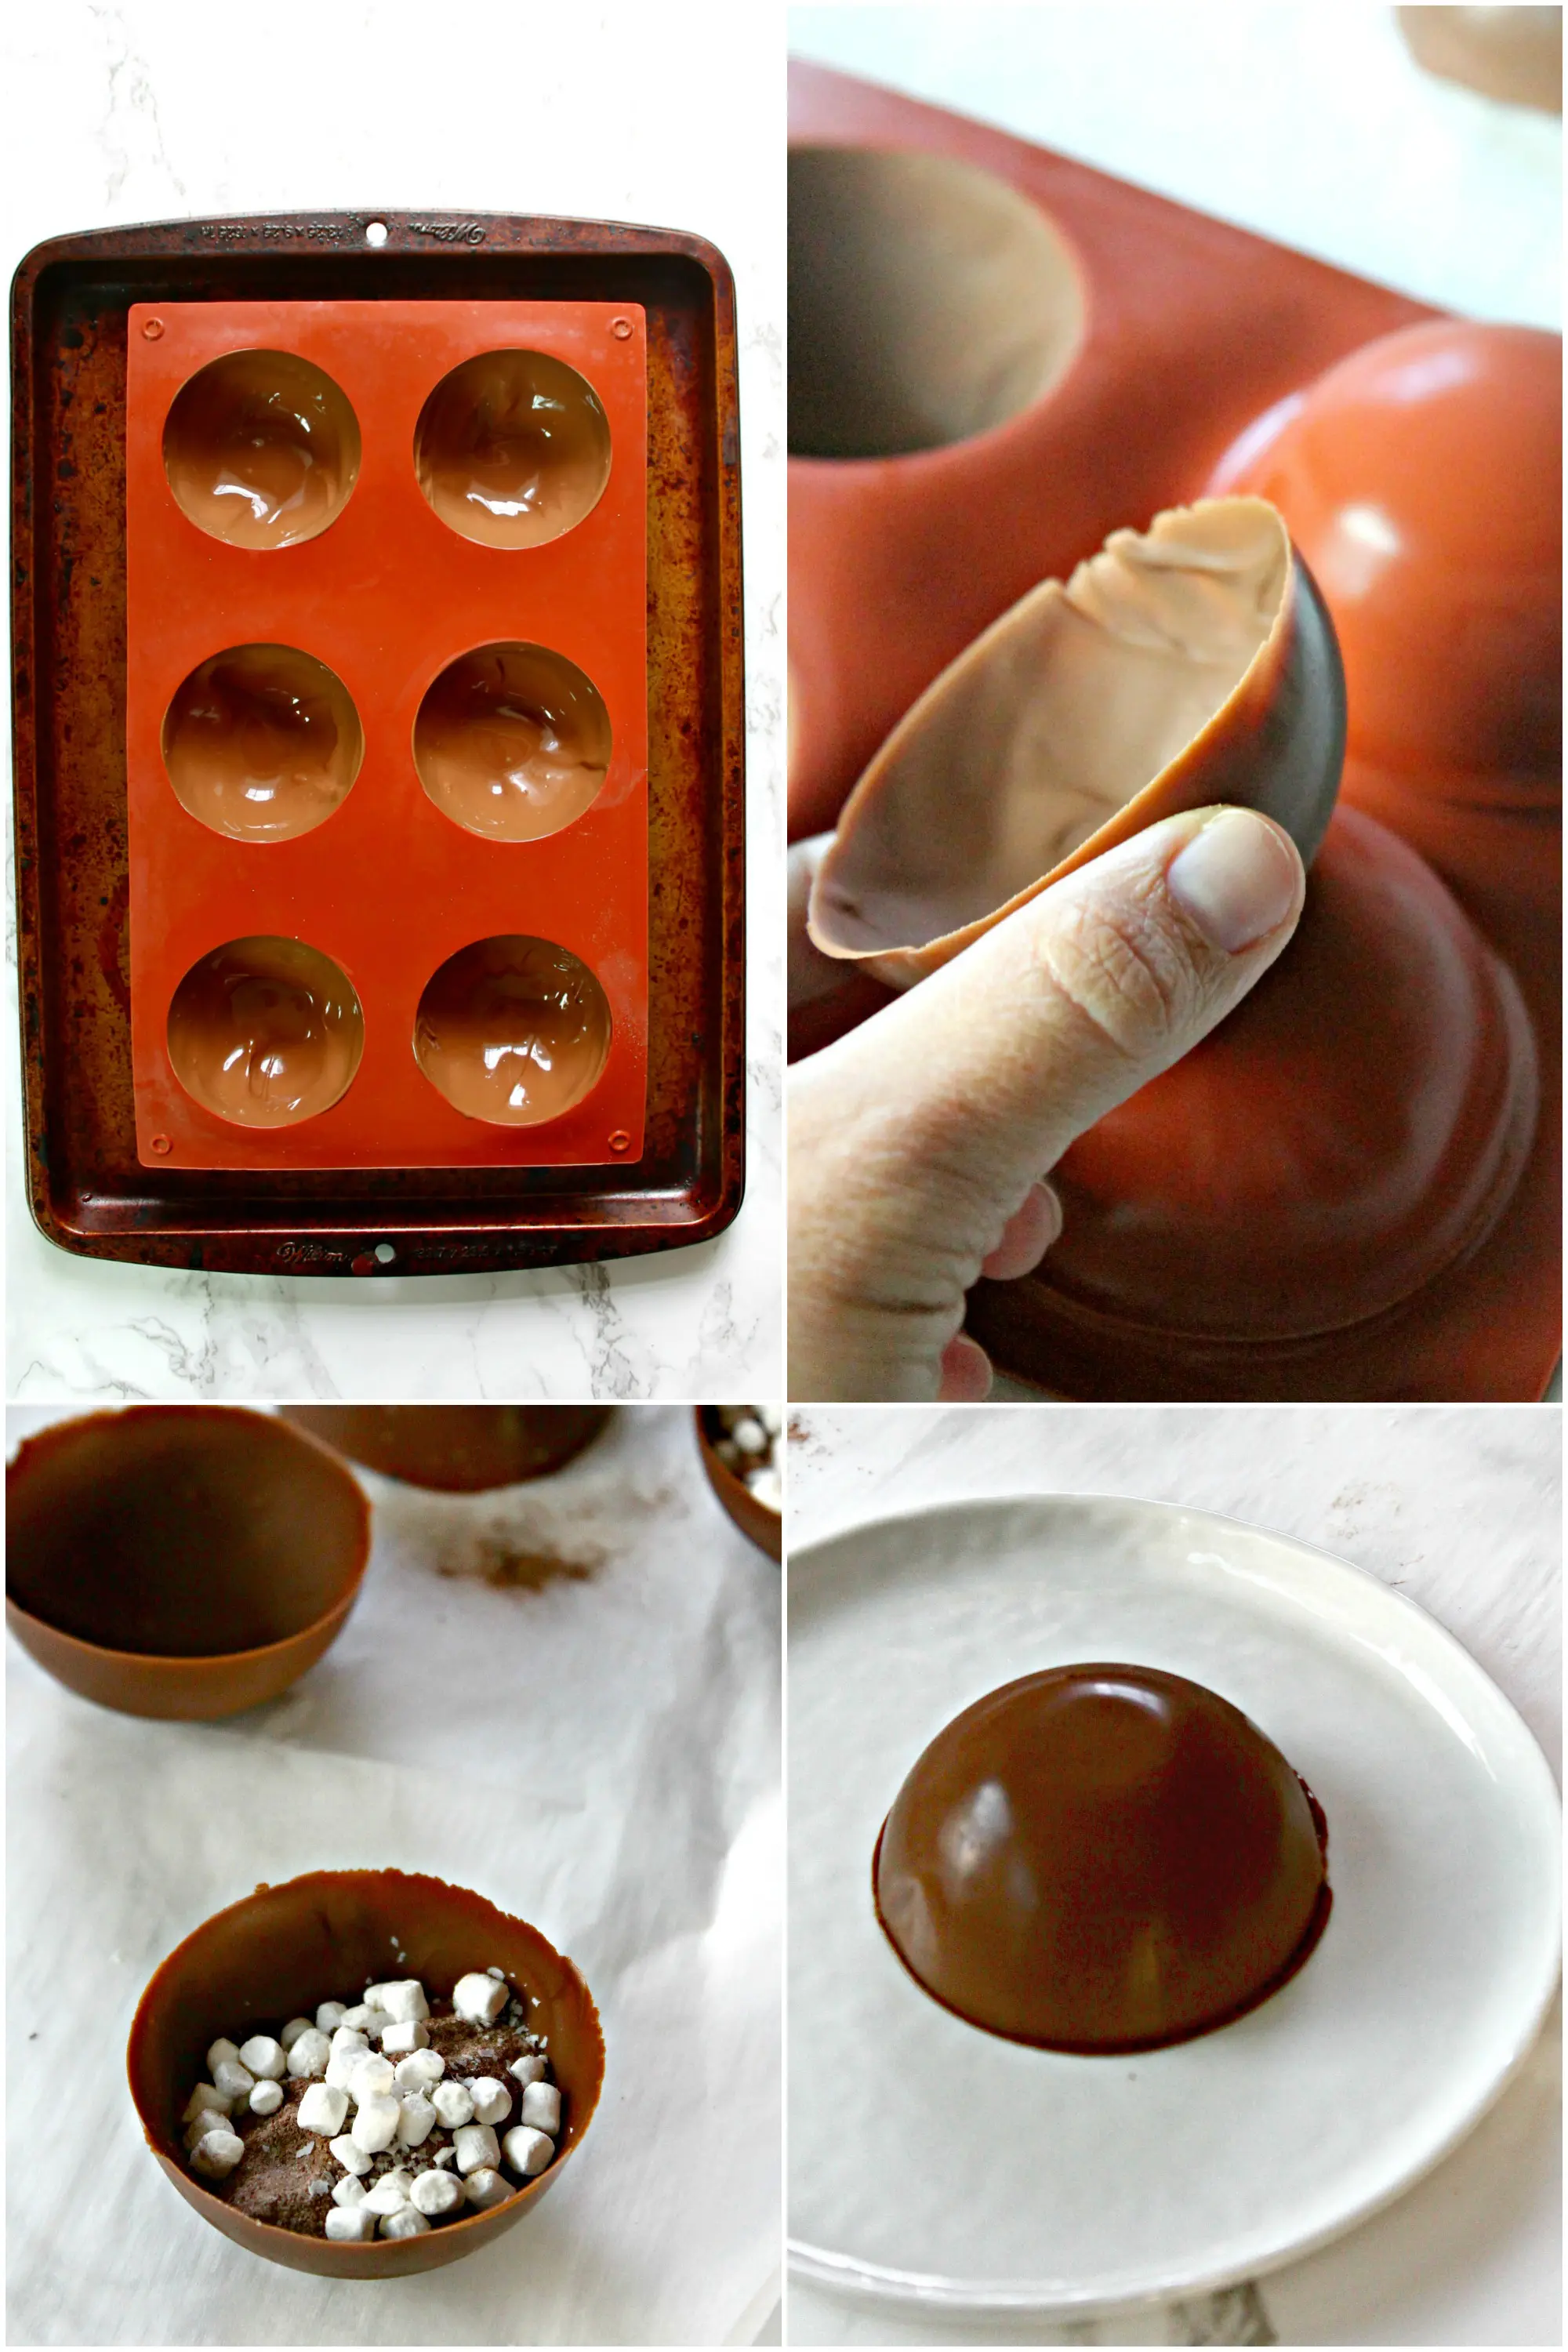
BUT... hot cocoa bombs can be deceivingly tricky and messy to create! I'm not going to lie, this is not really the type of kitchen project I enjoy because it can be messy and a bit fussy. But it's also cute, festive and worth trying if you're in the mood to make something fun. So, I'm going to do my absolute best to give you all the tips for success!
Tips
Tip 1: Prepare for messes. Keep a moistened rag or paper towels close by. I've said the word "messy" more times than I care to in a recipe post, but trust me on this one. Chocolatey fingers (and potentially counters) WILL happen.
Tip 2: Coating the molds. The method I recommend for coating the mold with chocolate depends on the type of chocolate you decide to use.
Using chocolate chips? Simply pour a tablespoon of melted chocolate into each semi-sphere and smooth it up the sides of the mold (all the way to the rim) with the back of your tablespoon measure.
I found that chocolate chips melt into a thicker texture that is gooey but easy to spread. It doesn't run down and puddle in the center, so there's no need to invert the mold and let the excess drip out. I also didn't need a second coat of chocolate as it was thick enough from the first coat.
Using bar chocolate? Bar chocolate tends to be thinner and runnier when melted. When I used bar chocolate, the "pour and swirl" method worked best for coating the molds.
Pour a tablespoon of chocolate into each semi-sphere and carefully tilt the mold to fully coat. The chocolate will pool in the center, so you will need to invert over a parchment-lined pan to allow the excess to drip off.
You will need to let the chocolate set in the freezer and then repeat this step to give them a second coat of chocolate. This will add an extra layer for structure and they won't be as fragile during removal and are less likely to melt in your hands when handling.
Some people recommend using a clean paint brush to literally paint the molds with melted chocolate, but I found that I was able to coat the molds easily using the methods described above. (And the last thing I need is one more chocolate-covered item to clean!)
Tip 3: Stay chill. Have a bowl of ice next to you while you work. Unless you have naturally icy hands, your warm fingers will start to melt the chocolate spheres and you may find yourself saying words that would change the rating of a cooking show, if you know what I mean.
Before I handle the chocolate spheres, I hold a few pieces of ice for a few seconds, then dry off my hands. No melting and no swear words. I found that this was necessary when working with spheres made with melted bar chocolate, but not with the spheres made with chocolate chips.
I also found that milk chocolate had a harder time holding its shape and staying firm at room temperature.
Tip 4: Sealing the spheres. Sealing can be another trouble spot in the process of making the spheres. The easiest way to create a seal is to heat a small plate in the microwave for a few seconds, then place a chocolate sphere half on the plate until the rim melts a tiny bit. The melted chocolate will act as glue to seal the sphere shut when it is placed atop a cocoa-filled sphere half.
Since the halves may not sit completely flush, you may need the help of a warmed metal spoon to "weld" each sphere closed. It only takes a quick touch with the warm spoon to melt the chocolate enough to seal it.
You can use your fingers (gloved, if preferred) to smooth any excess chocolate or fill in any holes with extra melted chocolate.
Do I Need to Temper My Chocolate?
Professional chocolatiers achieve shiny chocolate that doesn't melt as easily by "tempering" their chocolate. This is the practice of slowly melting and cooling the chocolate to specific temperatures that help to stabilize the structure of the cocoa butter crystals, and as a result, give the set chocolate a shiny appearance and satisfying "snap."
Ghirardelli has a great description and video of the process that explains everything you need to know about tempering chocolate in detail!
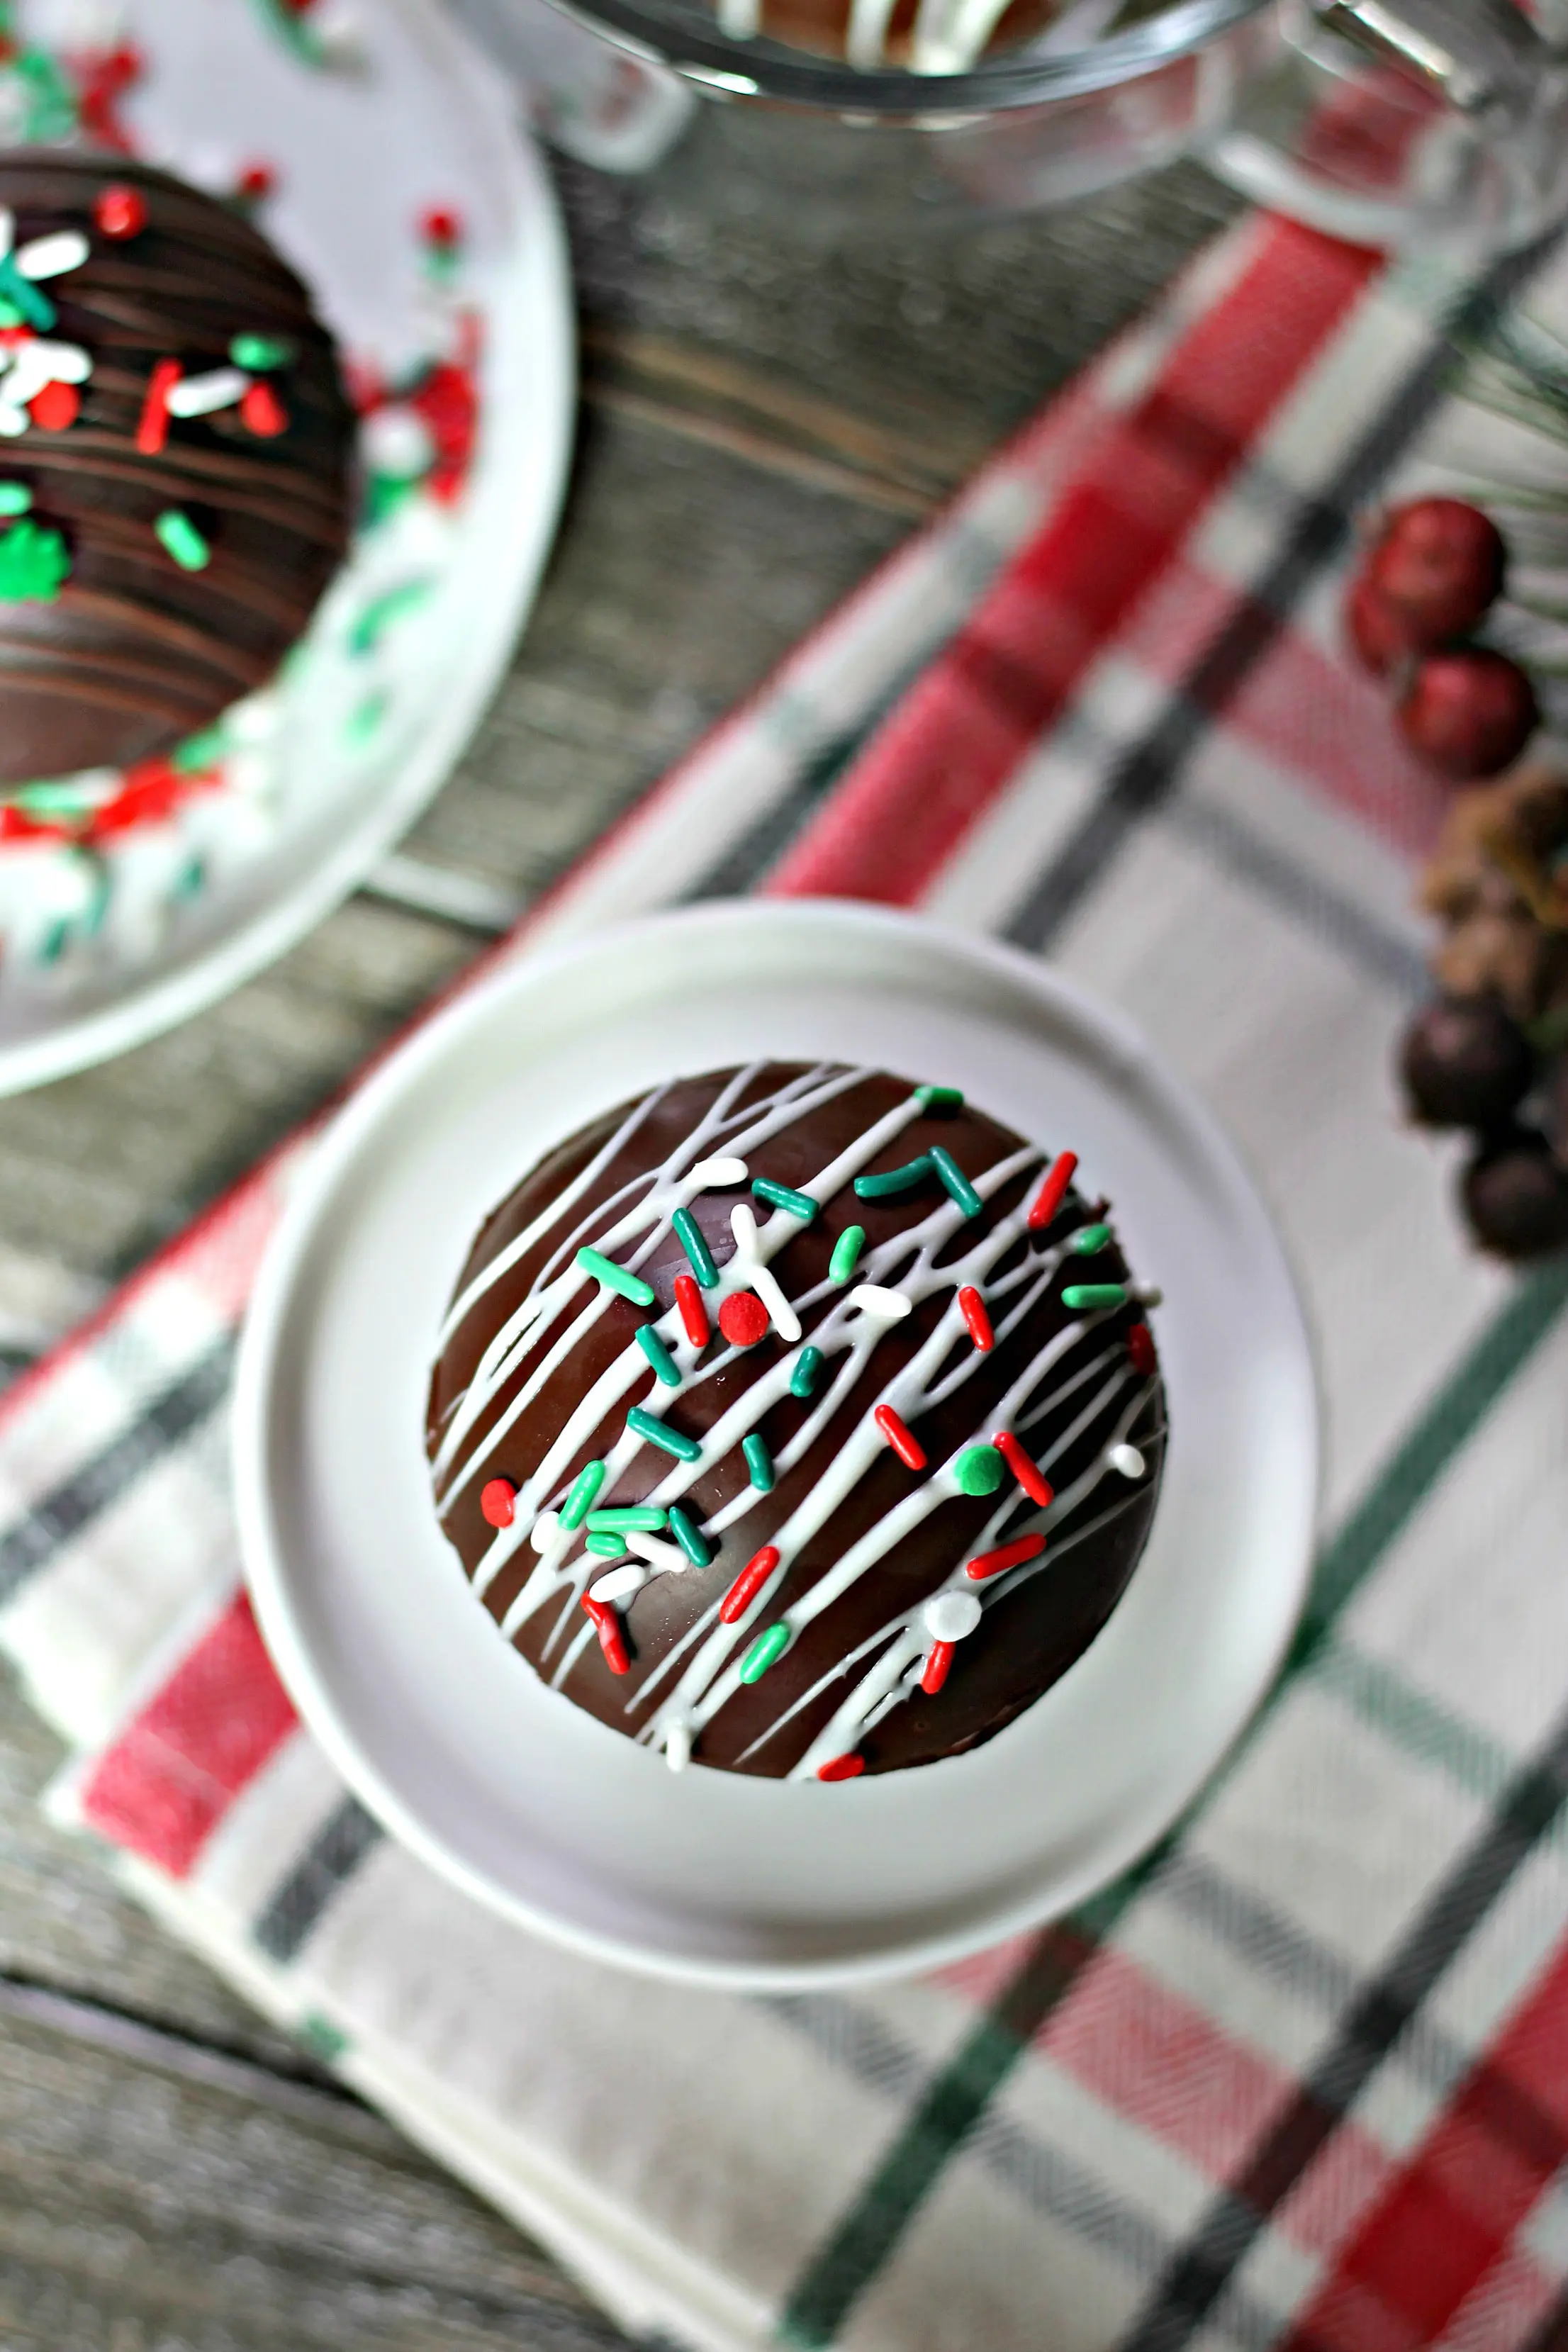
In short, tempering chocolate is not necessary for making hot chocolate bombs unless you have extra time and patience!
Flavor Variations
Once you have the process of making these down, it's easy to create hot cocoa bombs in tons of different flavor variations! Here are a few things you can add in to the cocoa mix to change up the flavors:
- Peppermint - Add crushed candy cane or chopped Andes mints.
- Toffee - Add crushed toffee bits such as Heath Bits O' Brickle.
- Peanut butter - Add peanut butter chips.
- Salted caramel - Add a pinch of fleur de sel and some crushed hard caramels such as Werther's Original.
- Mexican chocolate - Add chopped Mexican chocolate such as Abuelita or a pinch of cinnamon.
- Mocha - Add a teaspoon of instant coffee granules.
- S'mores - Add finely ground graham cracker crumbs.
Additionally, you can change the flavors by using different types of chocolate to create your chocolate spheres, or flavored hot cocoa mix such as Irish Cream, Raspberry, Hazelnut or White Chocolate. Get creative!
How To Serve & Enjoy
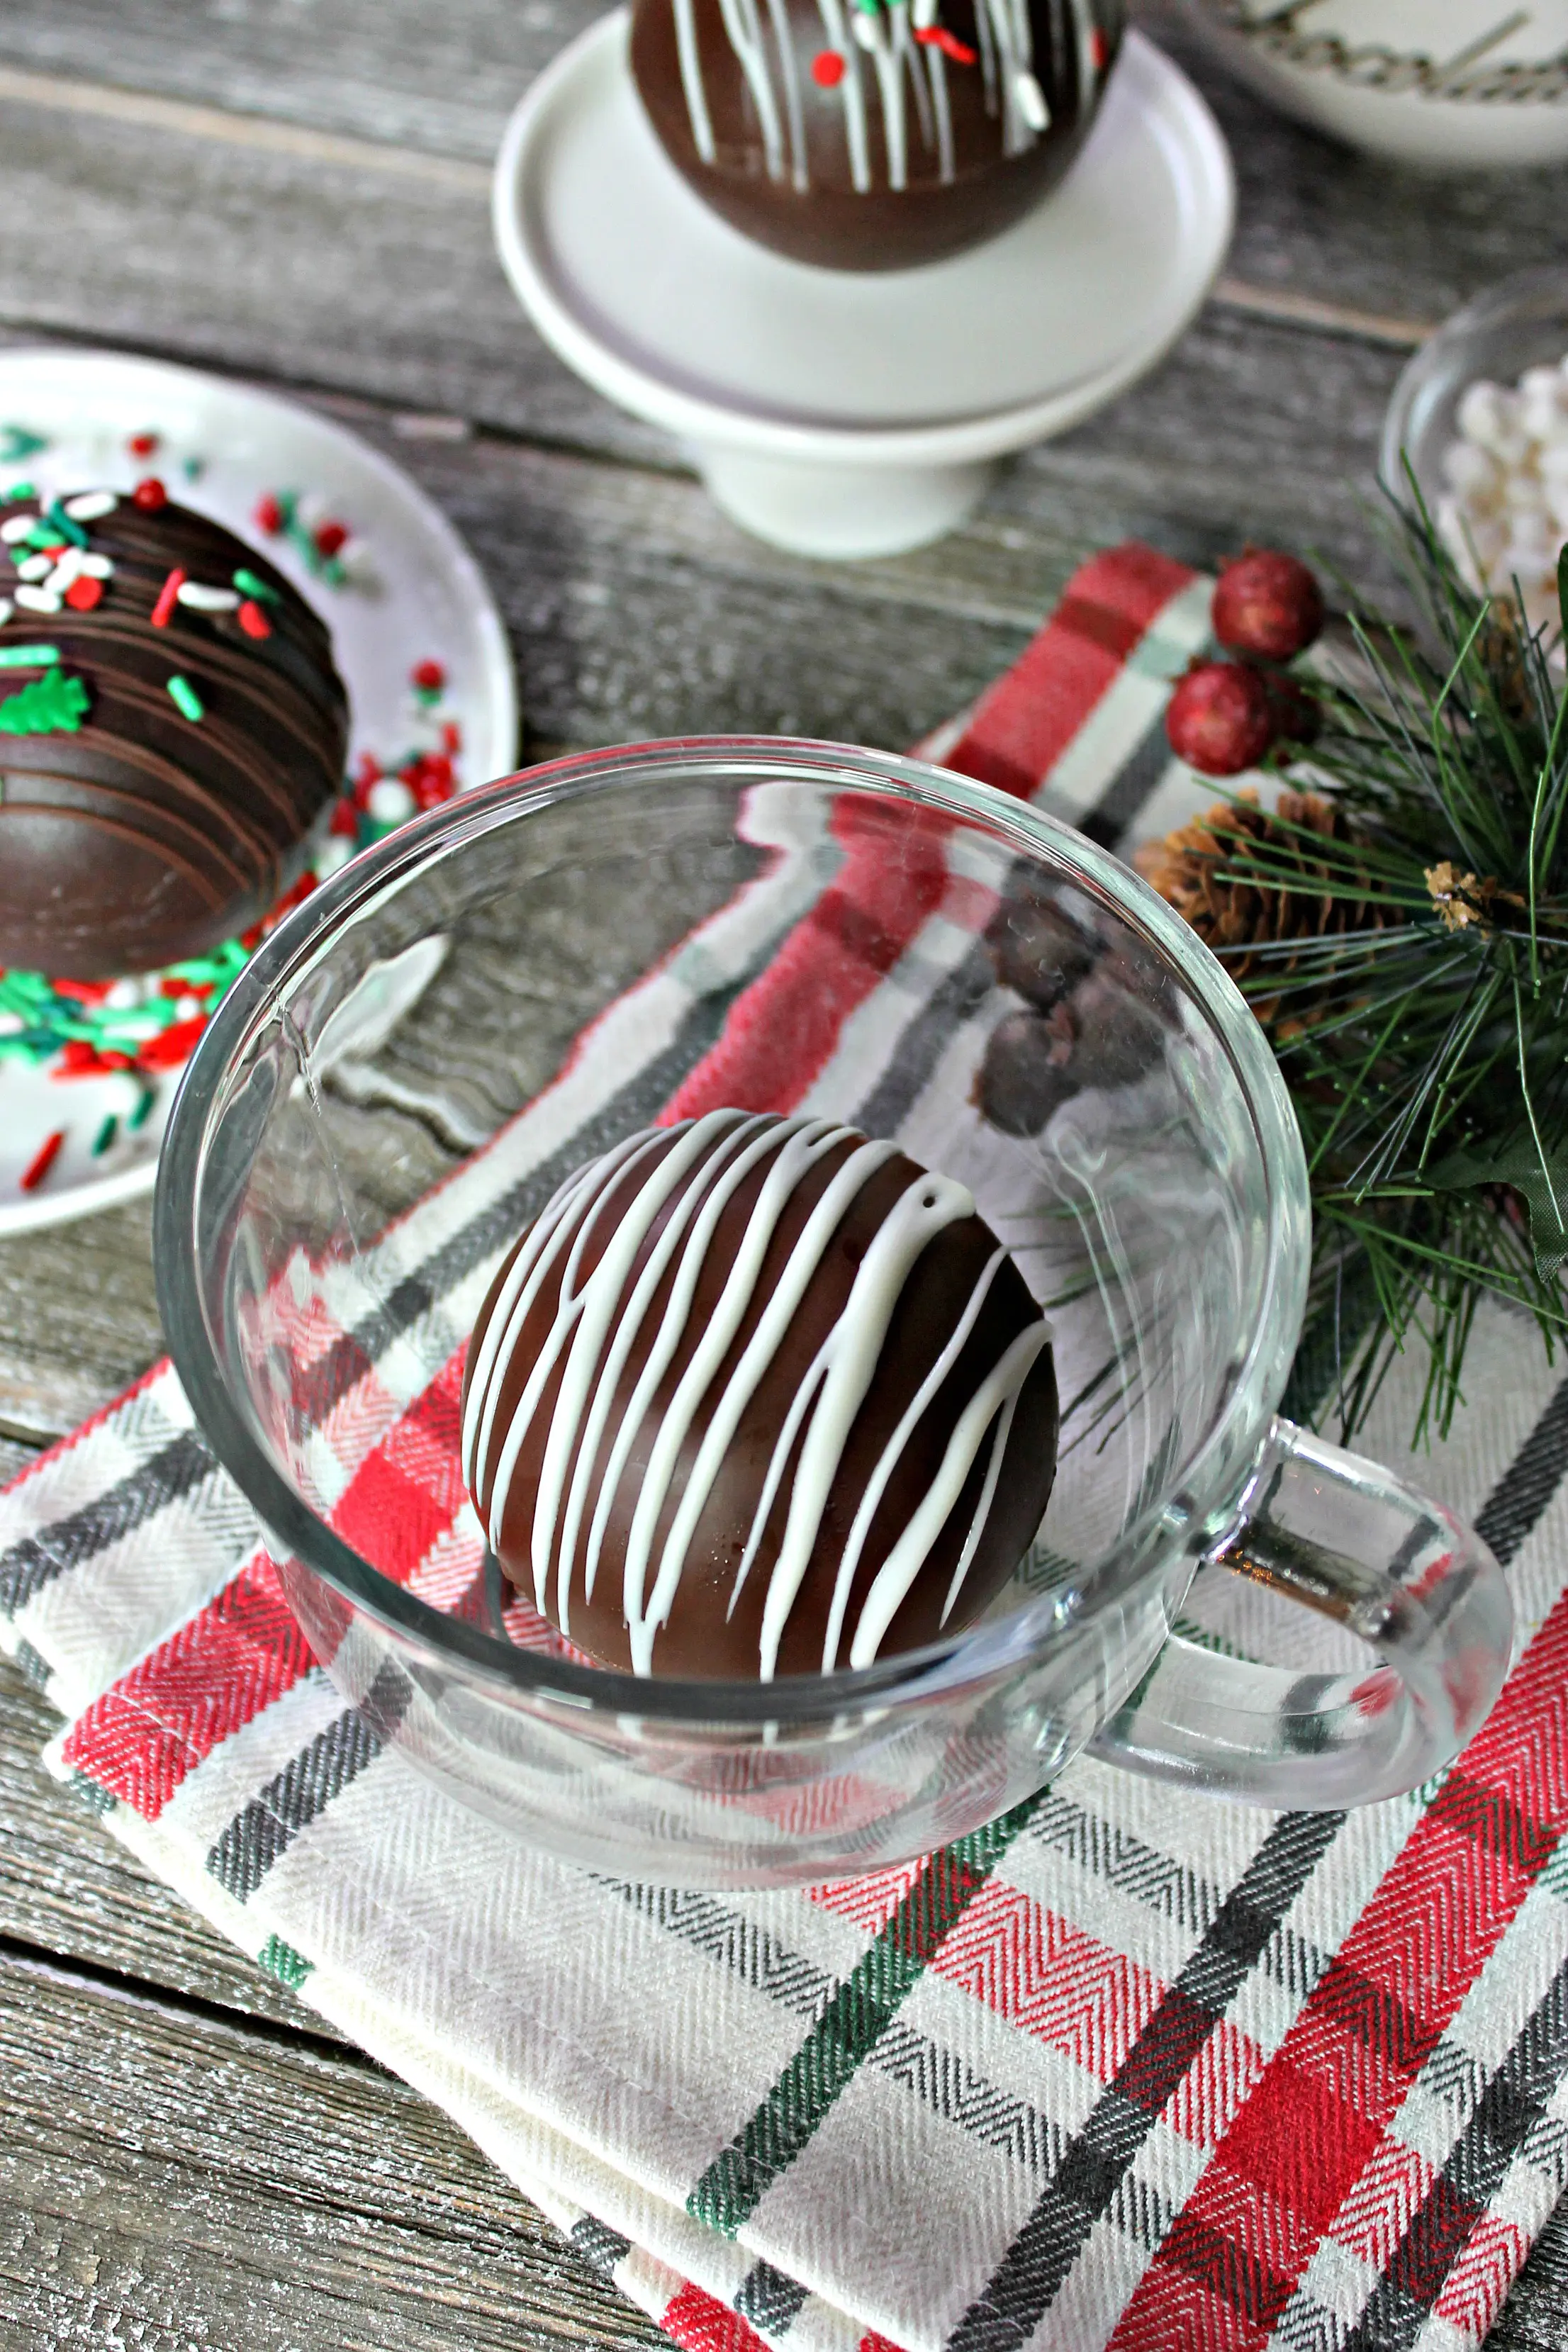
Once you've made your beautiful Christmas hot cocoa bombs, it's time to finally enjoy them! To serve, simply place one in a large mug and pour 8 ounces of hot milk over the top until the bomb pops open and the contents are released. Stir until dissolved as you would regular hot cocoa and enjoy!
More Hot Beverage Recipes
Not all hot beverages require so much assembly! Check out a few of my favorite warming cold weather drinks:
Christmas Hot Cocoa Bombs
Equipment
- 2.55 inch Semi-Sphere Silicone Mold
- 2 small baking pans
- Parchment paper
- Spoon
Ingredients
- 2 3.5 ounce bars of good quality chocolate, such as Valrhona or good quality chocolate chips dark, milk or white
- 6 tablespoons hot cocoa mix
- 6 teaspoons mini marshmallows or marshmallow bits
Instructions
- Break up the chocolate bar and place in a small bowl. Microwave on high for 15-30 second intervals, pausing to stir each time until fully melted and smooth.
- Prepare a small baking pan by lining with parchment paper. Set aside.
- Place the silicone mold on top of the second (non-lined) baking pan.) Working quickly, fill each cavity with about a tablespoon of melted chocolate.
- Lift the mold and swirl it carefully to make sure that the chocolate coats the entire interior of each sphere all the way to the lip. (See notes for suggestions on how to make this step easier.) Invert the silicone mold to allow the excess chocolate to drip off over the parchment-lined baking pan. If desired, you can place the parchment in the freezer until solid and scrape this chocolate back into the bowl to use later.
- Set the coated mold on back on the non-lined pan and place in the freezer for about 5 minutes.
- When the chocolate has set, remove from the freezer and repeat the process adding another tablespoon of chocolate into each semi-sphere, swirling to coat as much as possible all the way up to the lip. (You will need to do this quickly as the melted chocolate will begin to harden once it touches the cold, set chocolate in the mold.) Return to the freezer for another 5 minutes.
- Once set, remove the mold from the freezer. Run your hands under very cold water or hold a few pieces of ice for a few seconds to make your fingers cold; dry hands. Carefully remove each half sphere from the mold, placing them gently on the baking pan.
- Fill 3 of the molds with 1 tablespoon of hot cocoa mix and 1 teaspoon of mini marshmallows. Add additional fillings if desired.
- Heat a small plate in the microwave for about 15-20 seconds or until warm to the touch.
- Chill hands again and dry. Carefully lift a chocolate sphere (these will be the "lids") and place gently on the warm plate for just a second or two until the bottom becomes melty. Quickly place on top of a cocoa-filled sphere half. Repeat with remaining sphere halves. You will have 3 spheres. See notes for tips on how to fully seal the edges if you have gaps.
- Repeat this process a second time to create 3 more hot chocolate bombs.
- Decorate as desired with a chocolate drizzle, sprinkles, etc.
- Gently transfer to an airtight container and keep refrigerated until ready to package or use.
Notes
- If you are using chocolate chips: Chocolate chips tend to be thick and gooey when melted, so you may not need to coat the molds a second time. Simply pour a tablespoon of melted chocolate into each semi-sphere and smooth it up the sides of the mold (all the way to the rim) with the back of your tablespoon measure, then place in freezer to set.
- If you are using bar chocolate: As bar chocolate tends to be thinner and more runny, you will need to repeat the coating process after the first coat sets in order to thicken the chocolate sphere.
- To fully seal the bombs: Place a metal spoon in a mug of boiling water (or run under hot water) for 5 seconds. Dry spoon. Gently run the back of the spoon along the seam of each hot chocolate bomb -- you will only need to touch the warm spoon to the chocolate for a split second. This will help to melt the chocolate and "weld" each bomb closed. Gently wipe away any excess or dripping chocolate with your finger. You may have small gaps where the shells do not sit flush; dab a bit of extra melted chocolate on these and smooth to patch. Refrigerate until ready to decorate.

Leave a Reply